How To Setup
Note: For this guide we use the Customer data, you can choose whatever you prefer.
-
Search for SimpleAPI Setup and open it.
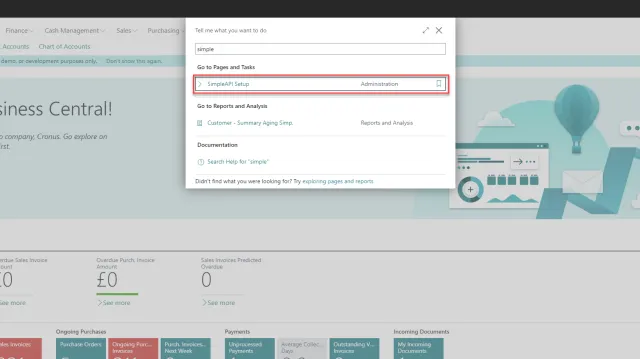
-
Once you enter the page, we recommend that you open then “Information box” for the page to get all the links and information you need
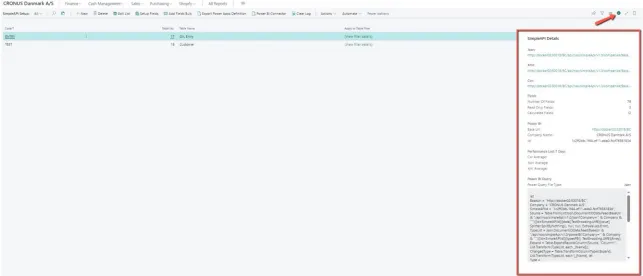
-
To setup the data you want to get out, first give the setup a code.
- The “Code” field is used for your reference when integrating and can be named what you prefer
-
To select which table to set up for, use the “Table No.” field.
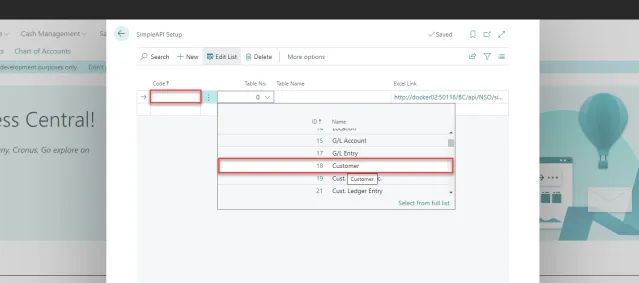
-
To setup what data you want from the table, use the action Setup Fields
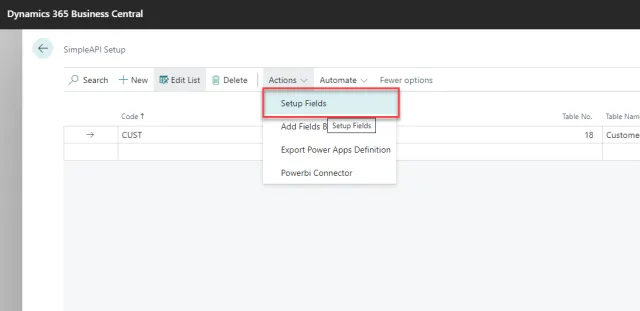
Explanation for SimpleAPI Field Setup:
- The ”Field Filter” field is a filter for the records gathered for the integration.
- “Primary Key Increment” allows for an integer in the primary key to be unfilled on post requests and instead be incremented by the number used.
- “Read Only” will remove the field in the post and path definitions for power platform.
- “Overwrite Name” allows to set the column name to a custom name.
-
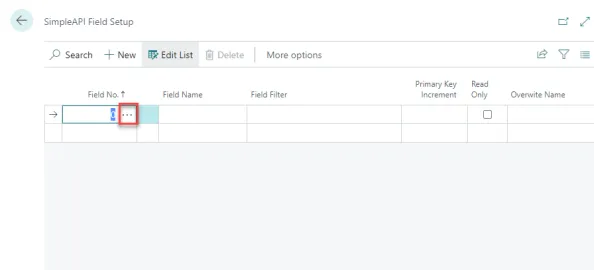
On the SimpleAPI Field setup page you can select the data from the table you wish to set up
- Choose the assist edit on the “Field No.” Field to get a list of all the available fields.
- In case you want to add more than one field at a time you can look at steps 6 and 7.
-
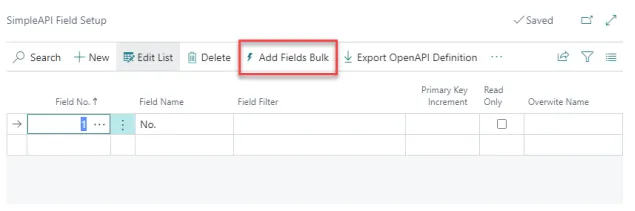
If you want to add more than one field at a time, you can go to “Add Fields Bulk”.
-
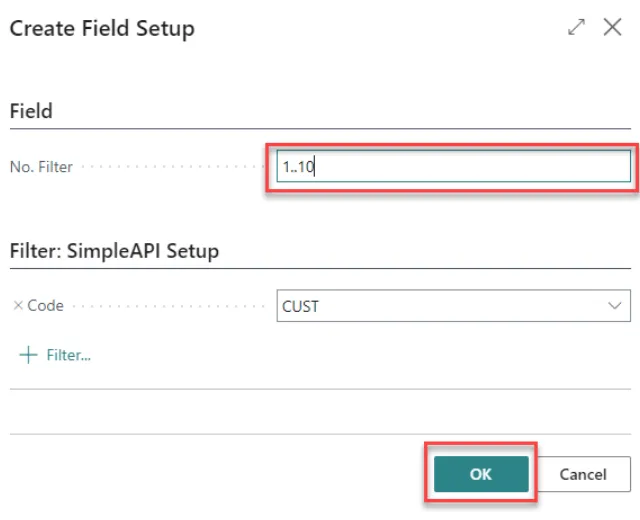
In “Field No. Filter” you can use the normal filters from Business Central to select the fields you want.
- E.g. 1..10 or 12|13|17|22.
-
Click on the “OK” to add the fields.
-
In case you want more than one filter in the list, simply just repeat steps 6 and 7.
This concludes the setup instructions for a table with fields, the rest of the guide will show how to use the integration options available in the SimpleAPI.