Assign licenses to apps in Microsoft 365 Admin Center
This guide shows how you can assign licenses for the app to your users.
Note: To do this, you need a user with a global permission set (global admin) or another admin role that has access to licenses and billing.
-
Log in to Microsoft 365 Admin Center
-
On the homepage, you will see a menu with different areas on the left side.
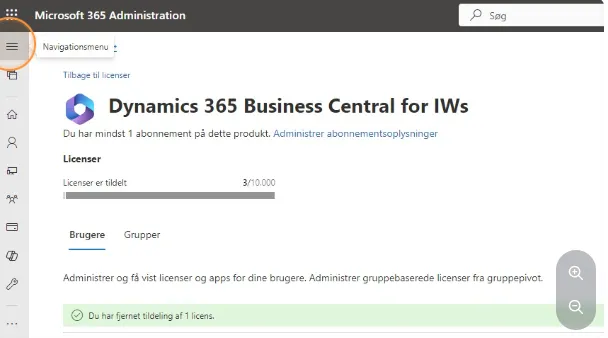
- If you cannot see the menu, you can click on the three horizontal lines at the top to expand the menu.
- If you cannot see the menu, you can click on the three horizontal lines at the top to expand the menu.
-
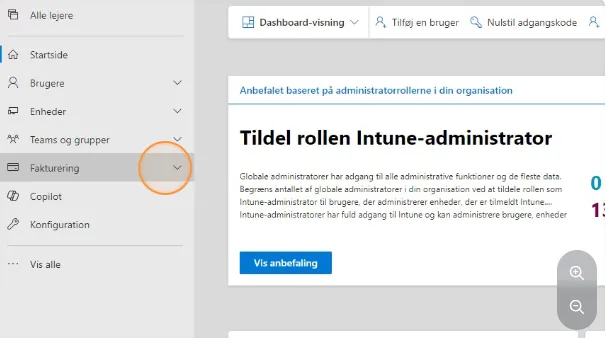
In the menu, click on “Billing”.
-
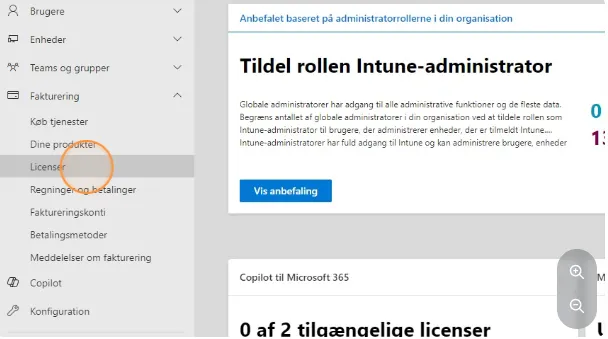
Then click on “Licenses”.
-
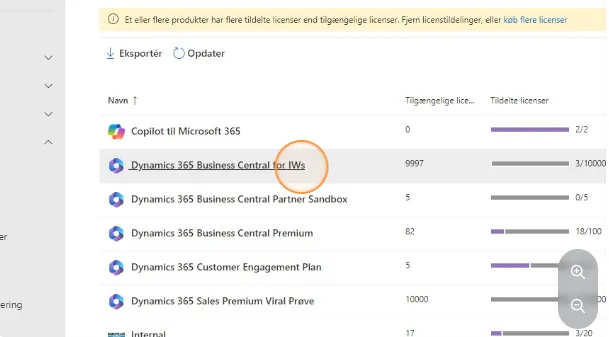
If you have purchased an app on AppSource, you can find the app’s logo and name on the list, then click on the name to open the app’s license page.
In my example, I’m using “Dynamics 365 Business Central for IWs”, as I cannot see our own apps, but the principle is the same.
-
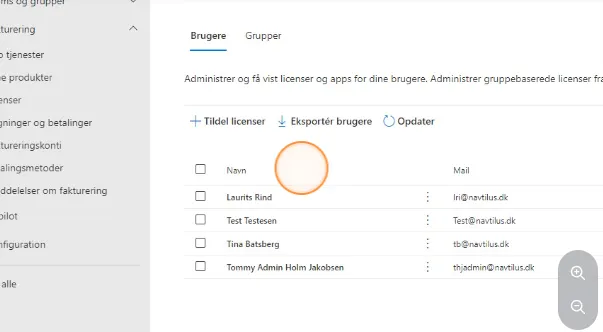
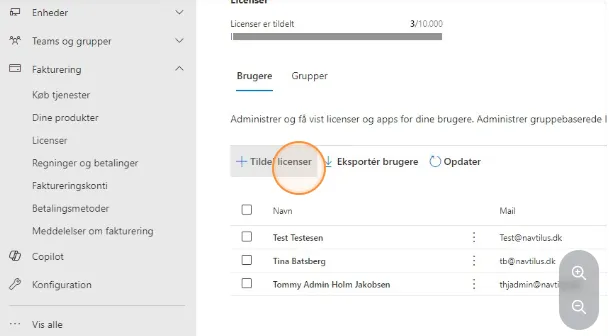
Once you are on the app’s license page, you will see a list of everyone who has the license. Above this list, you will find “+Assign licenses” which you need to click.
-
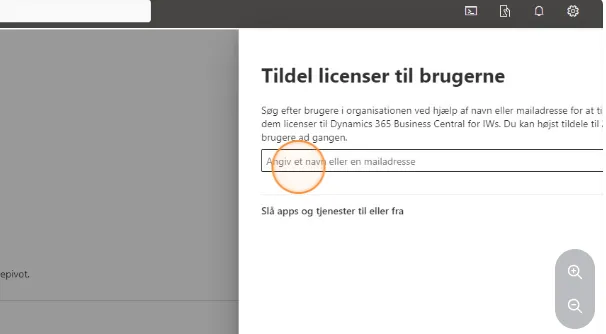
This opens a panel on the right side where you need to click on the field “Enter a name or email address”.
-
Then you need to either find (or search for) the employee(s) you want to assign the license to and click on them below.
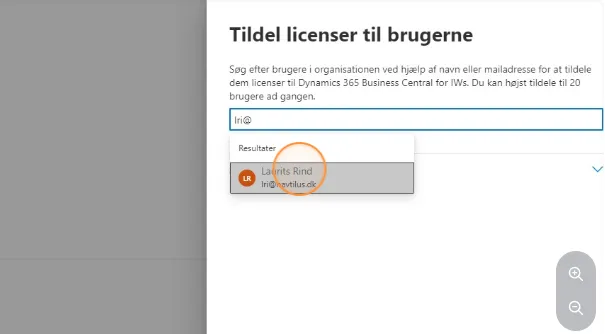
Note: It is possible to assign multiple licenses at once. Just keep adding names as soon as you have selected them from the list.
-
When you have selected those who should have the license, click the “Assign” button at the bottom of the panel.

-
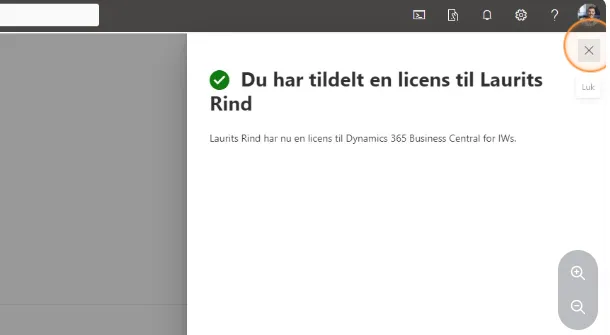
When done, click the X at the top of the panel.
-
You can then see that the names have been added to the list of those who have licenses.