Table Dimension Relation
Here you can see how to set up the system to automatically create relations between tables and dimensions, so you don’t have to do it manually each time a new table is created.
-
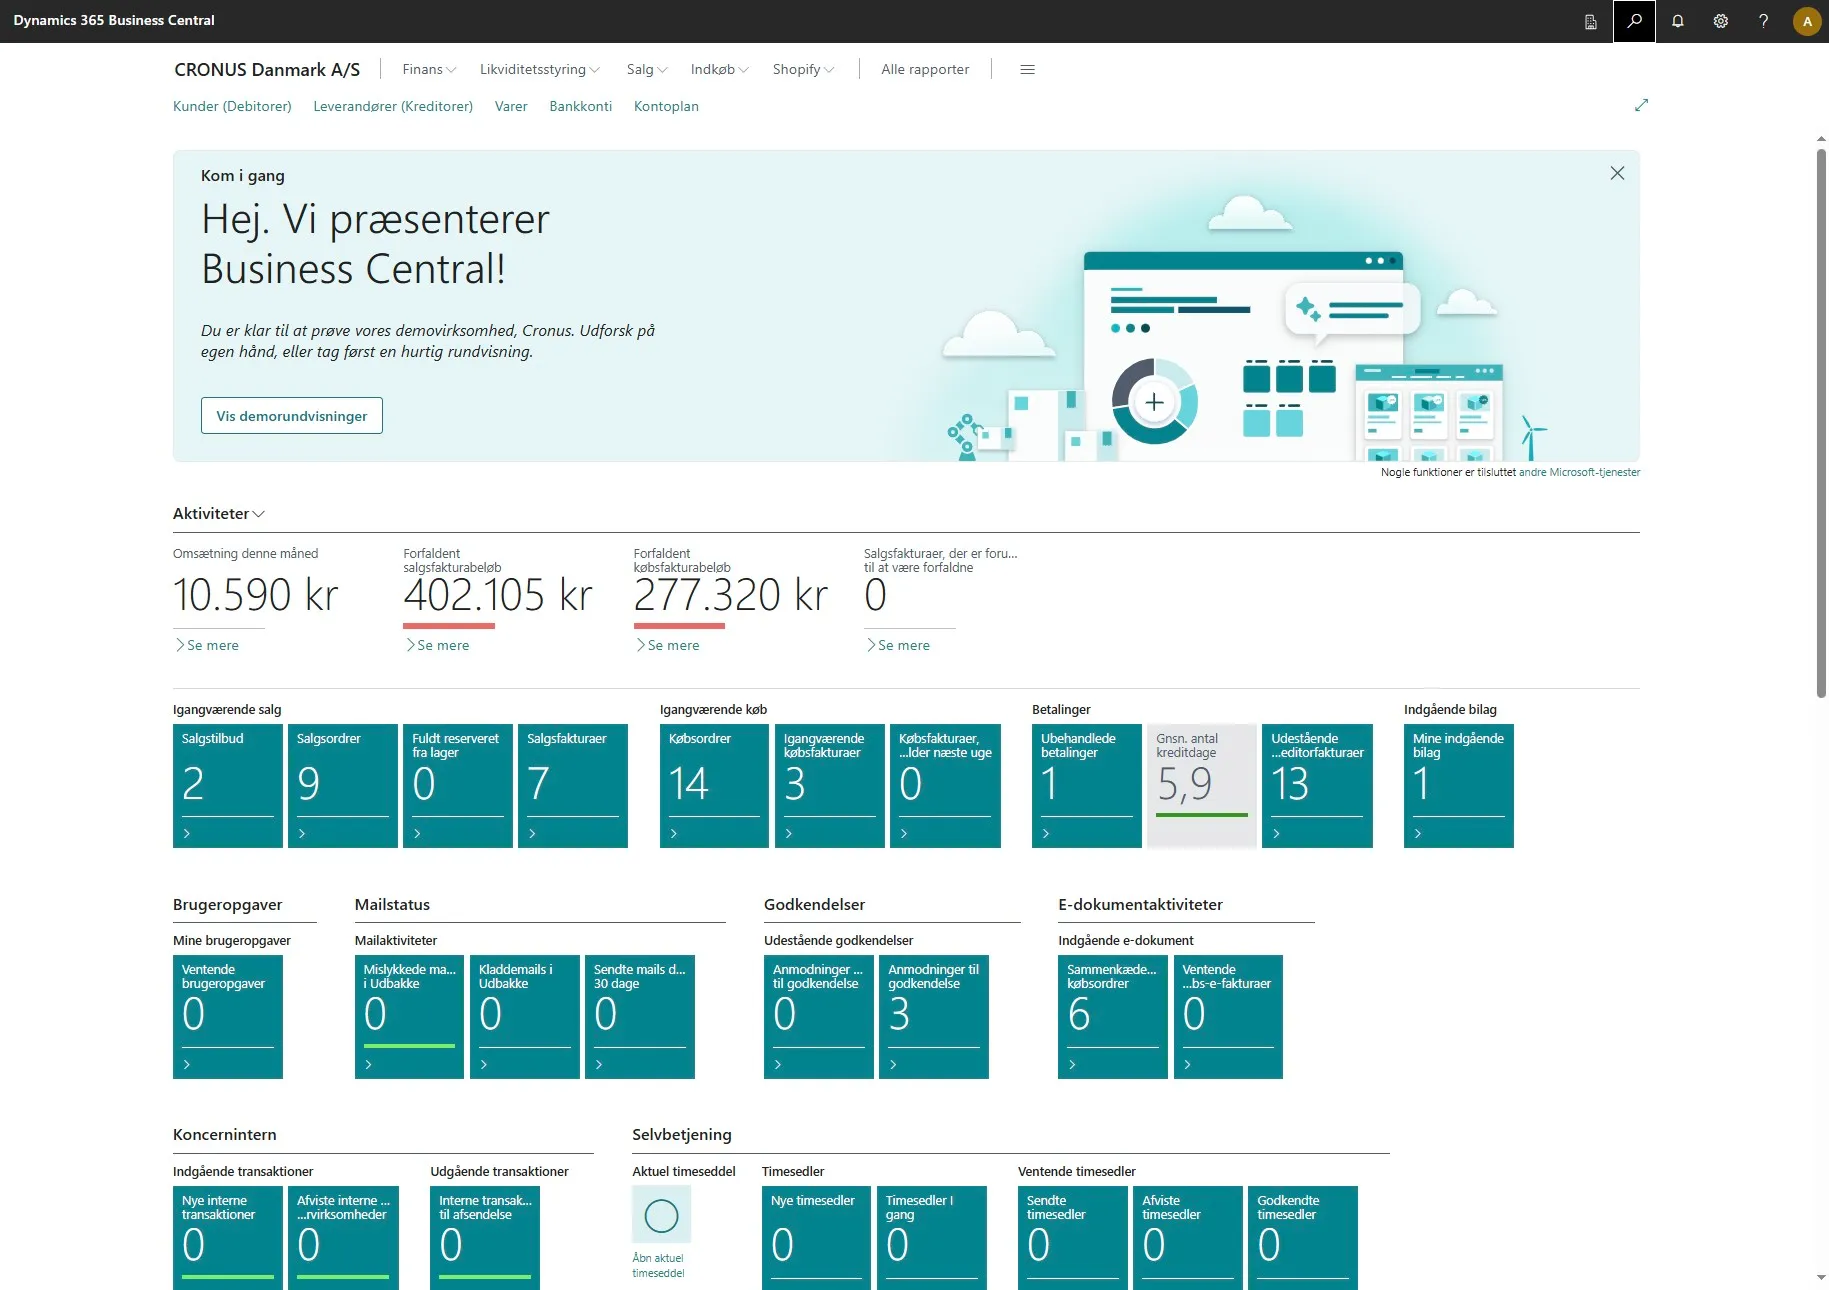
Open your Business Central

-
Use the search field by clicking on the magnifying glass or by using the shortcut ALT + Q
-
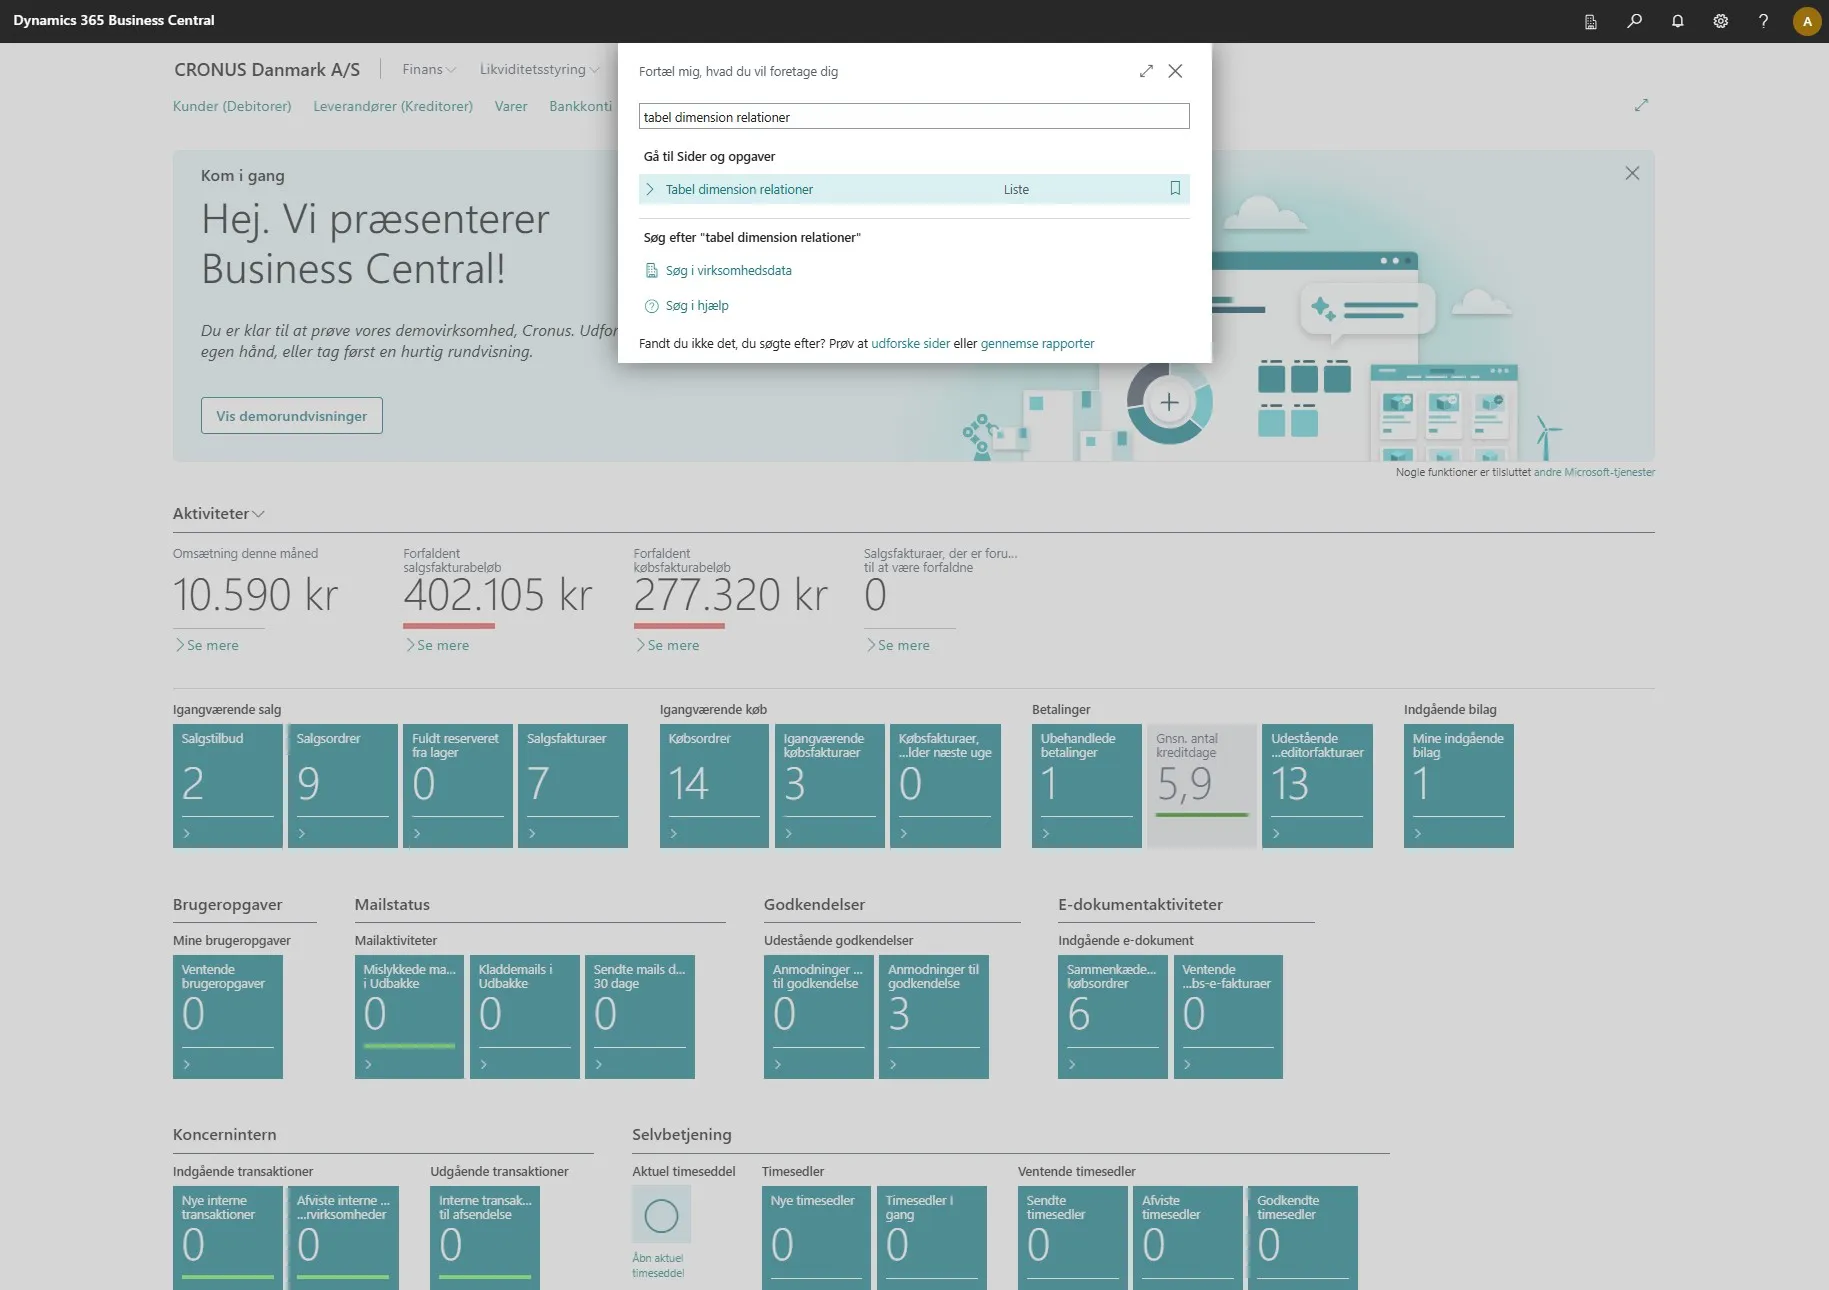
Enter “table dimension relations” in the search field.
-
Click on the related link.
-
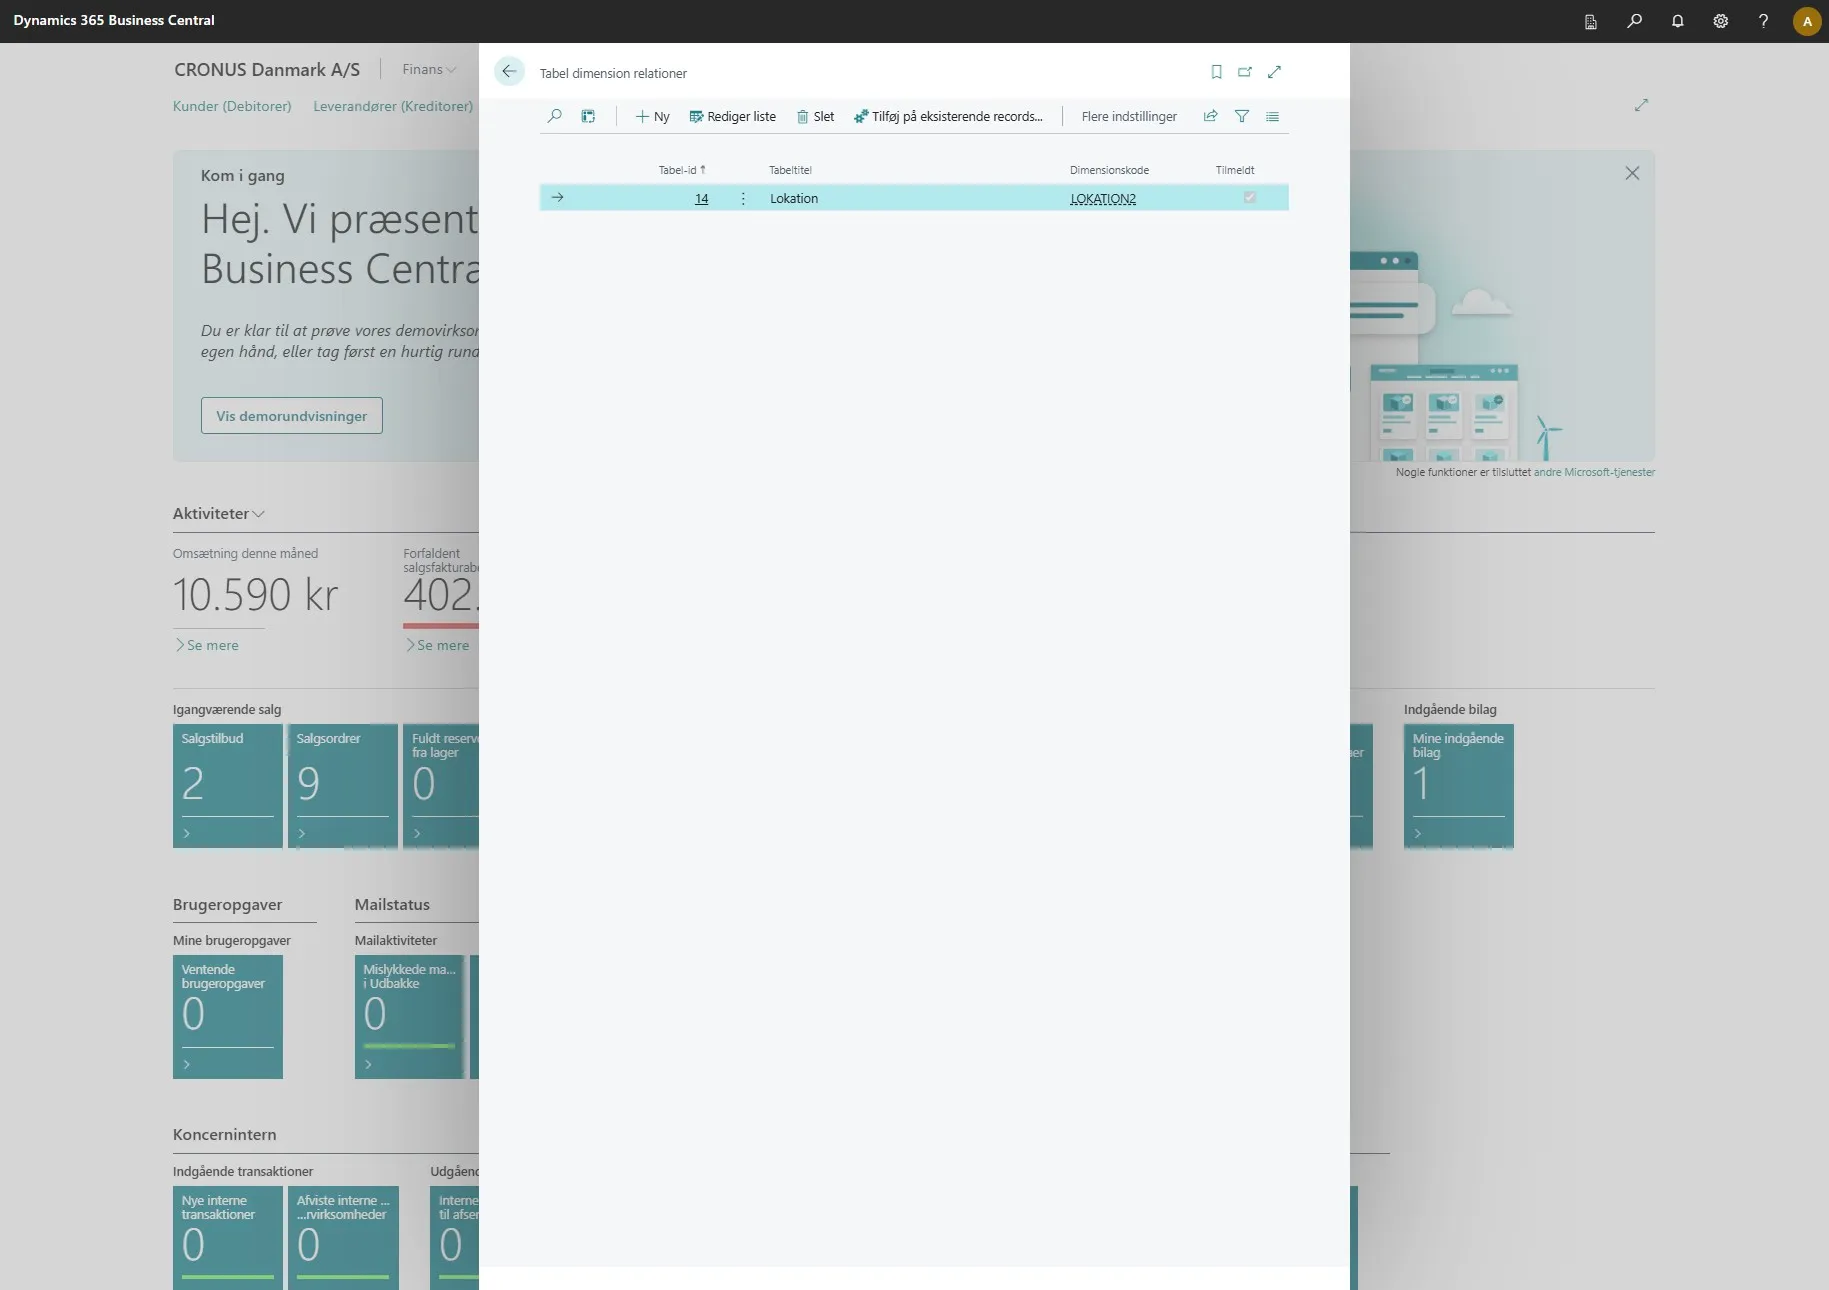
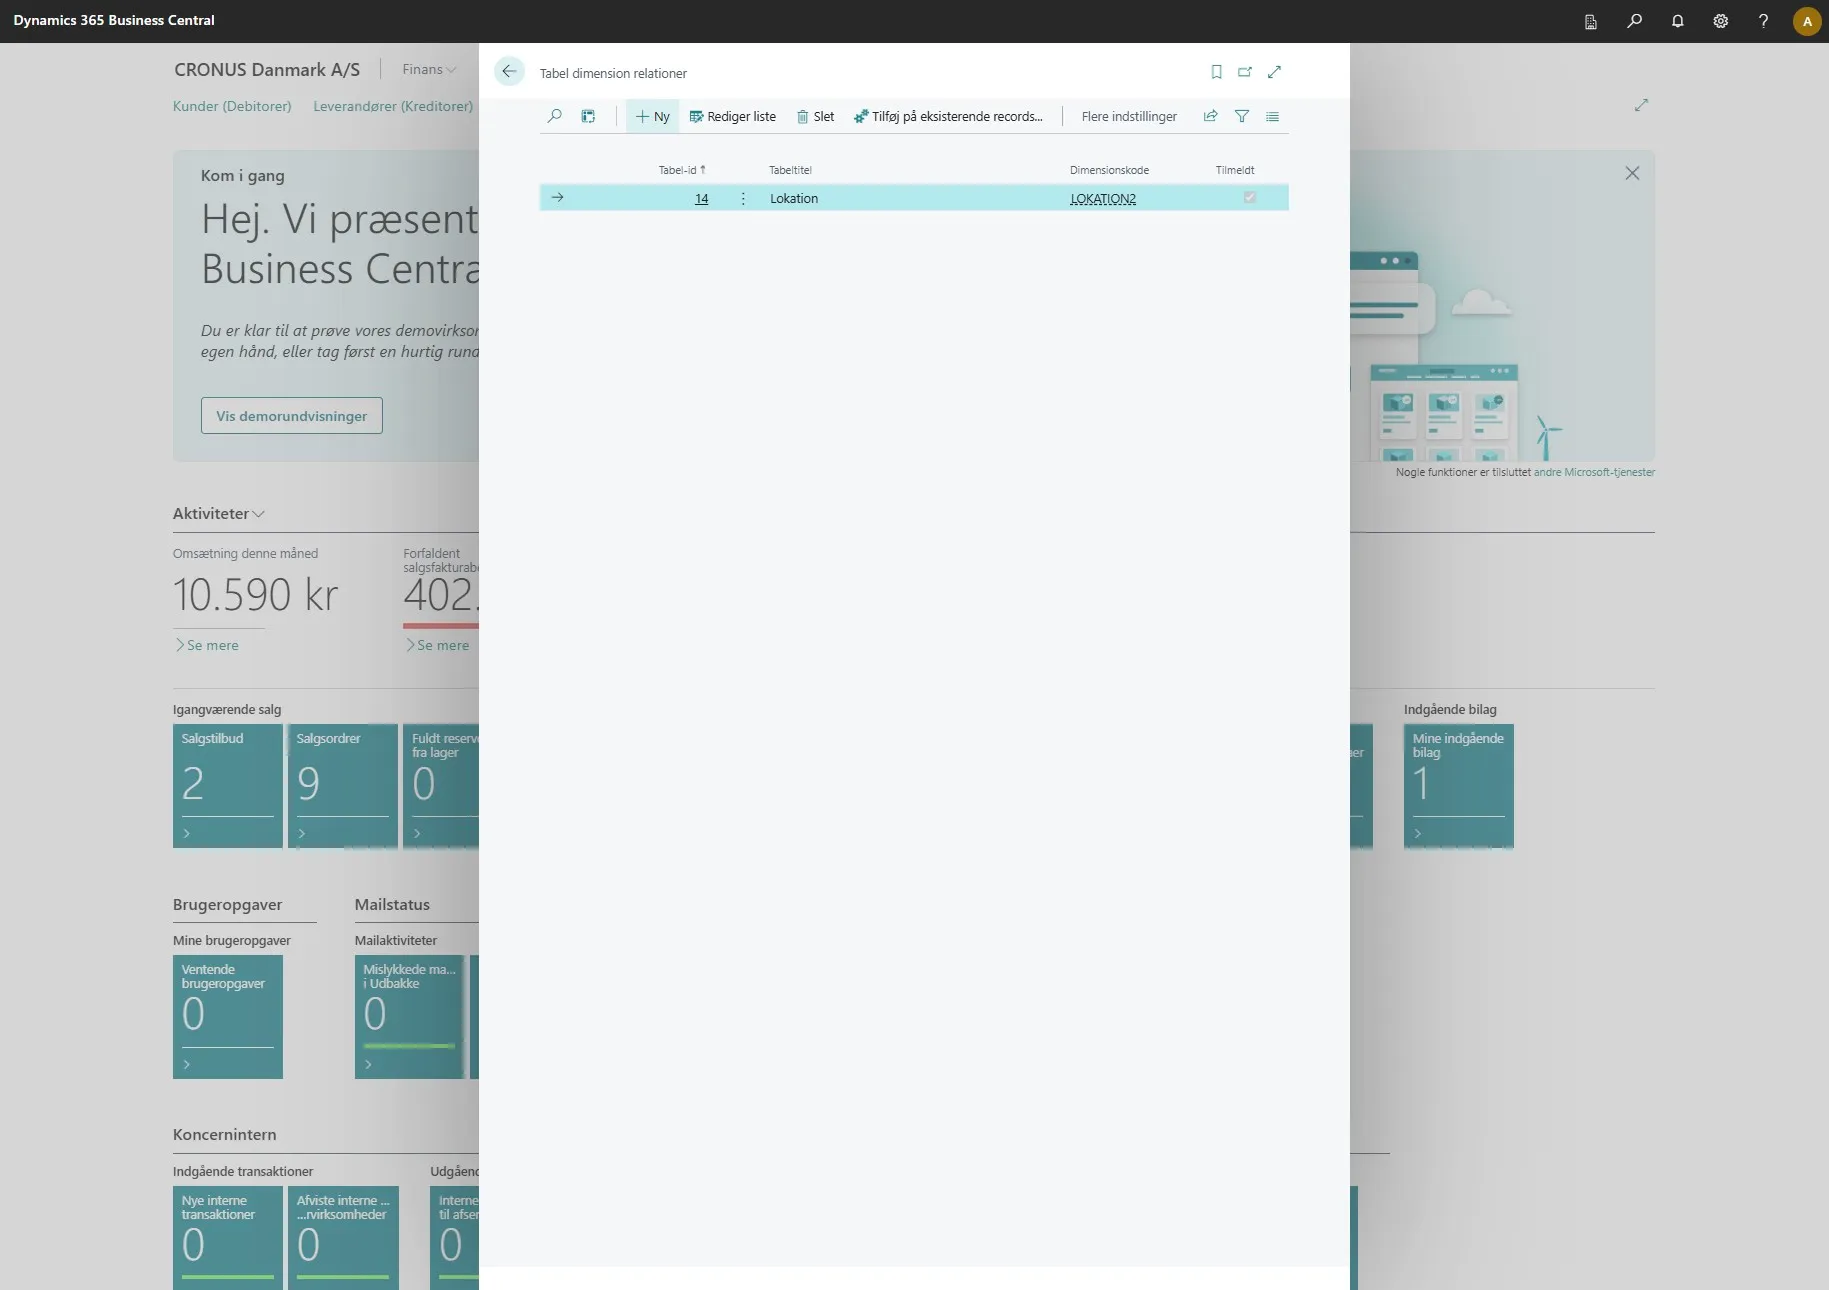
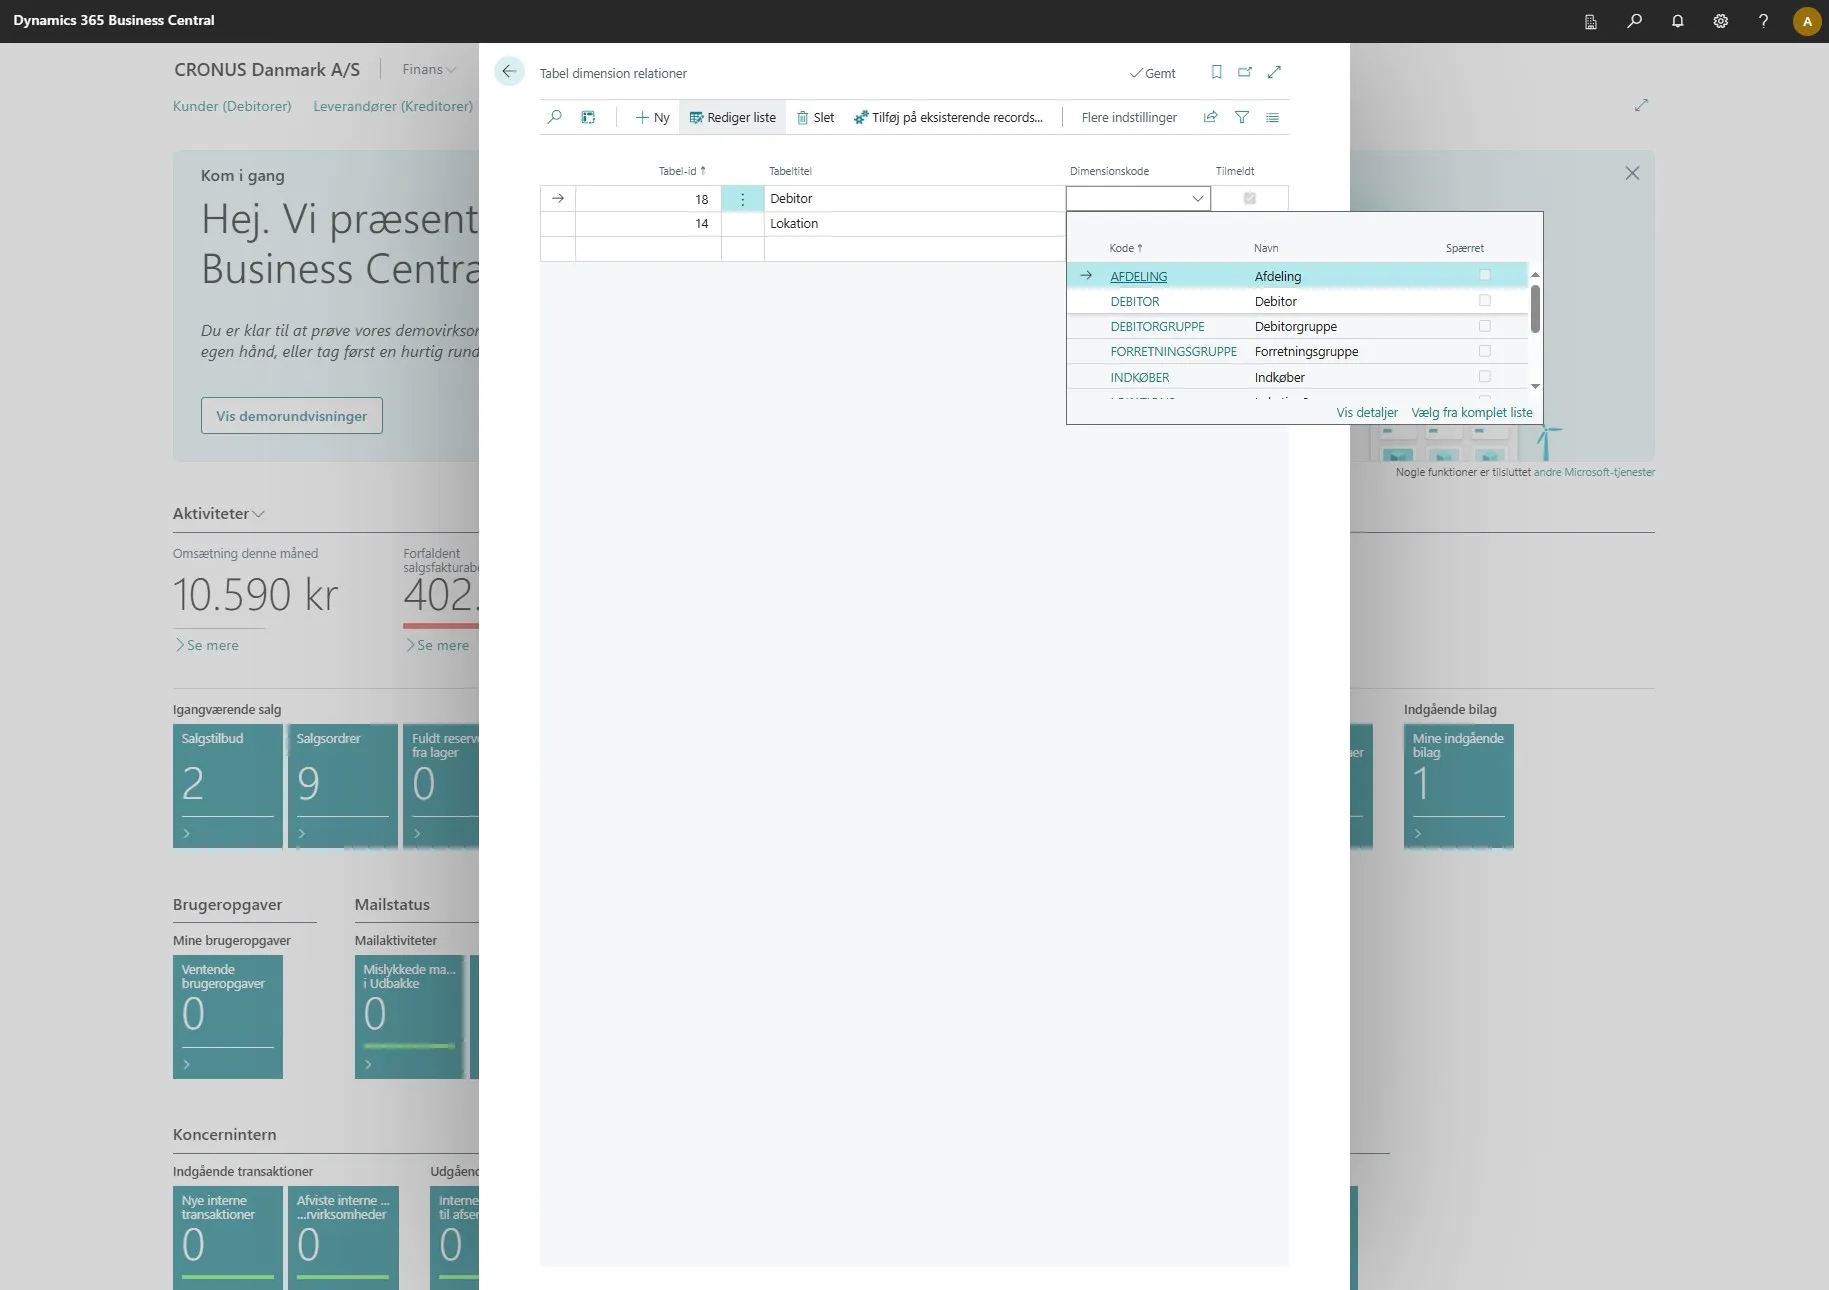
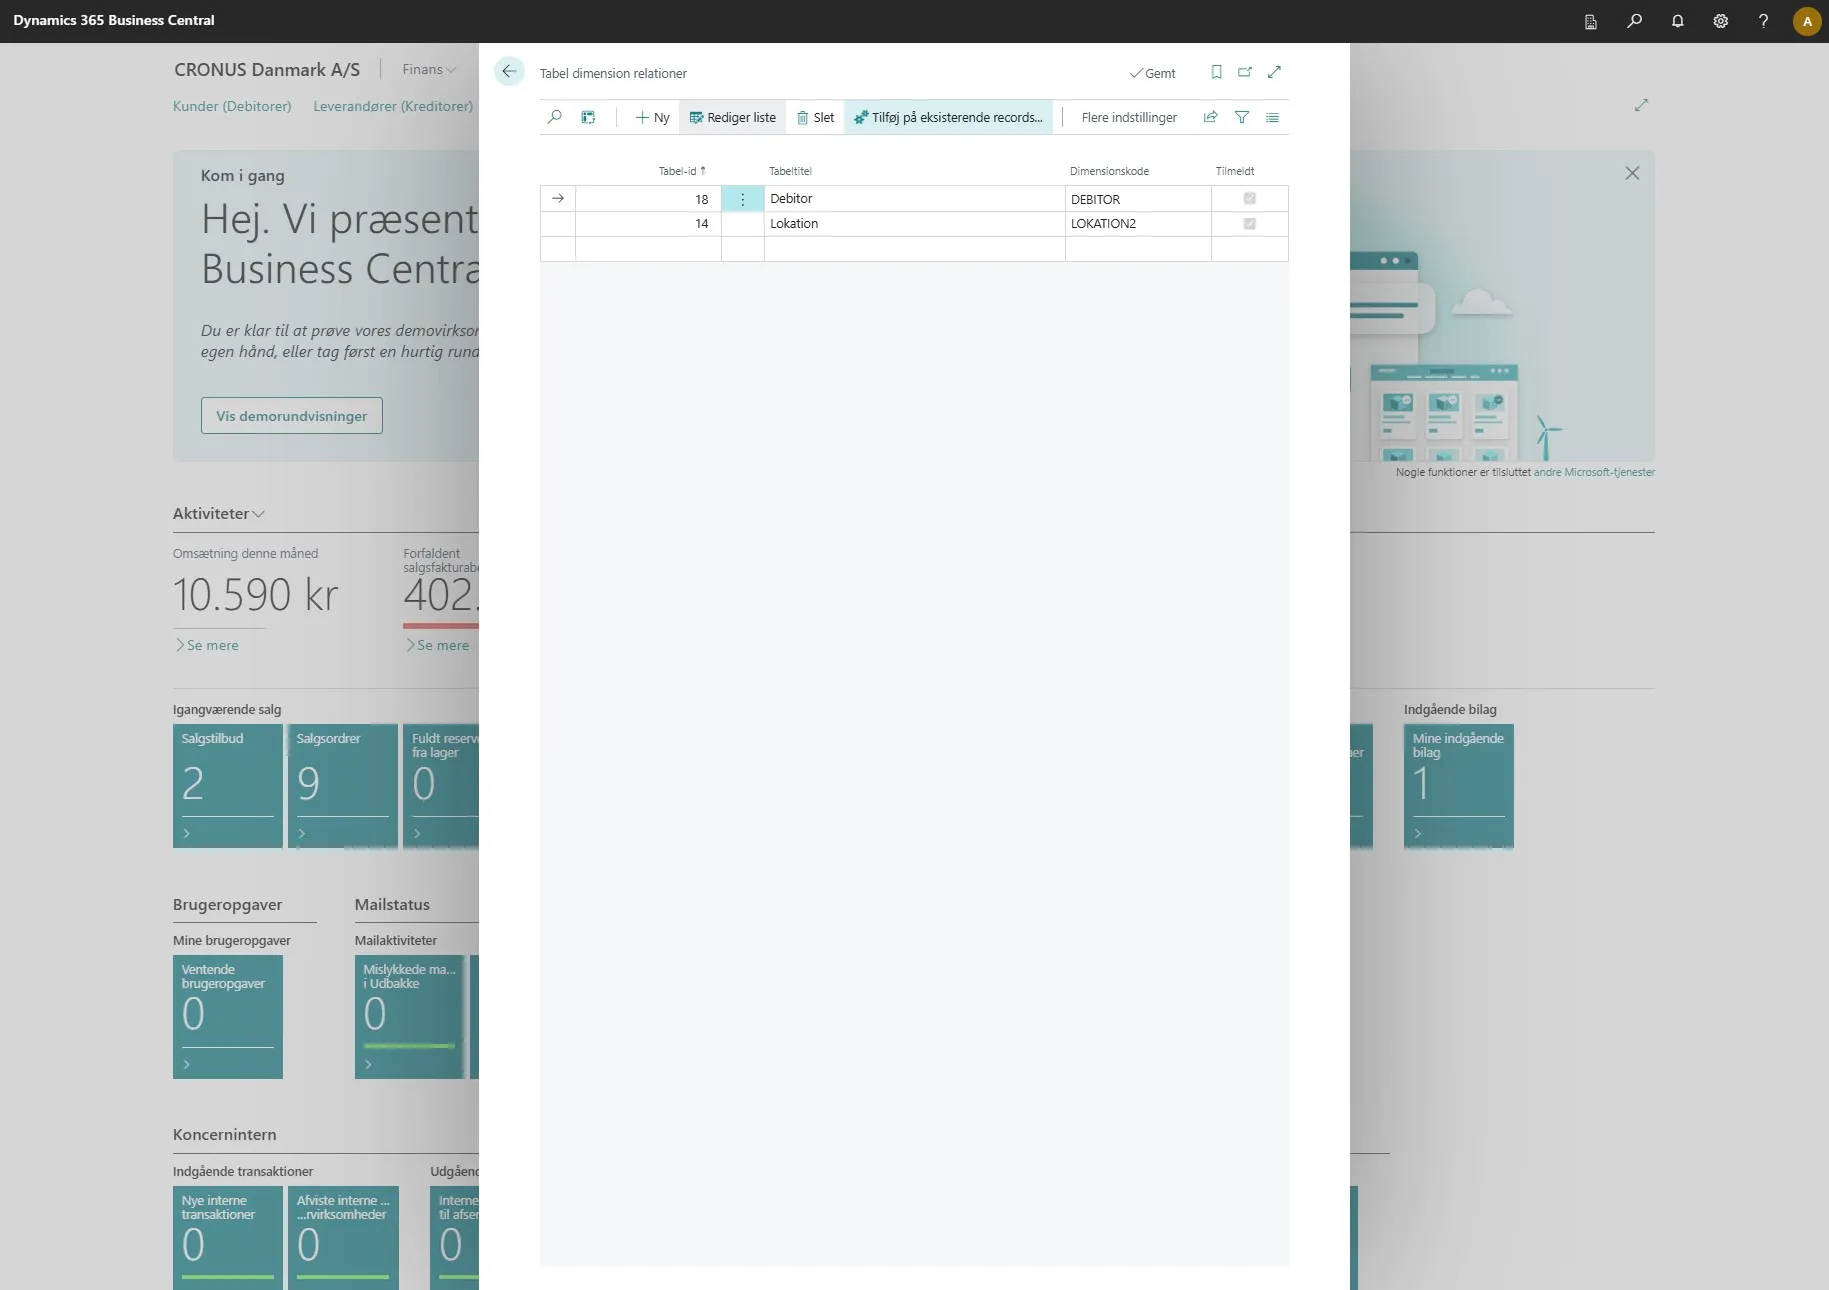
This page allows you to create relations between your table dimensions. Here you will also find a list of your existing automations.
-
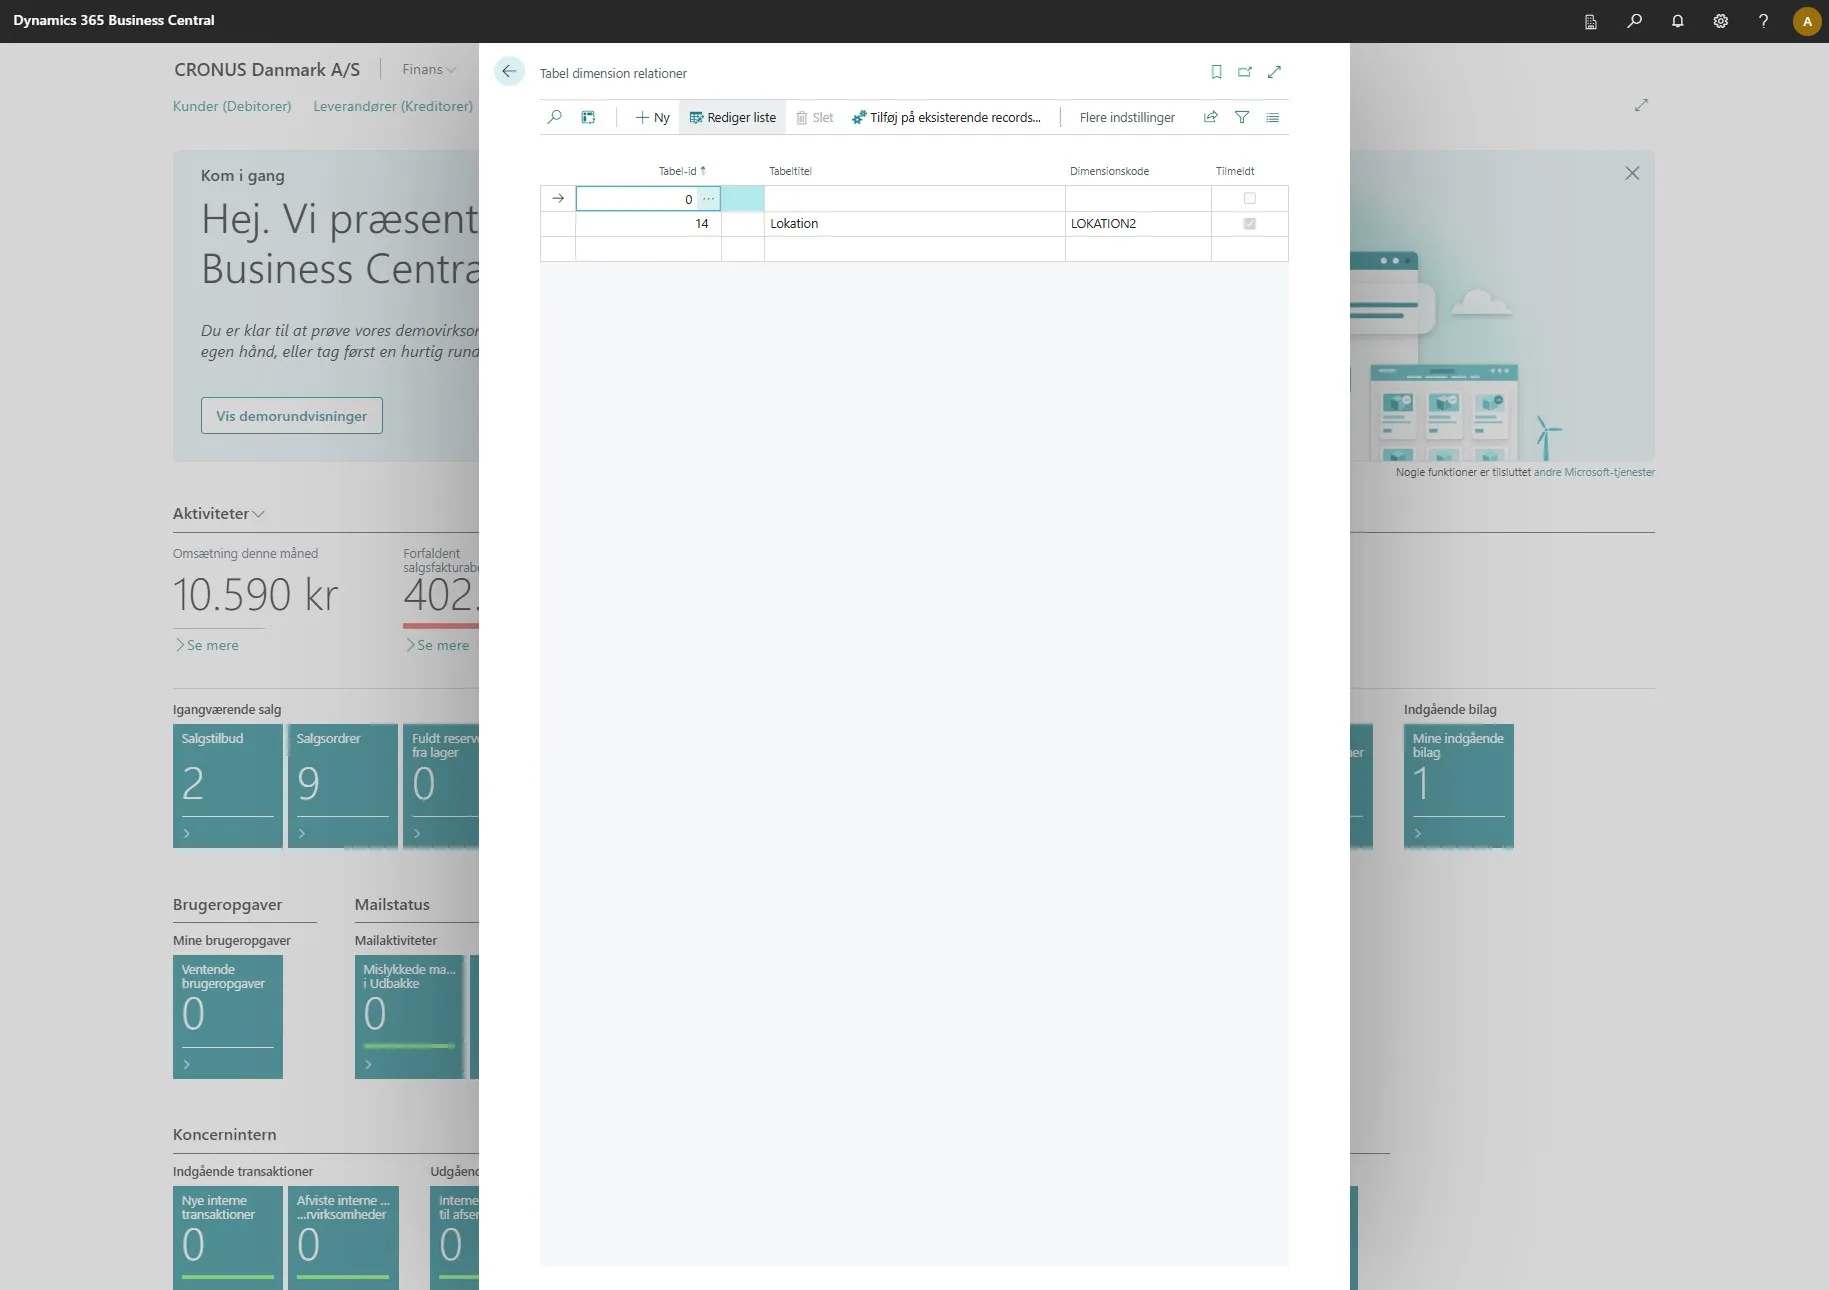
To create a new one, click on “New”
-
Then click on the three dots in the first field.
-
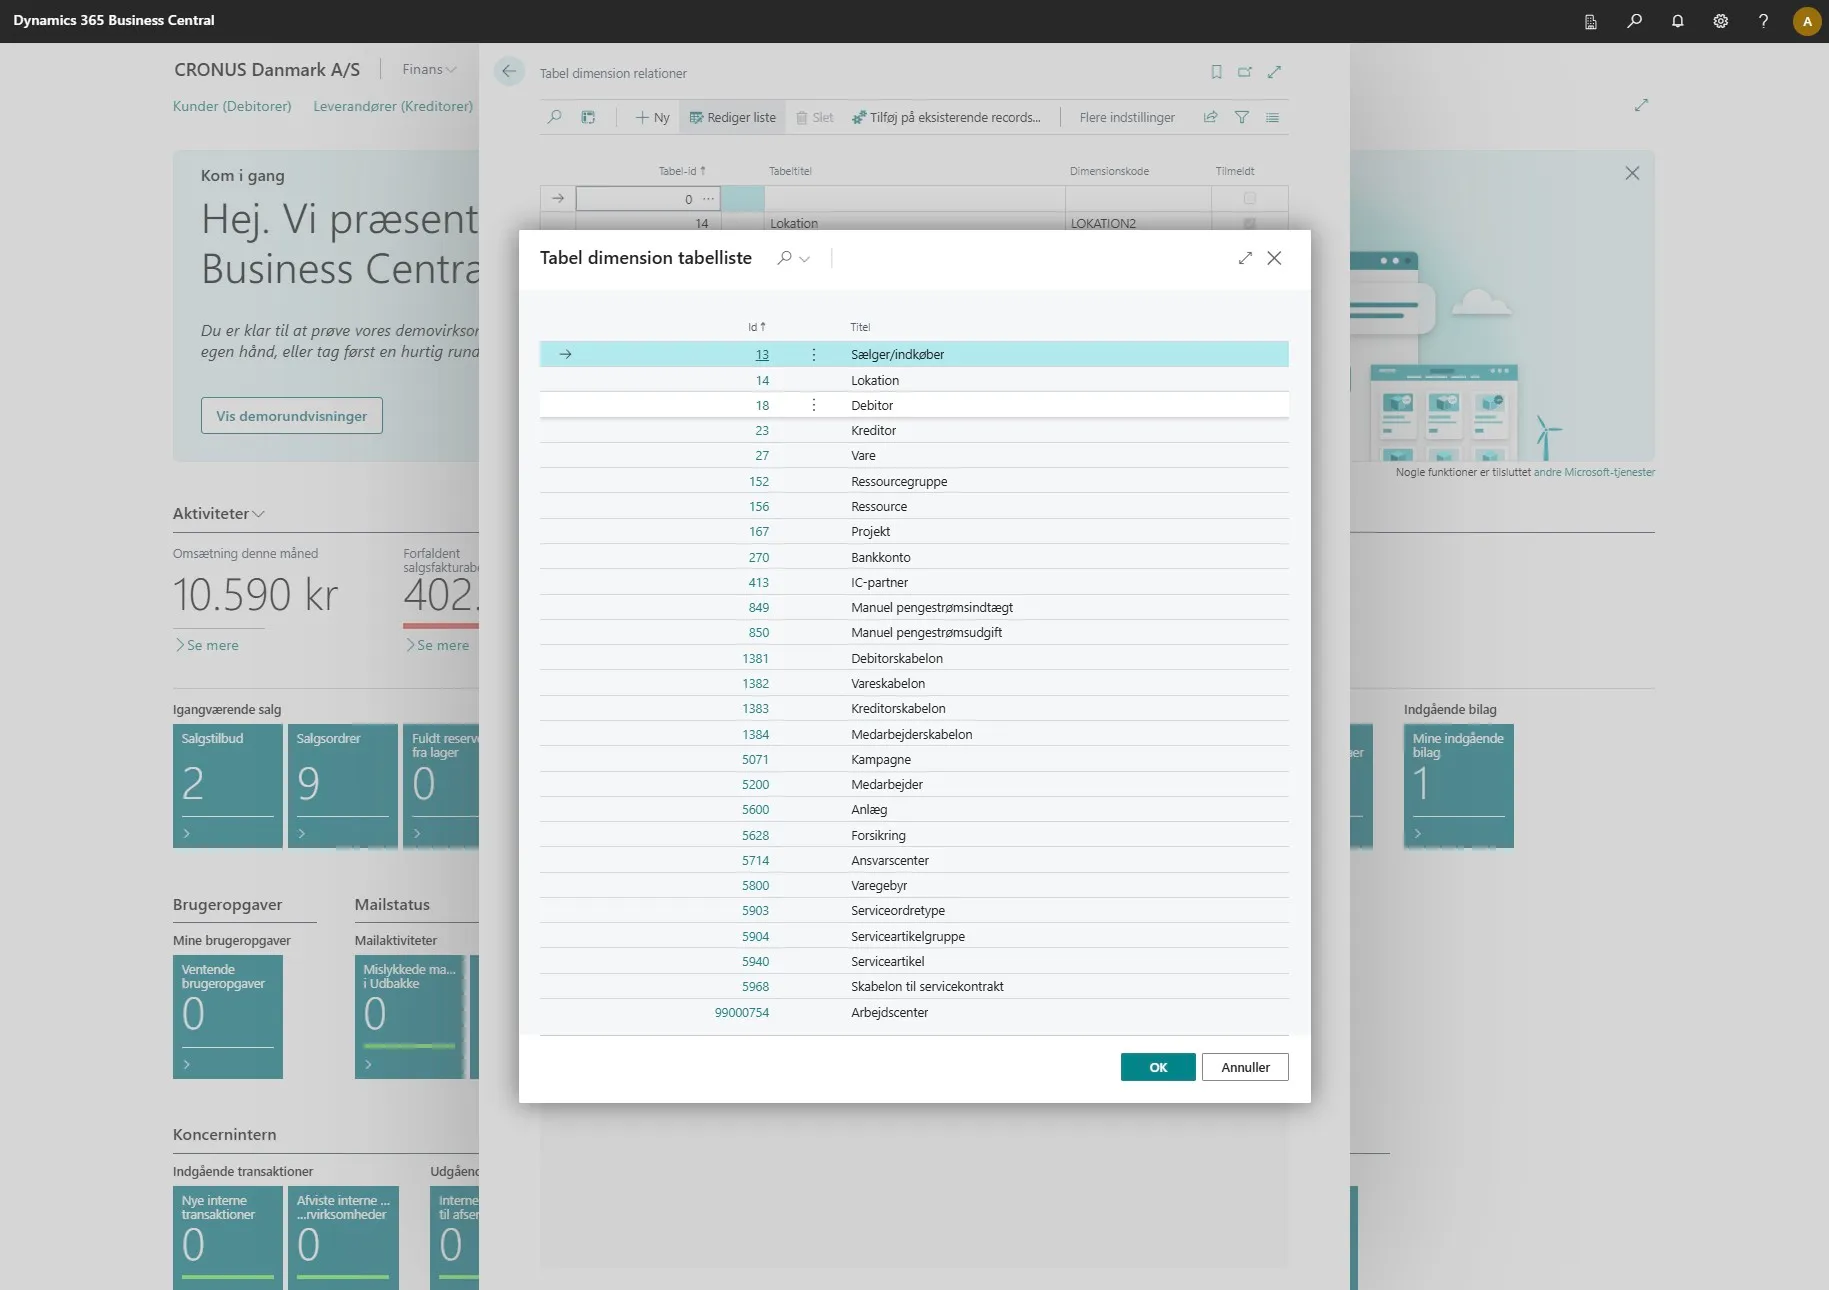
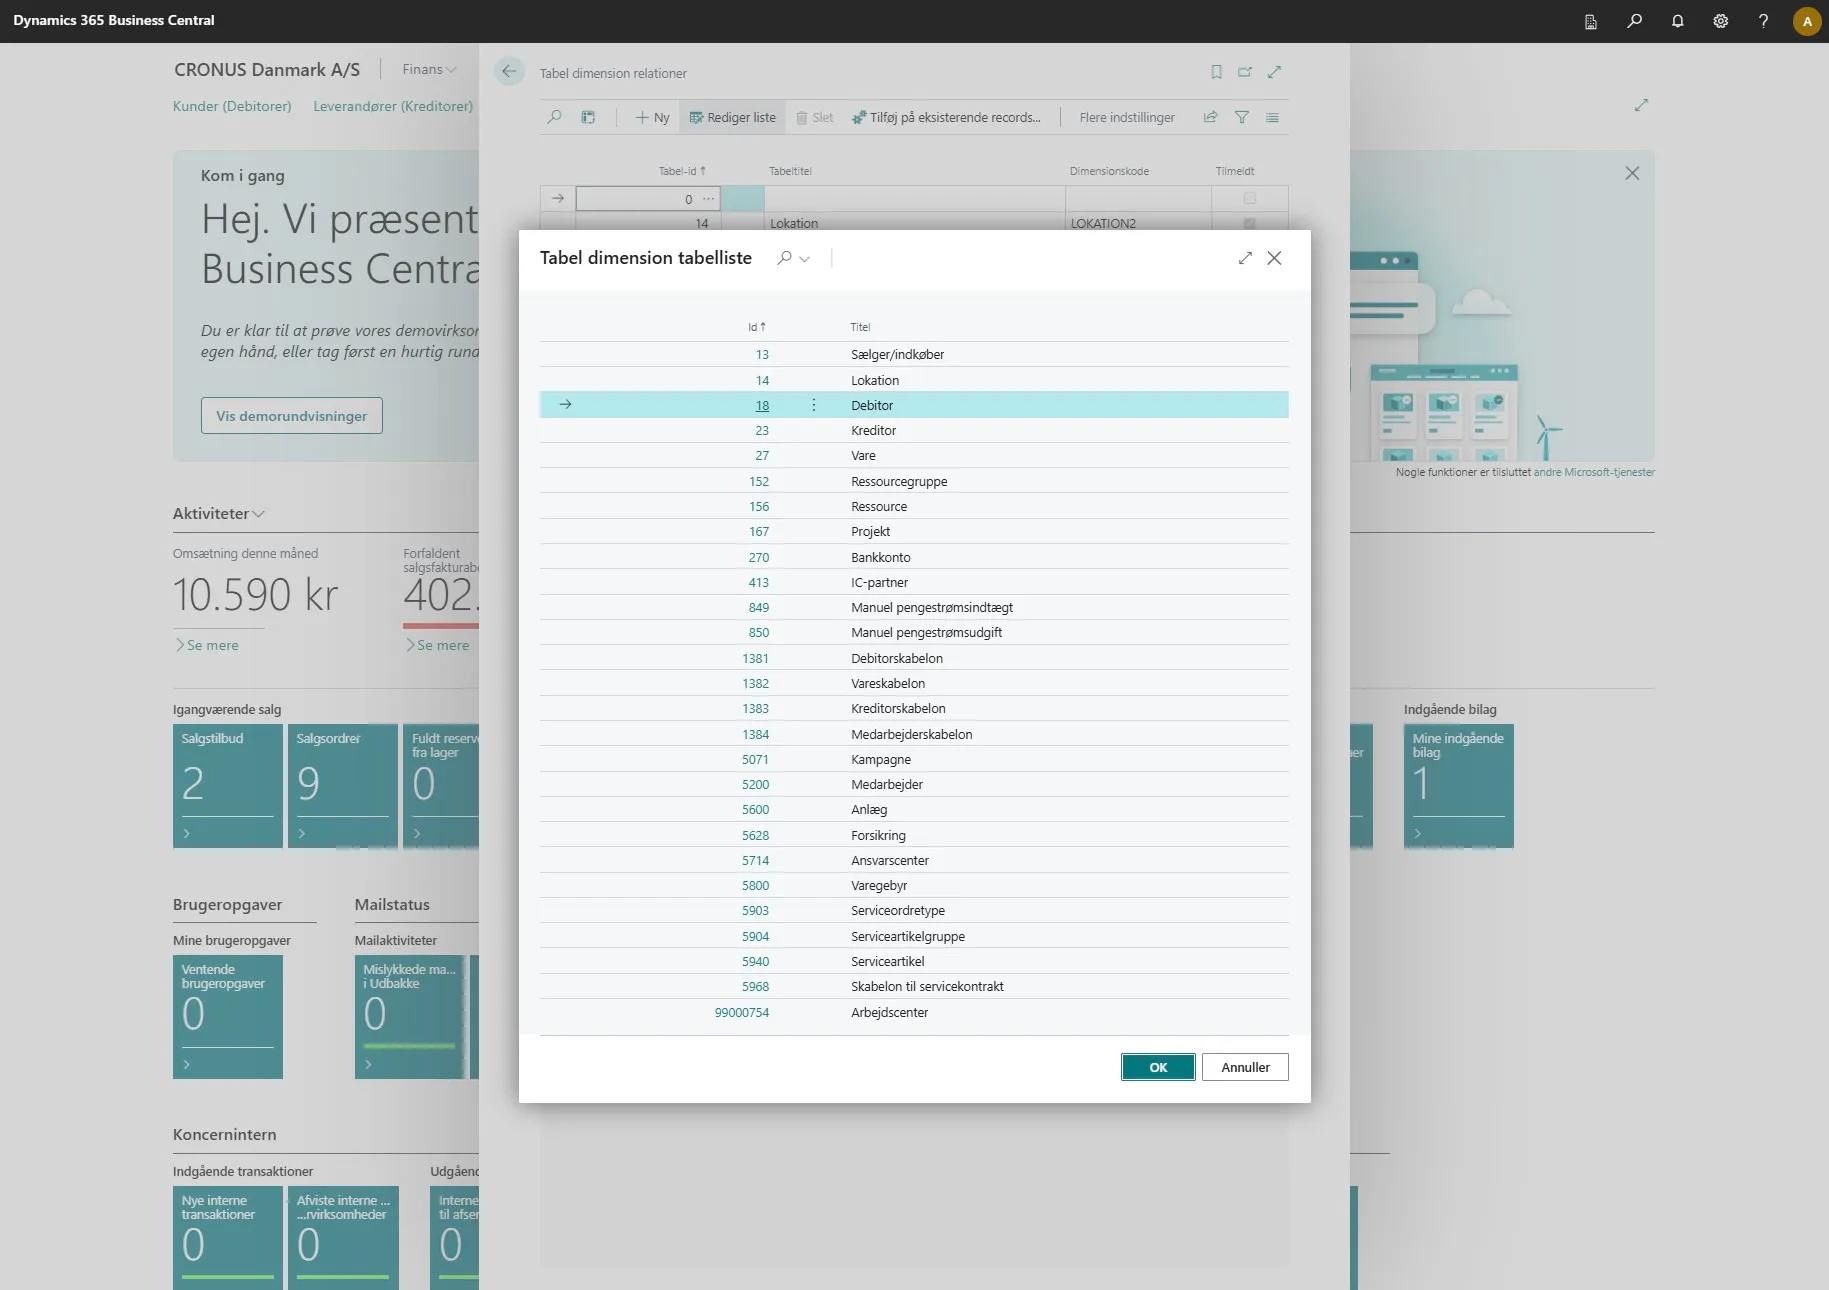
Select the table you want to use.
-
Then click on “OK”
-
Then select the dimension code you want them to be linked with.
-
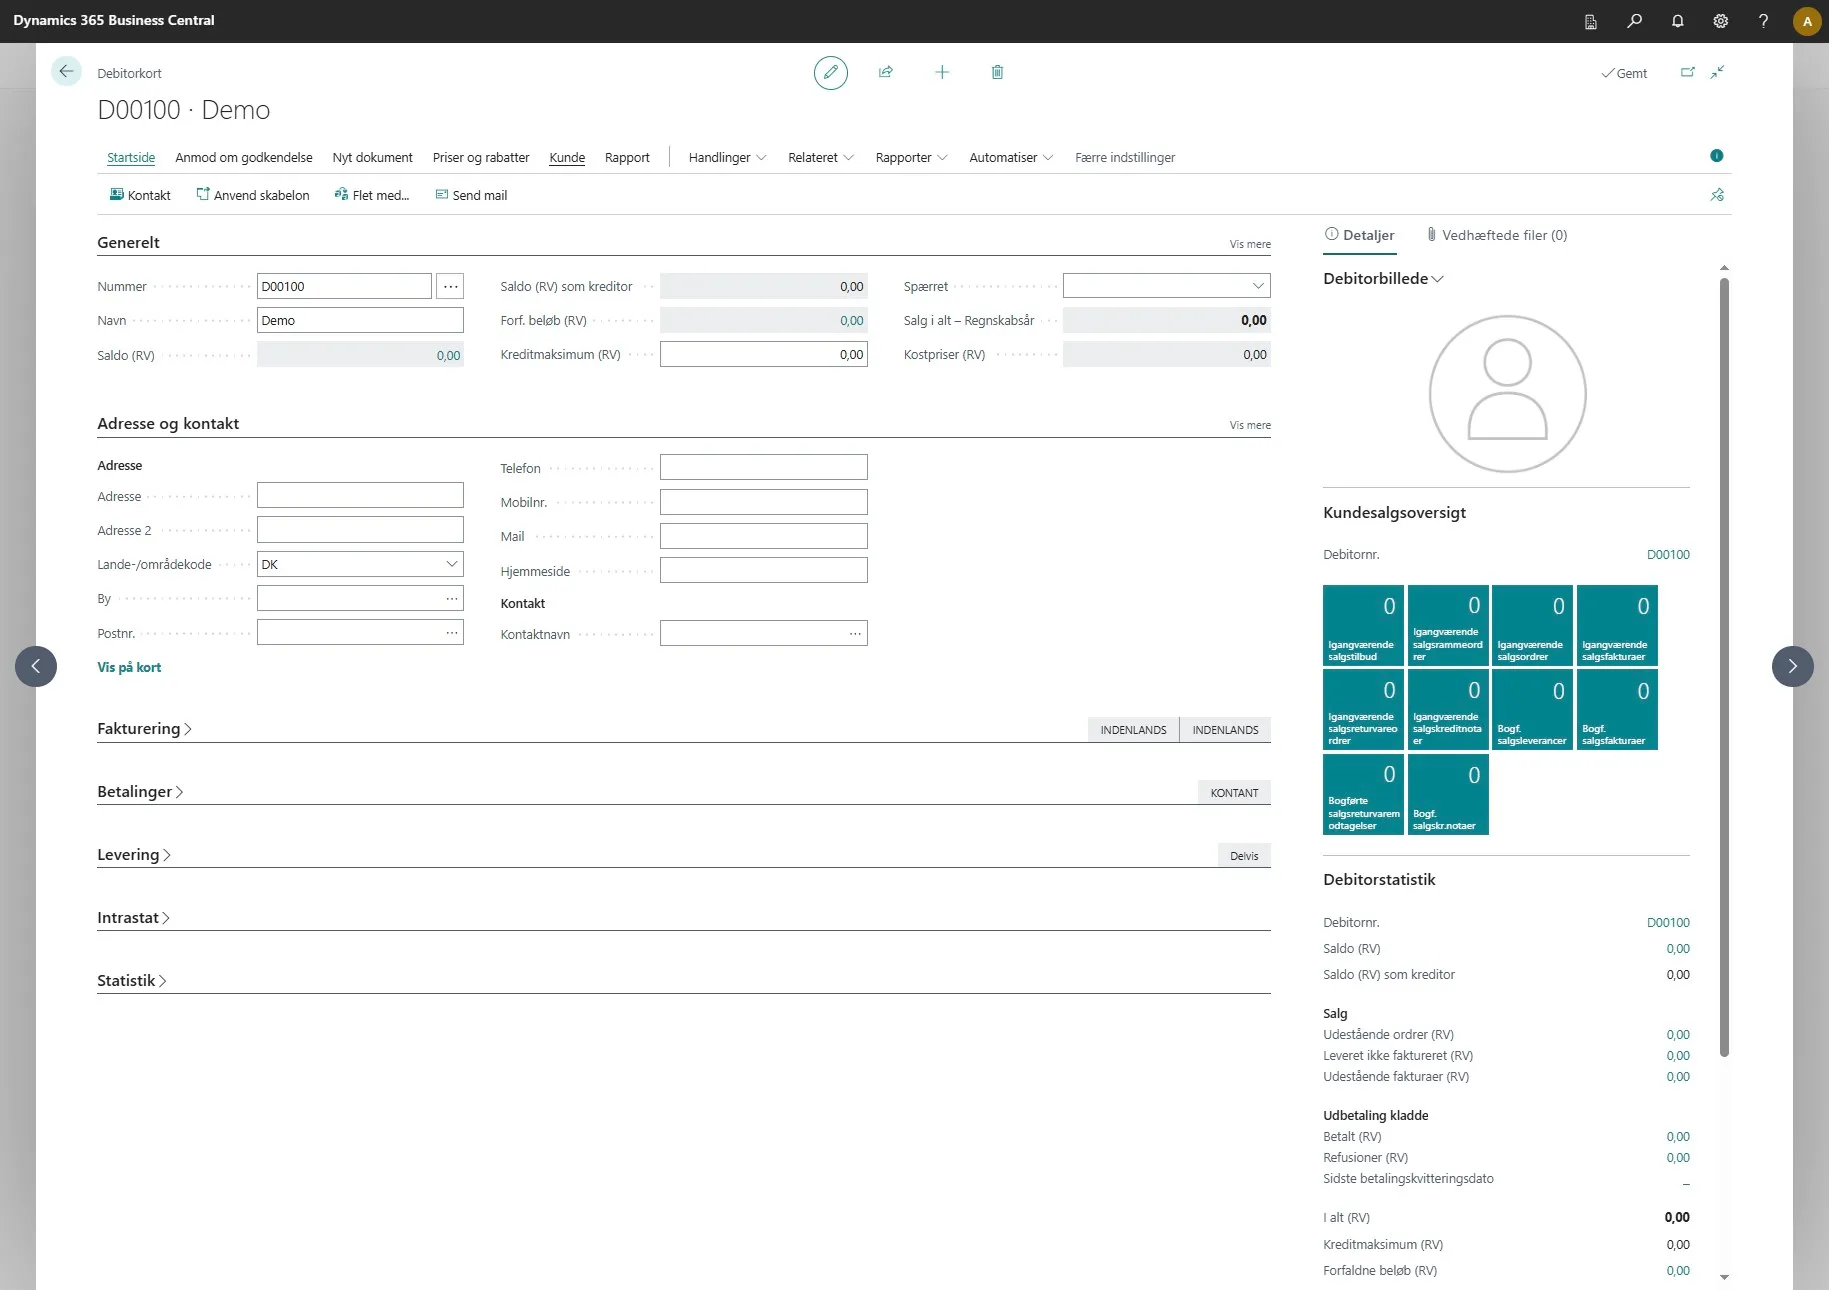
In this demo, we have linked “customers” together with the dimension “customers”. Therefore, if I go to a customer card for a new customer I have created and click on “customer”.
-
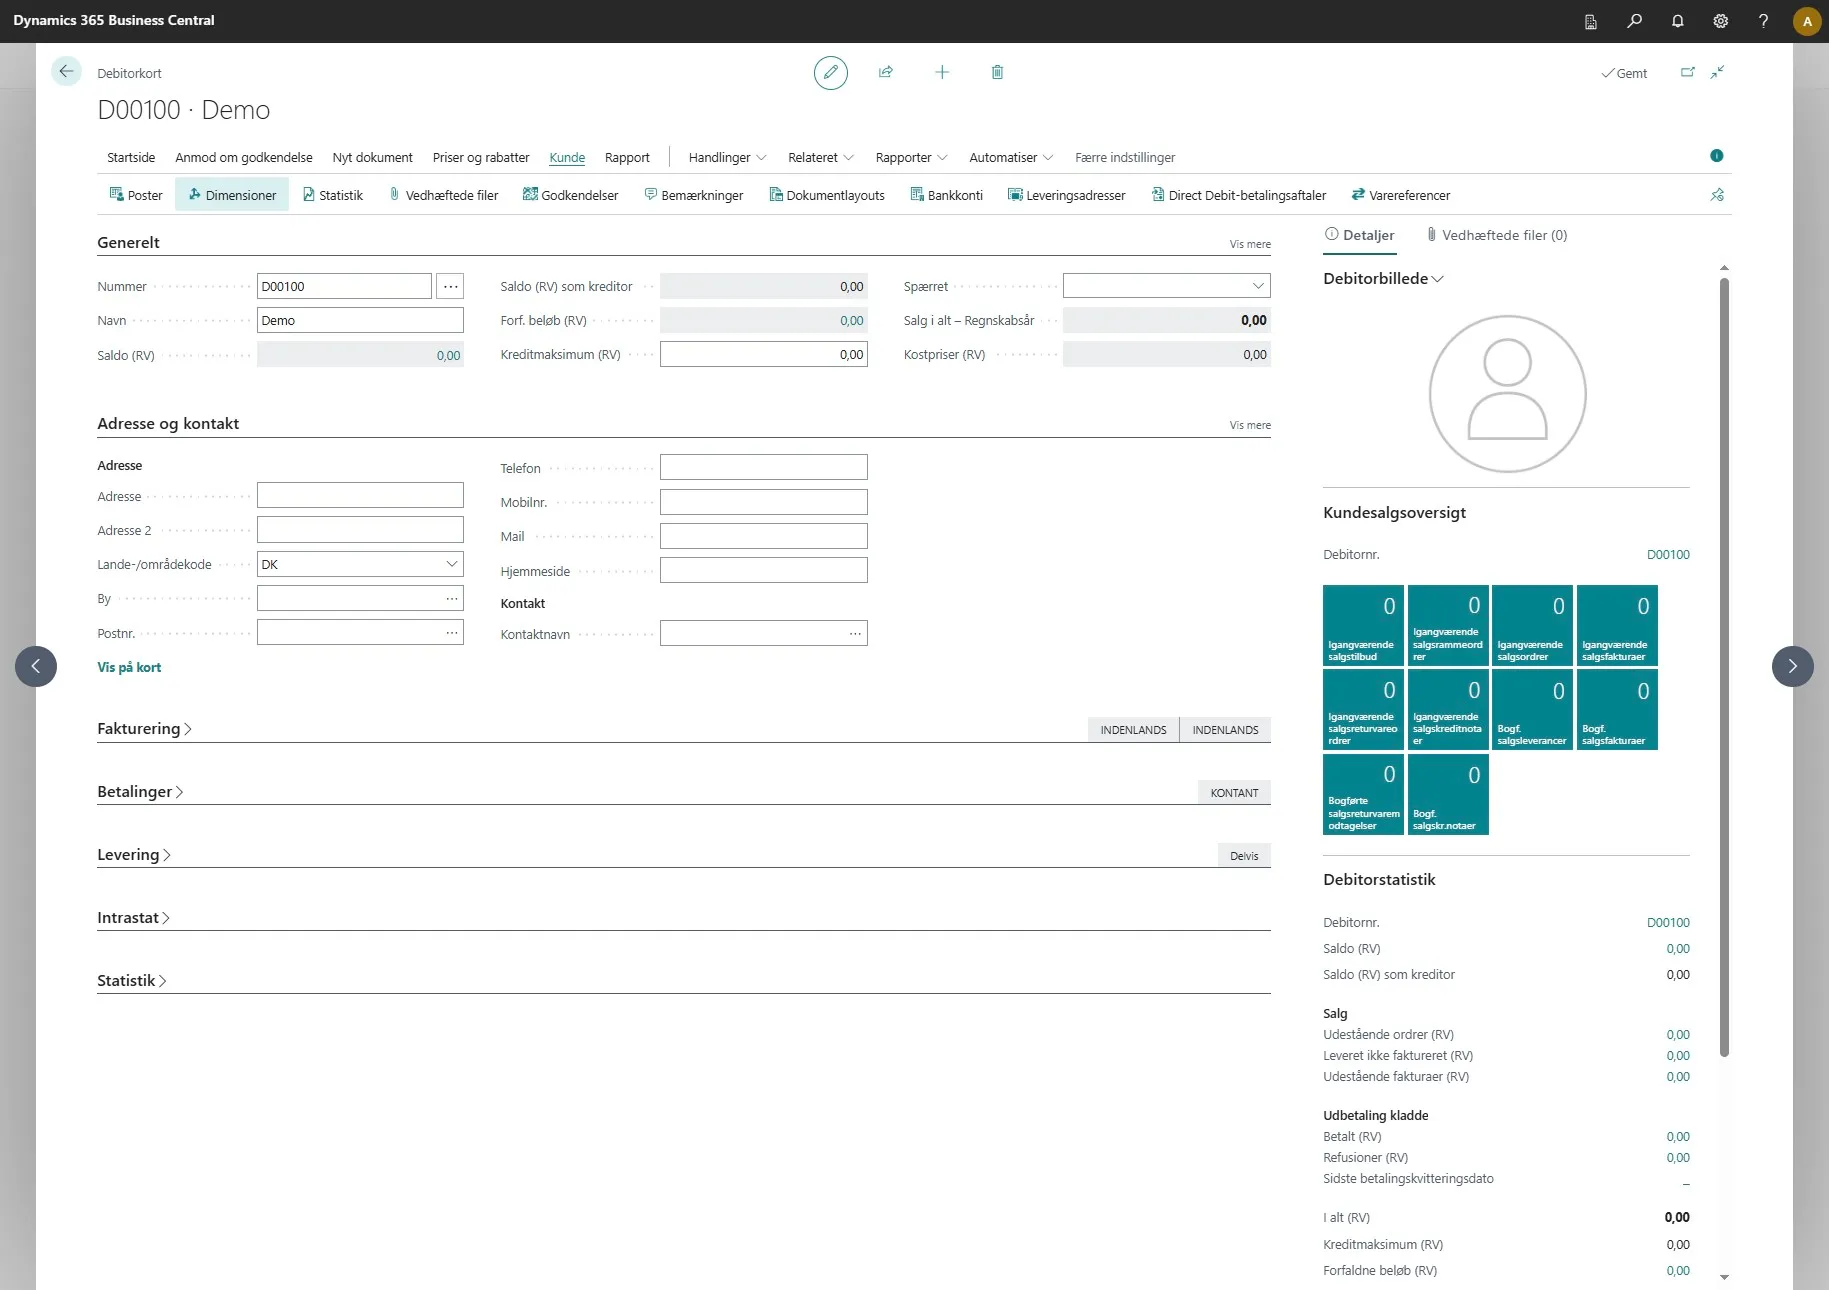
Then click on “Dimensions”.
-
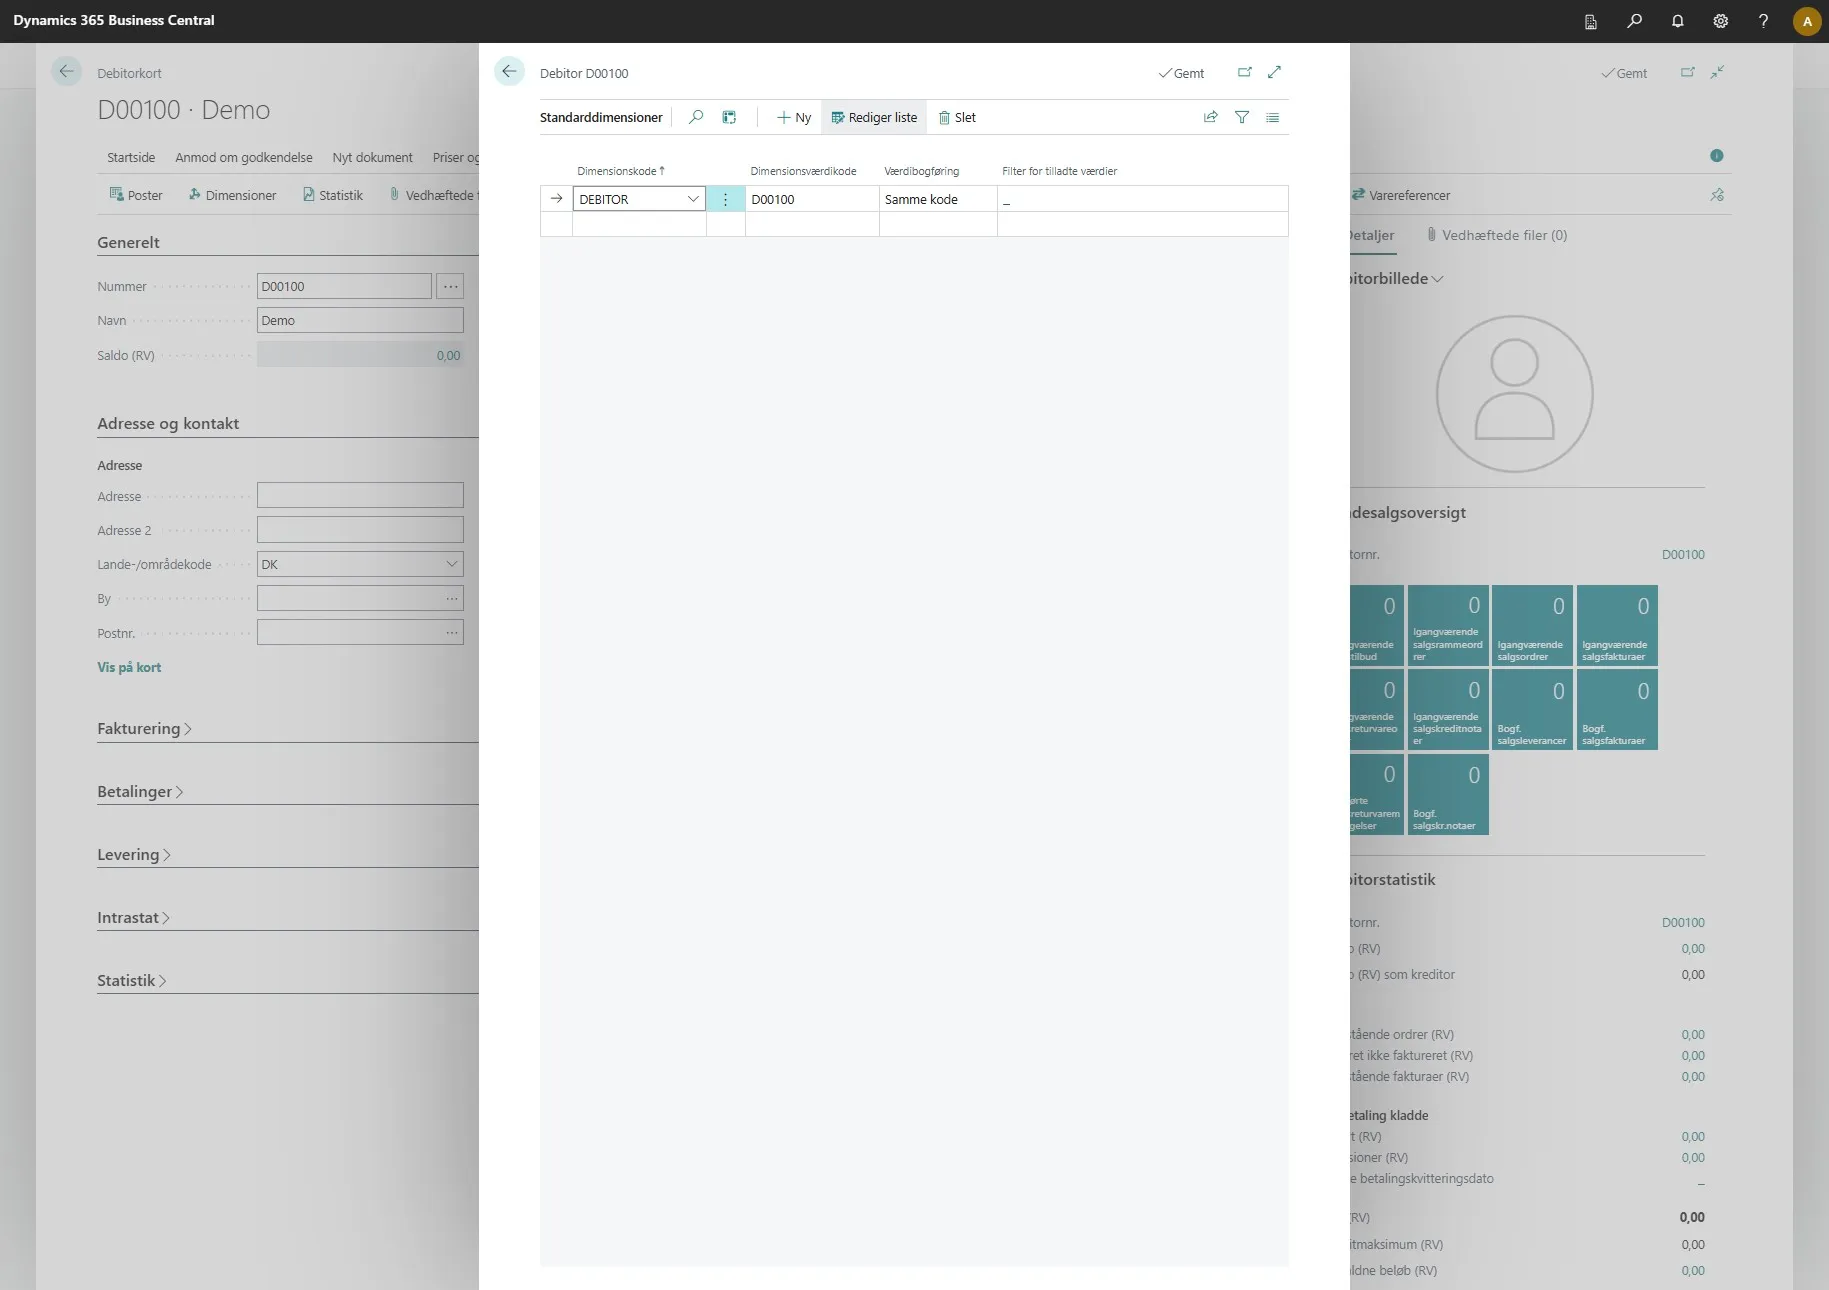
You will now see that a relation has been automatically created between this customer and a dimension code that the extension has automatically assigned.
Existing Tables
Section titled “Existing Tables”-
If you want the system to create or delete relations on your already existing data, you can do the following:
-
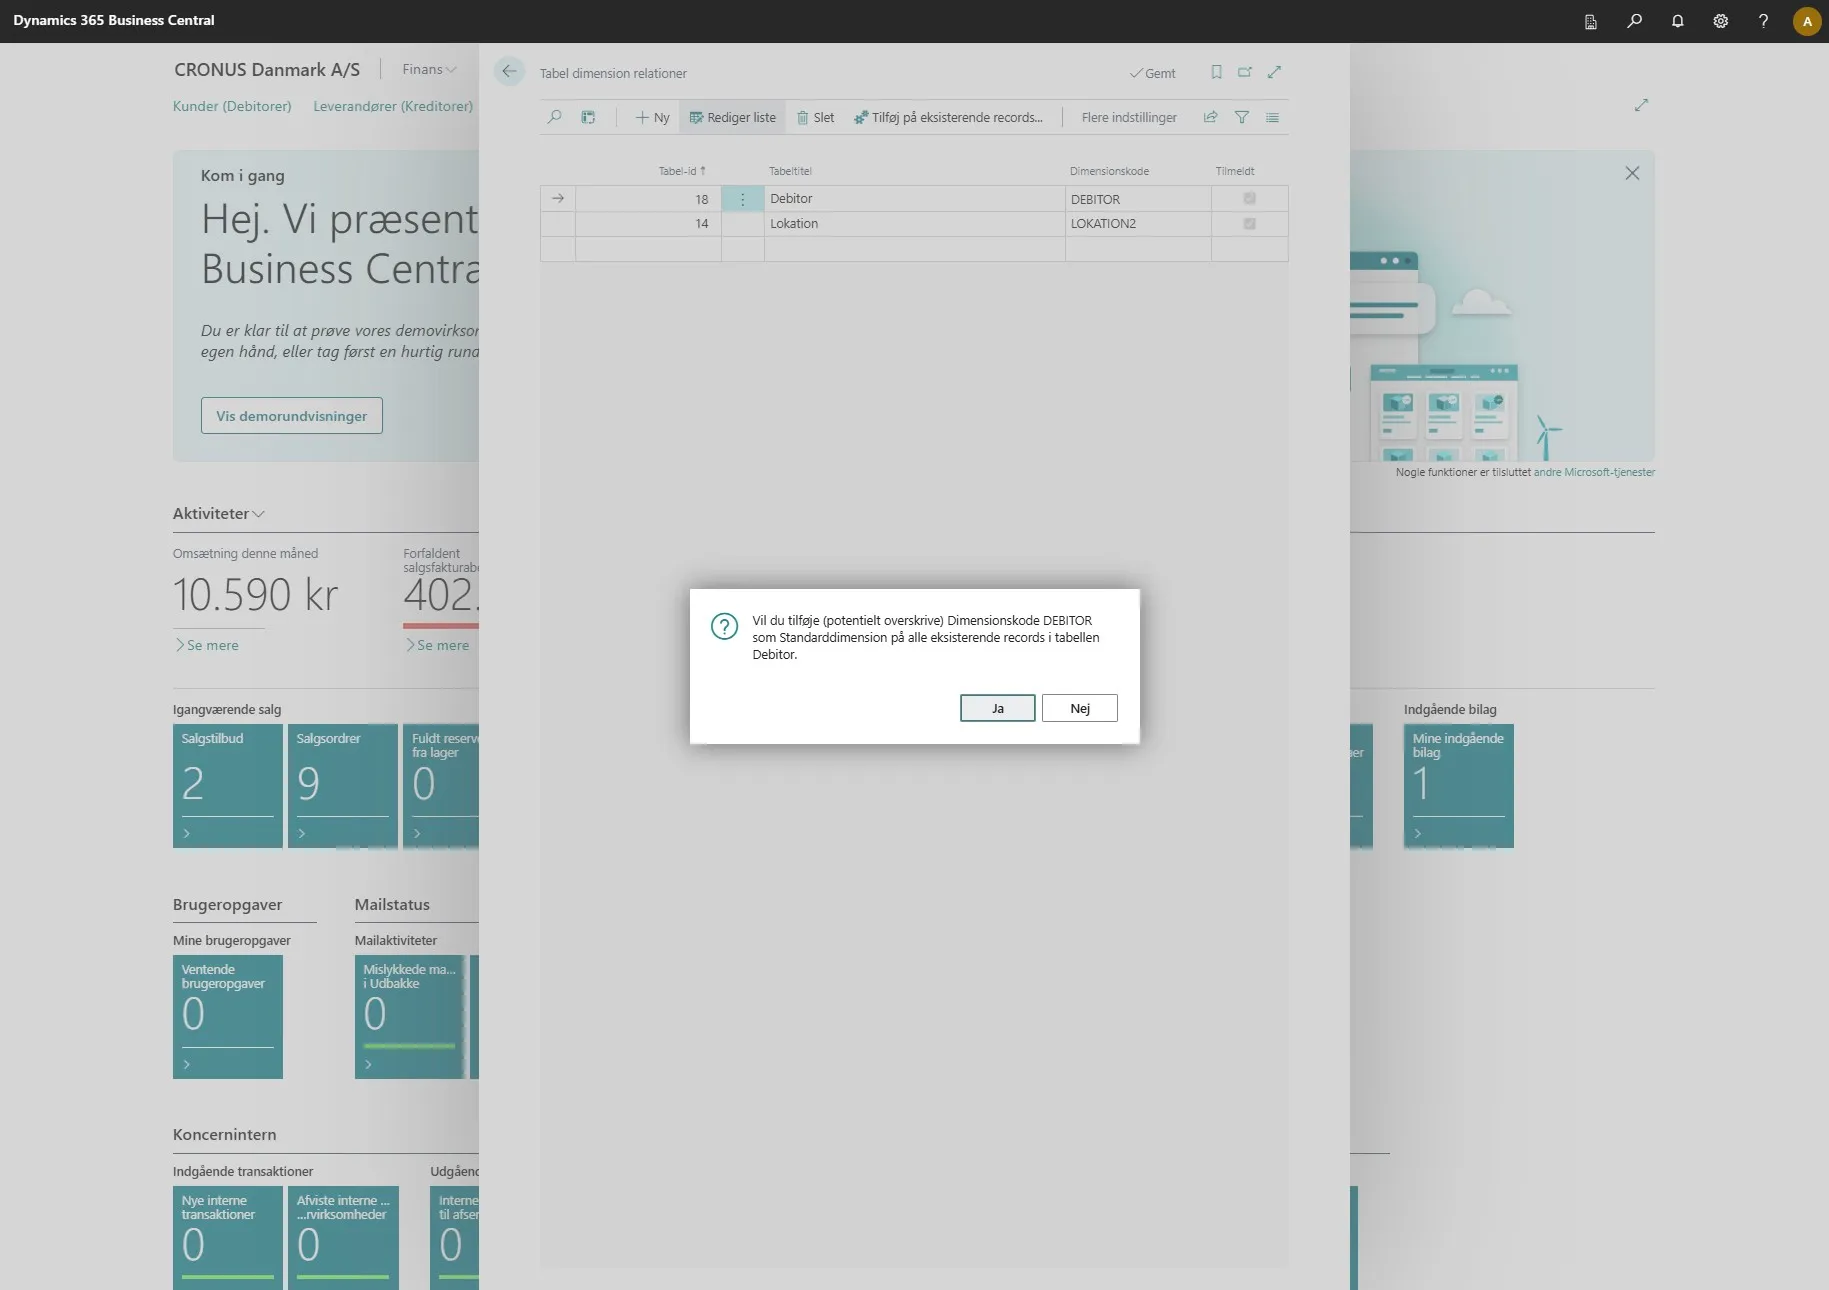
On “table dimension relations” from step 5, you can click on “Add to existing records…” at the top to add them.
-
This action must be confirmed before it can proceed, which is done by clicking “Yes”.
-
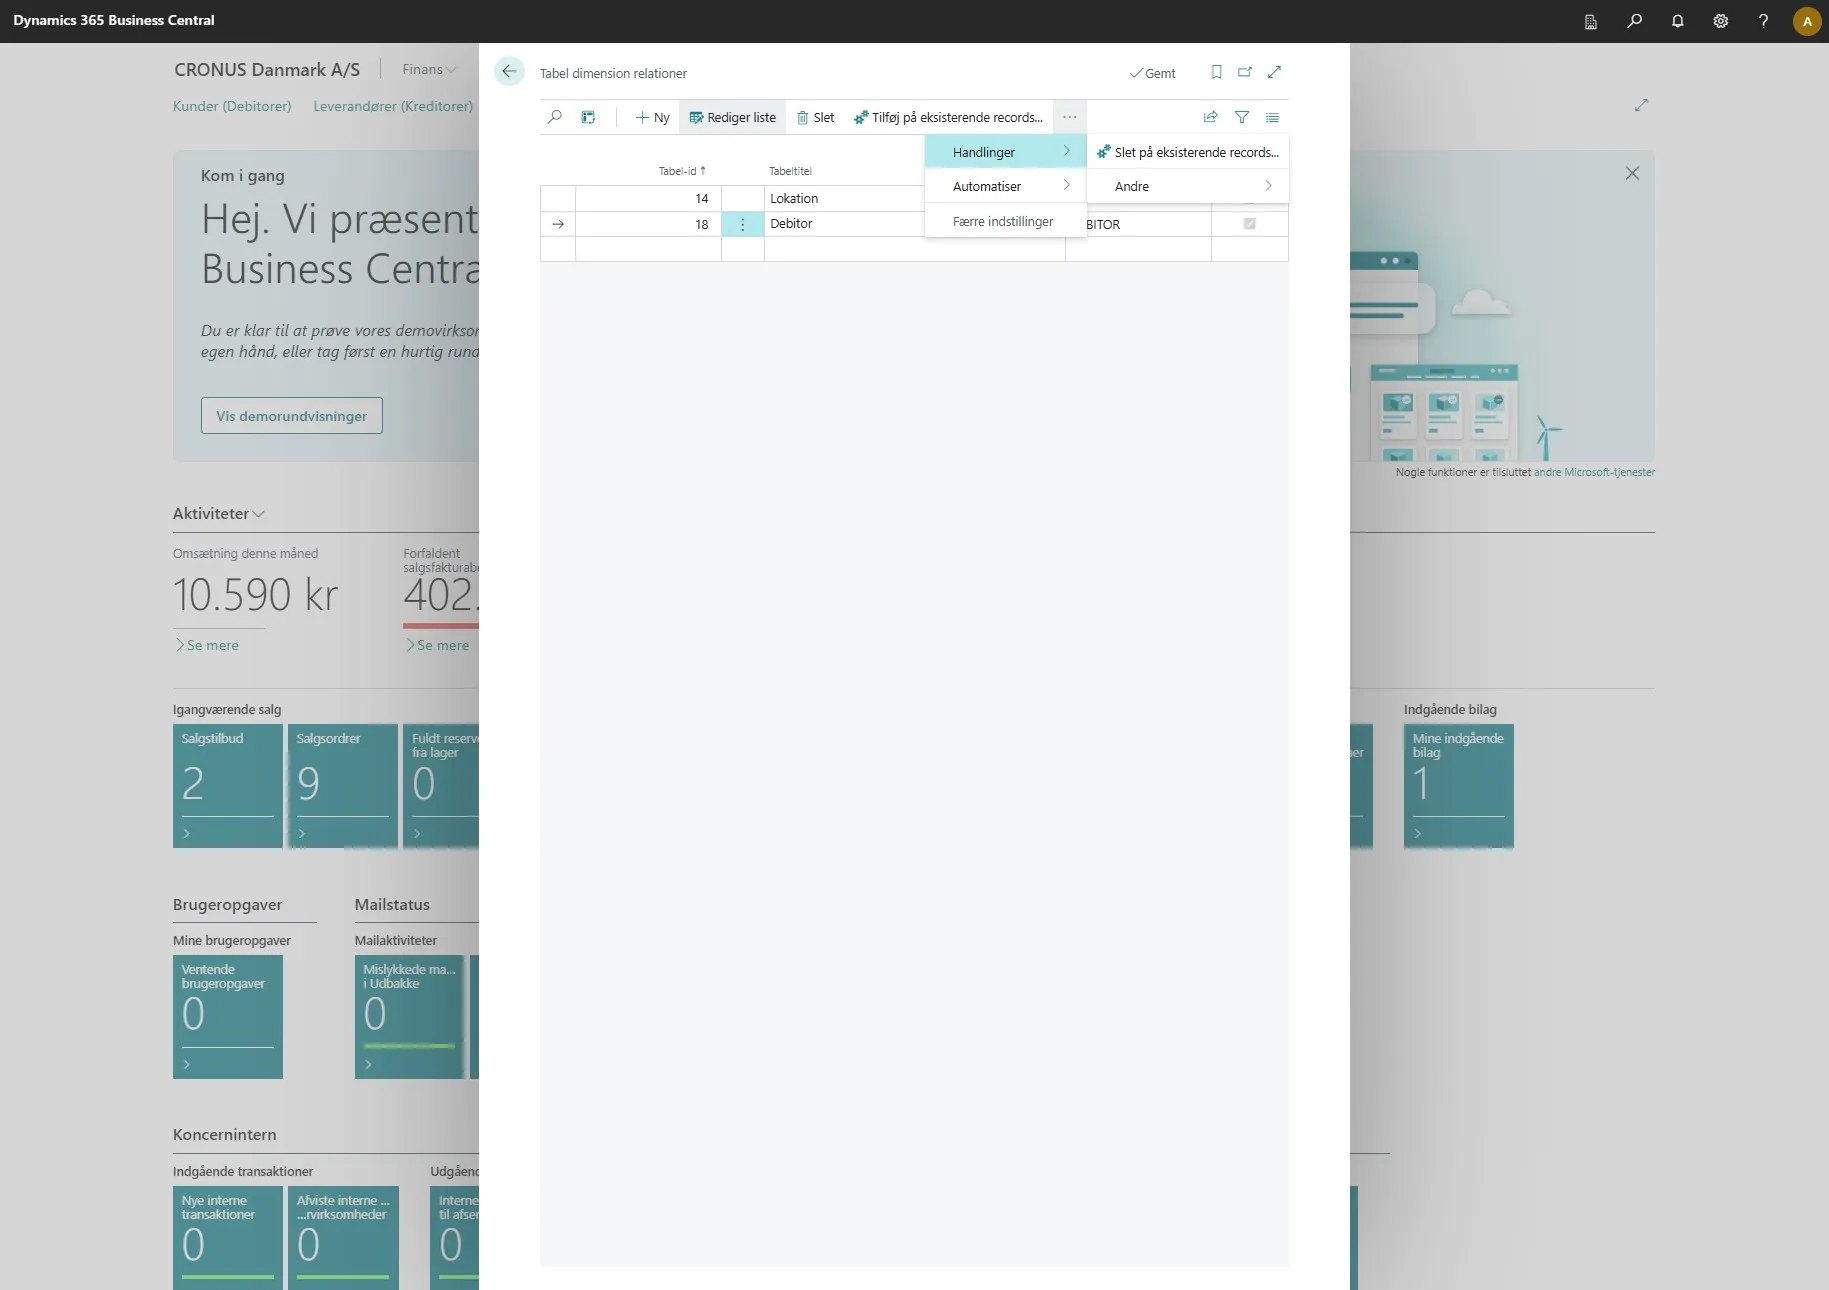
To delete existing data, you can select “Delete on existing records…” under “more options” -> “Actions”. This will have the same effect, but instead of creating, you will delete.