Excel Integration
Excel Integration Using power query Data Link.
Note: This method only needs to be set up once! After that, you can simply refresh it.
To implement this solution, you’ll need to copy a query from Business Central.
-
Set up your SimpleAPI extension and select the table and fields you want to gather data from.
-
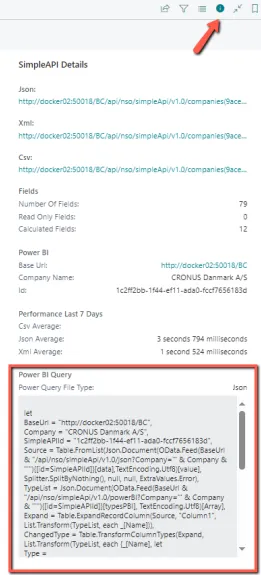
Click on “Actions” -> “Use XML Power Query”.

-
Then, copy the text from the “Power Query” in the information box.
-
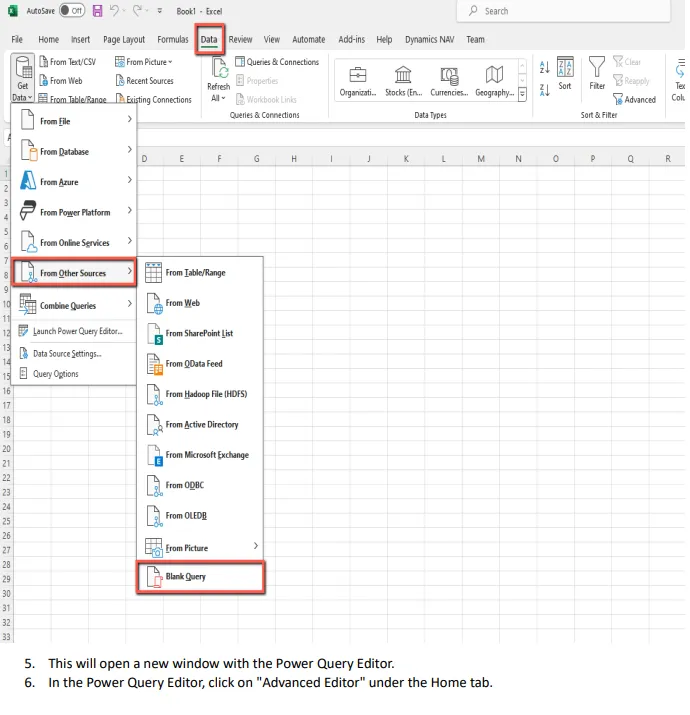
Copy the link and use it in Excel by navigating to the Data tab, then clicking “Get Data” -> “From Other Sources” -> “Blank Query”.
-
This will open a new window with the Power Query Editor
-
In the Power Query Editor, click on “Advanced Editor” under the Home tab.

-
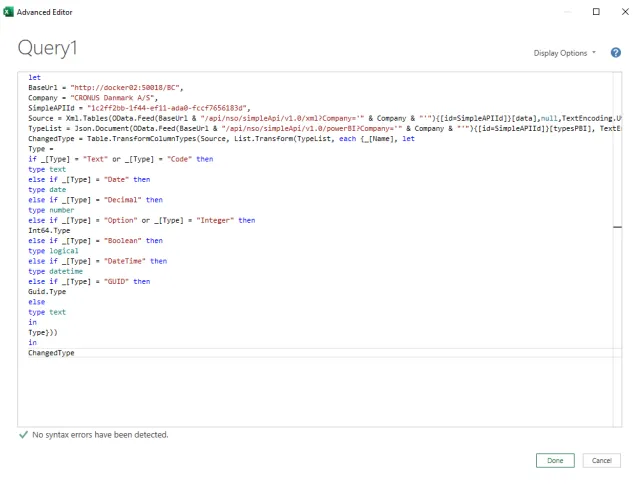
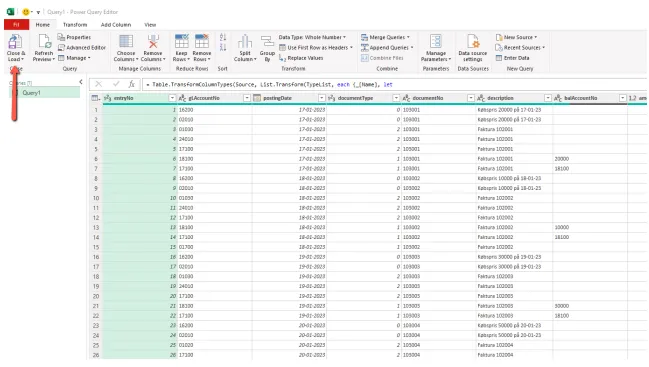
In the new window, delete everything and paste the Query you copied from Business Central. Your window should now look like this:
-
After pasting the Query, press “Done” at the bottom of the window
-
If this is your first time using this form of connection, a warning will appear at the top of the window

-
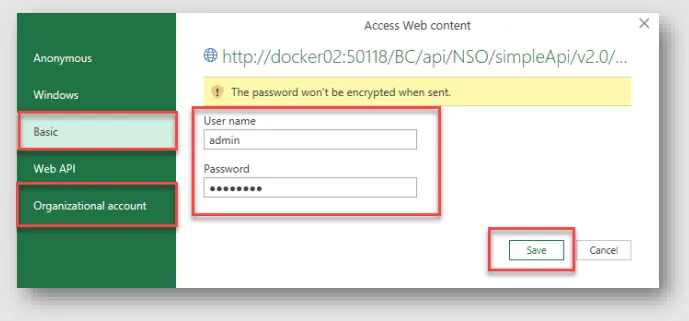
If this happens, press “Edit Credentials.”
-
Then choose “Organizational account” and log in with your company credentials (in this case, we use “Basic” because it’s a development environment).
-
Fill out the fields, press “Save”
-
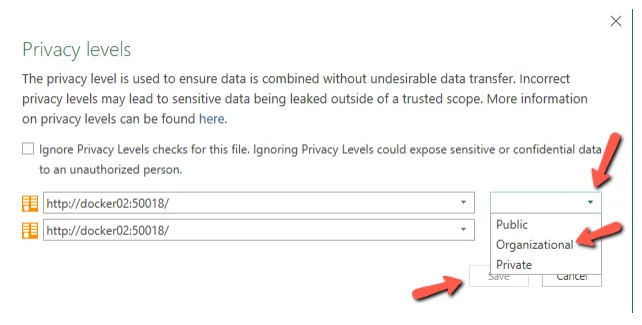
If you see a new warning about privacy, click on “Continue”

-
A new window with Privacy level options will open. Click on the small arrow pointing down, select “Organizational,” and then click “Save.”
-
Once that is done, you may see the same error as in step 9. If this happens, simply repeat steps 9 to 12.
-
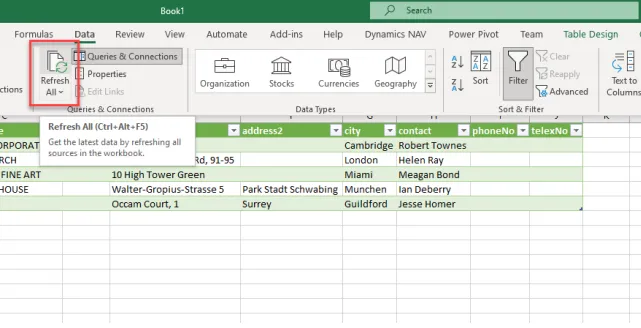
The data is now available. Continue with “Close & Load” in the top left corner
-
You can use the refresh button to update the data at any time, so this setup only needs to be done once.