Approval Flow
Create more security in your Business Central with our smart approval flows, which can cover both customer and vendor bank information.
This guide covers everything from activation to testing and approving the approval flow.
Note: Before starting this part of the guide, we recommend that you set up your approval user setup.
- This can be found by searching for “Approval User Setup”.
-
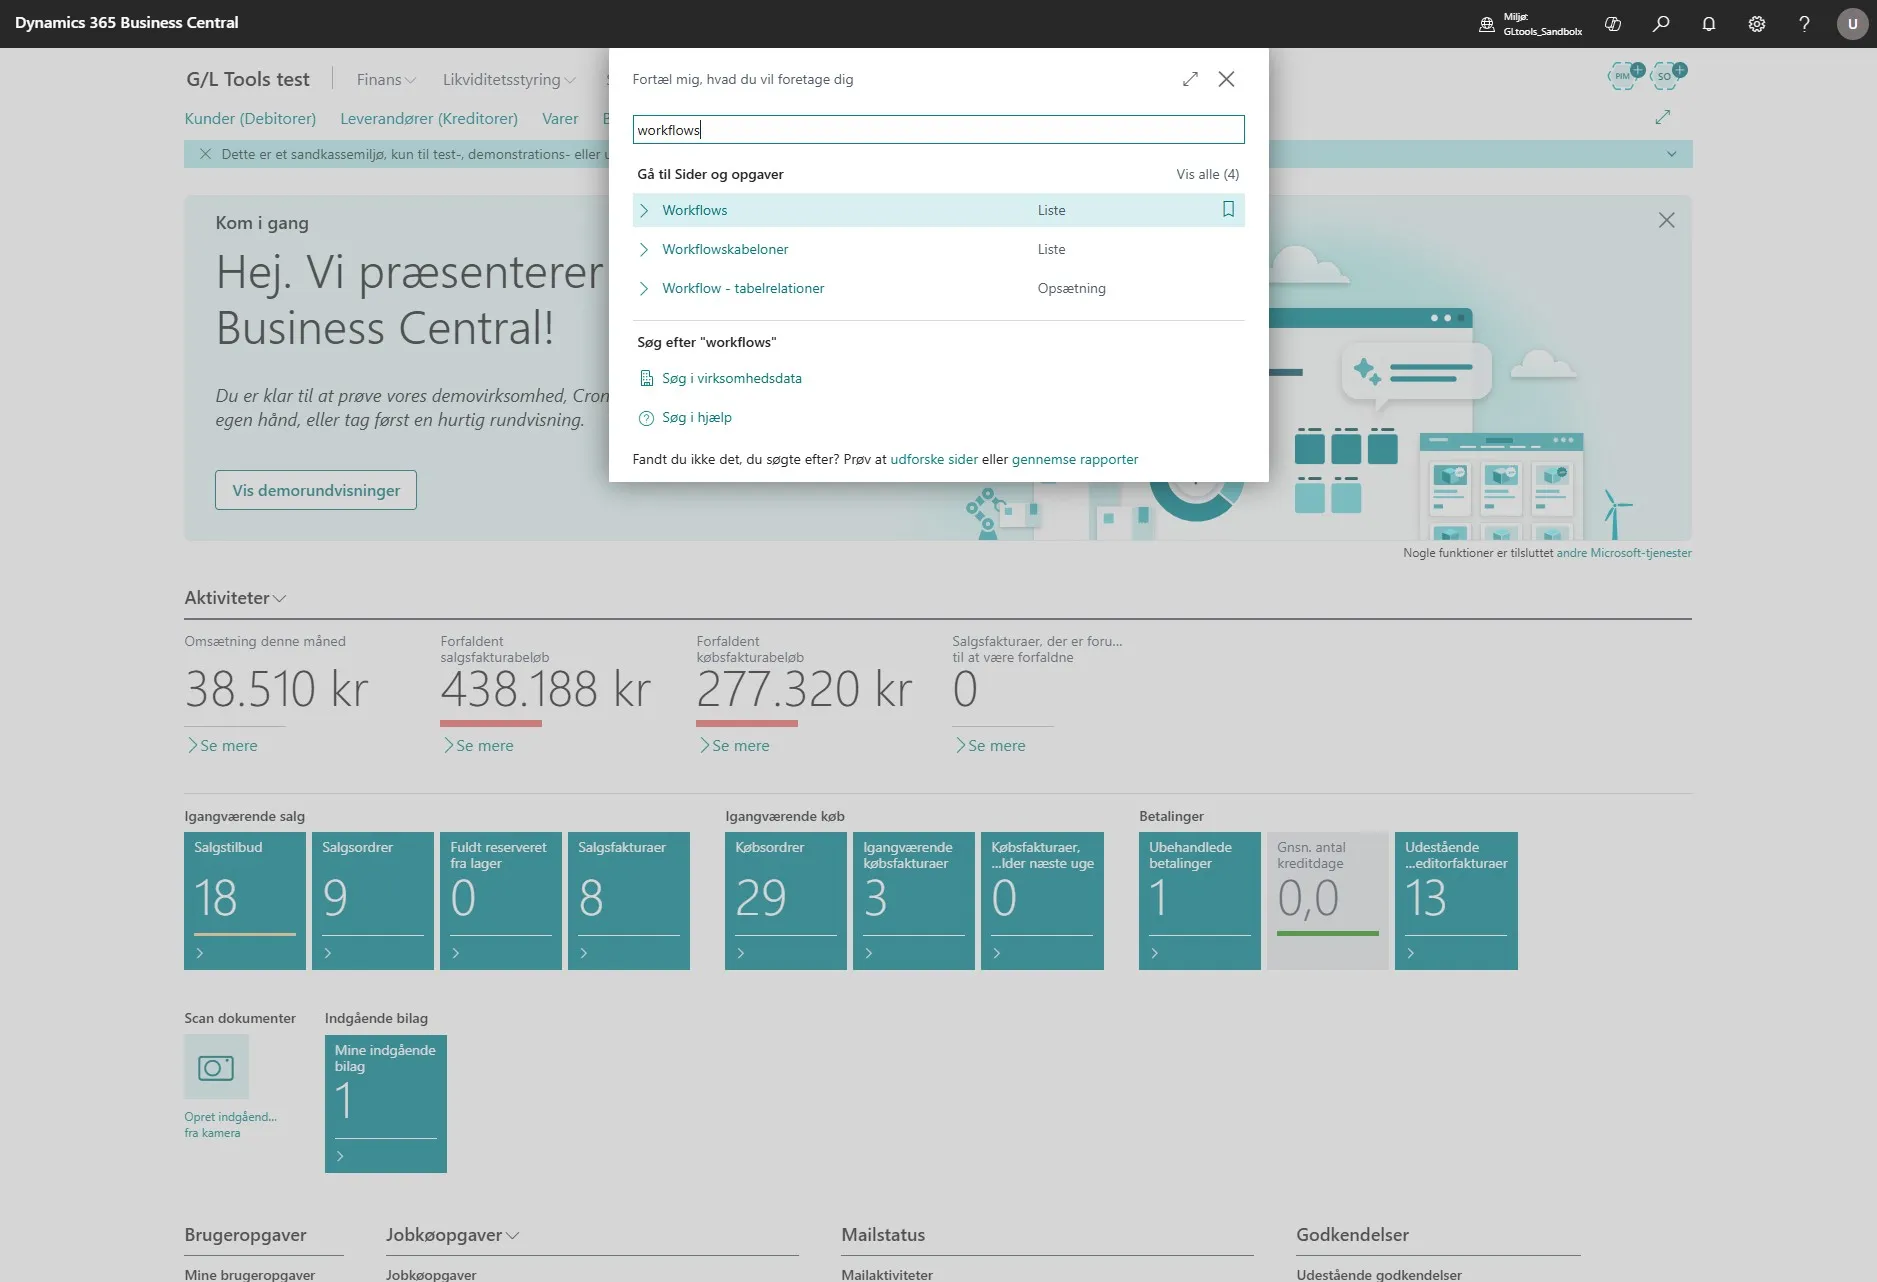
Open your Business Central.
-
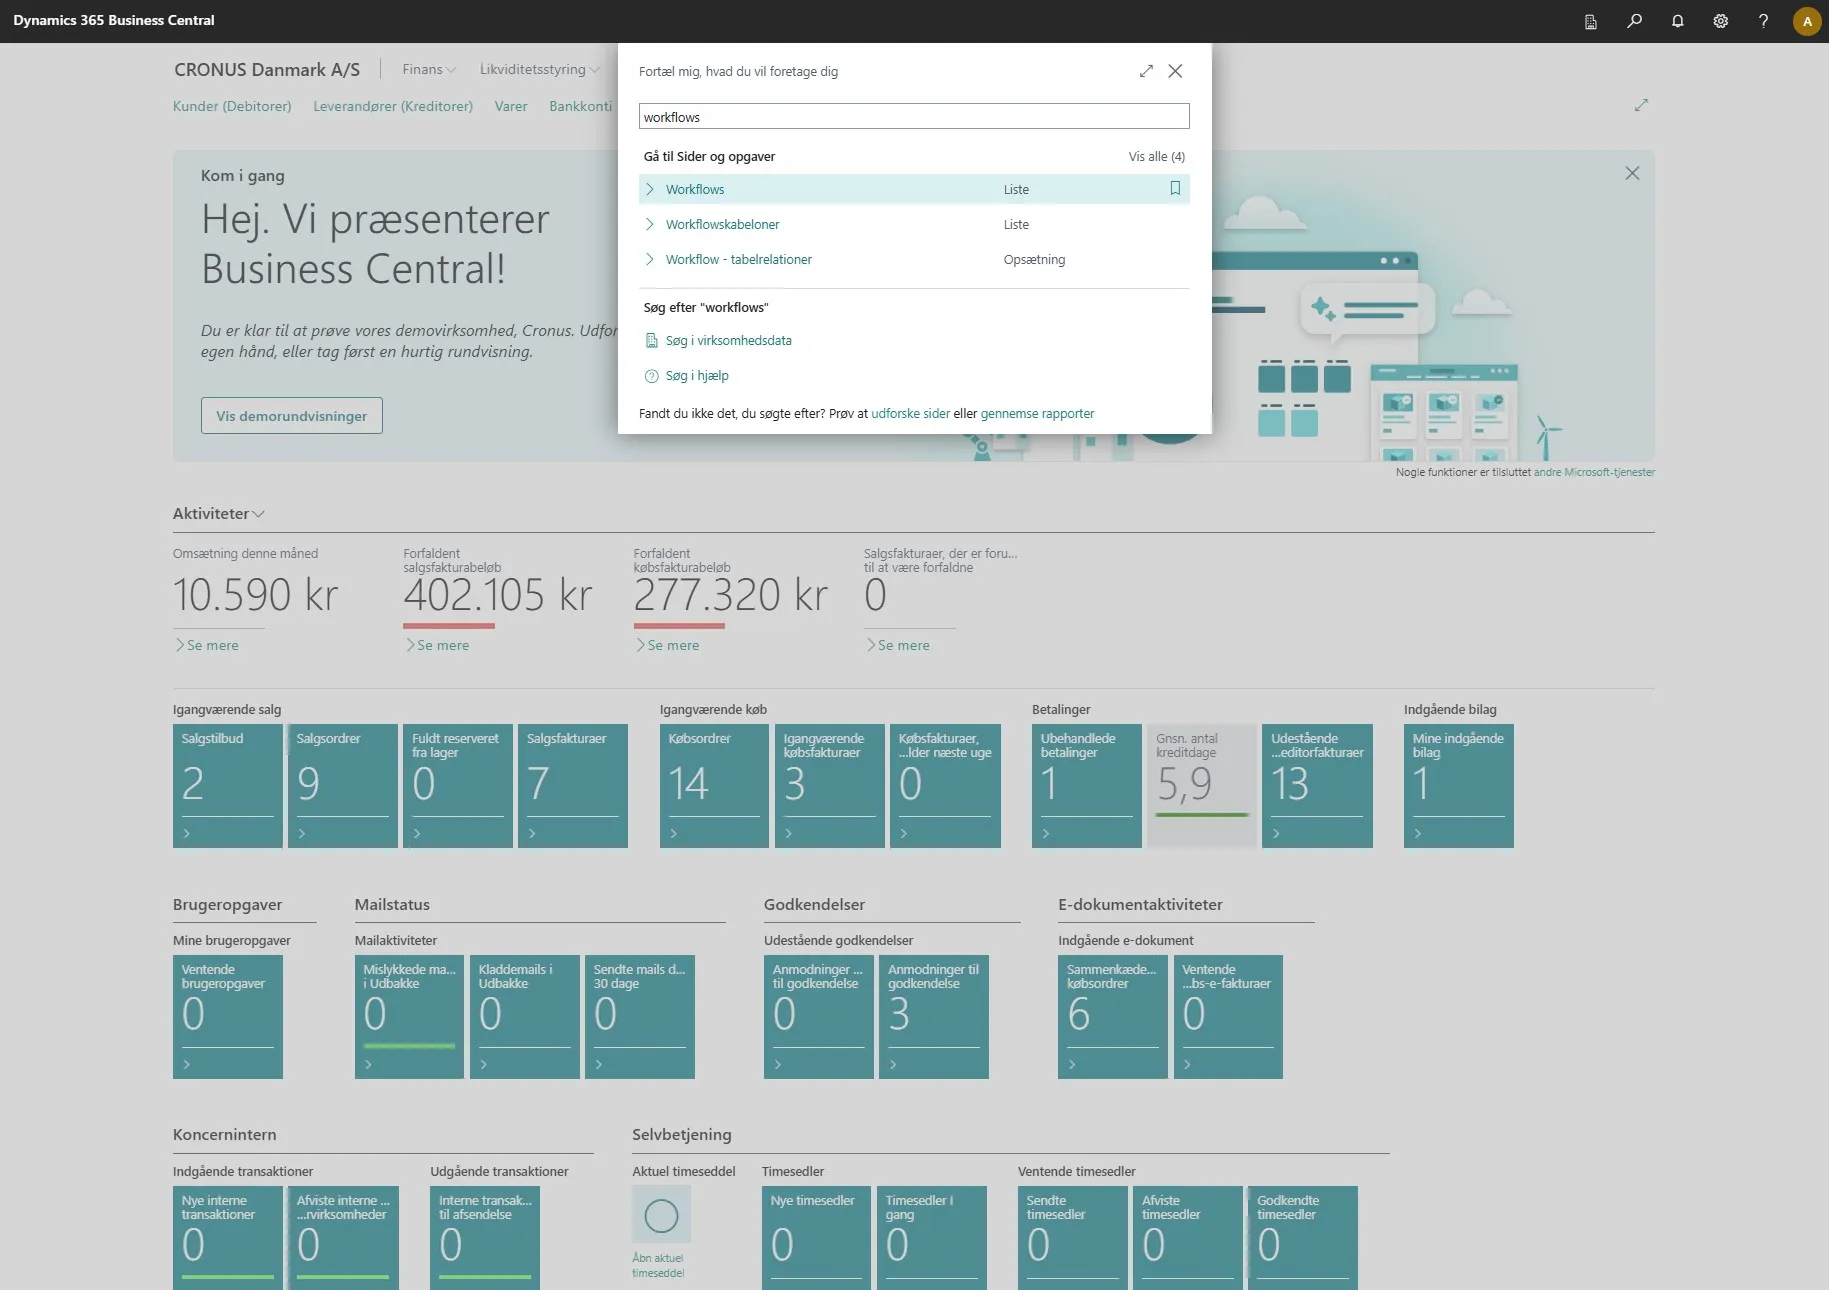
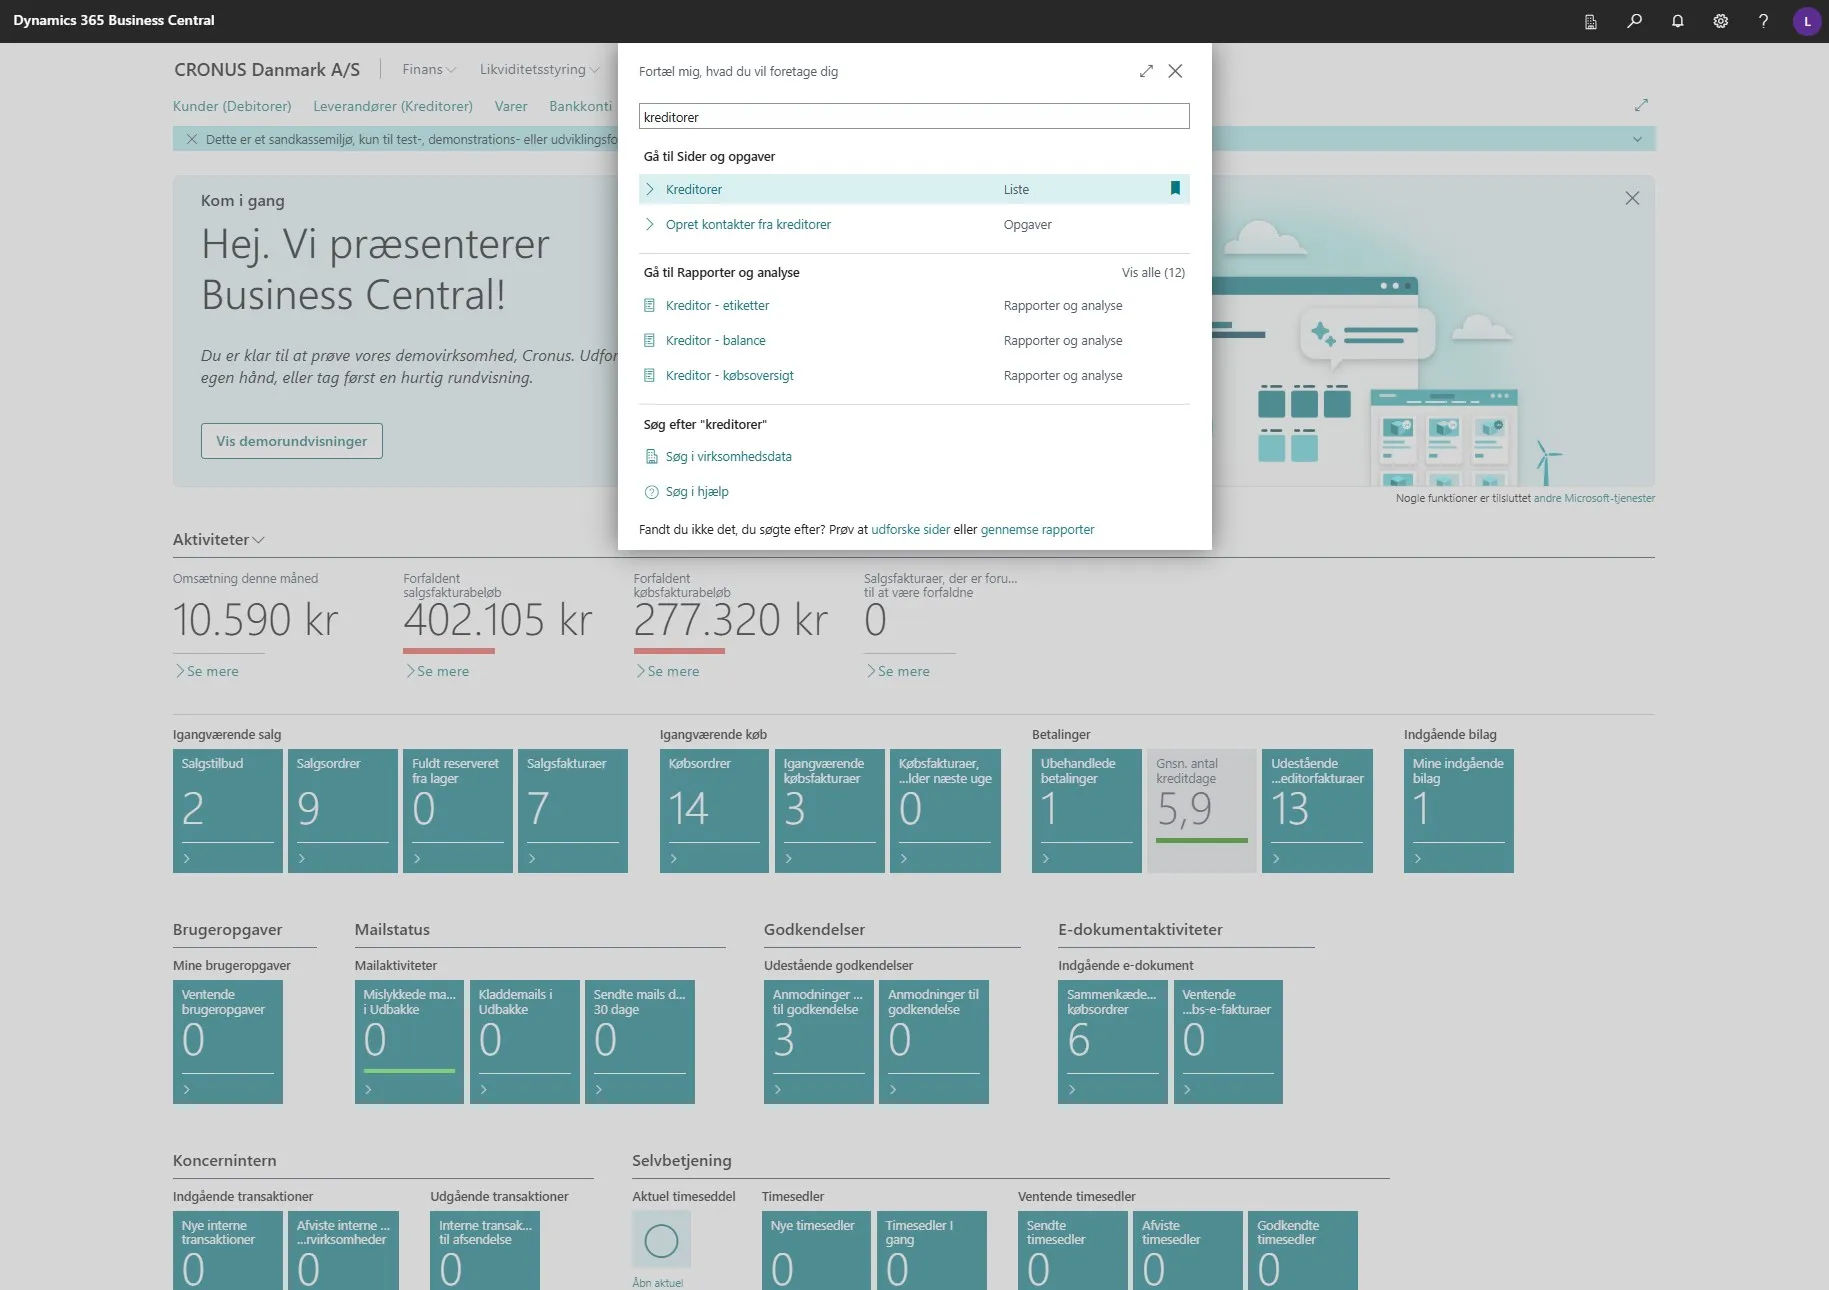
Use the search field by clicking on the magnifying glass or by using the shortcut ALT + Q.
-
Enter “workflows” in the search field.
-
Select the related link.
-
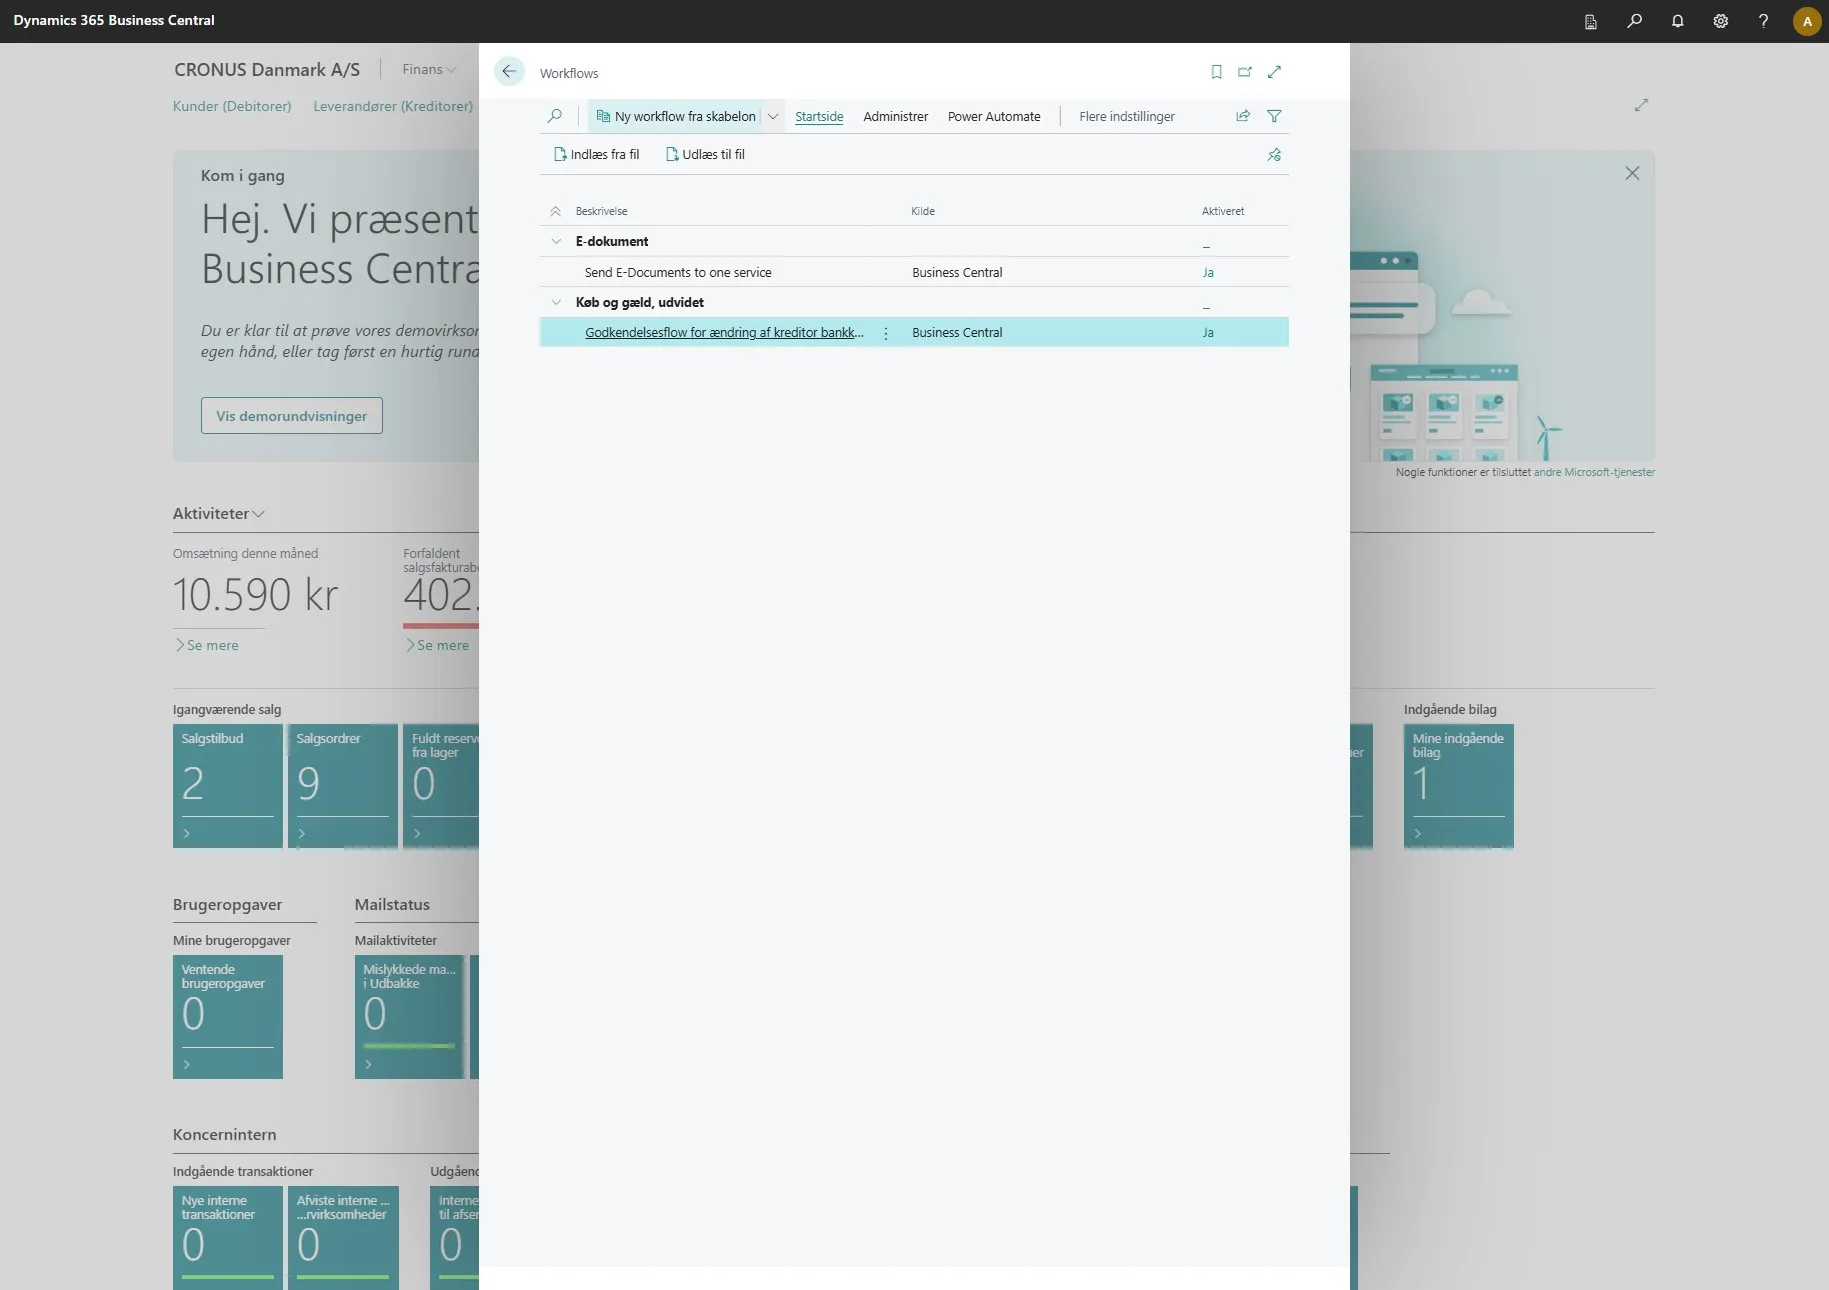
Click on “New Workflow from Template”.
-
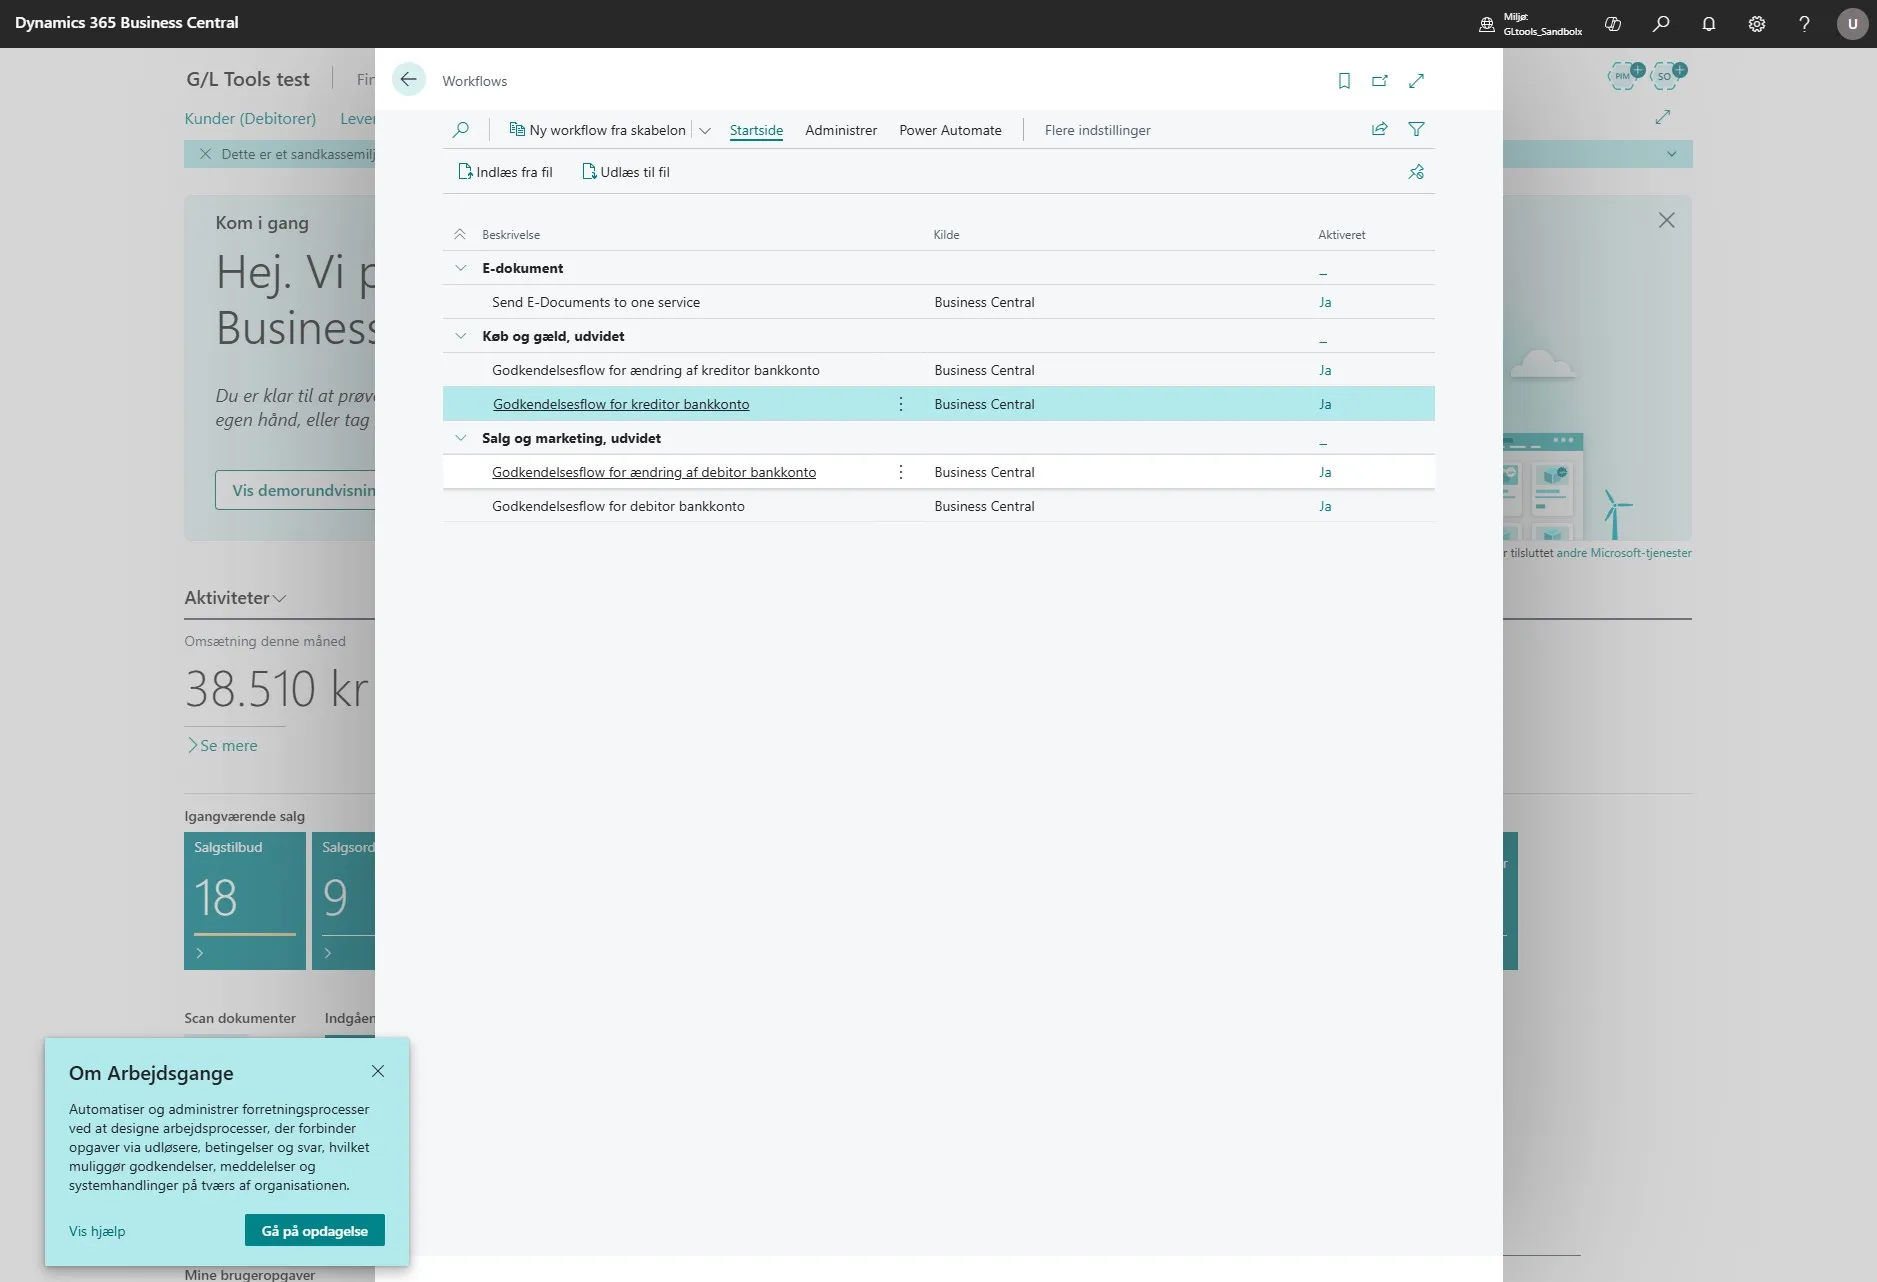
Here you can find our four new workflows.
To find those for your vendor bank information, look under the heading “Purchase and Payables, Extended” and activate the following:
- Approval flow for vendor bank account change
- Approval flow for vendor bank account
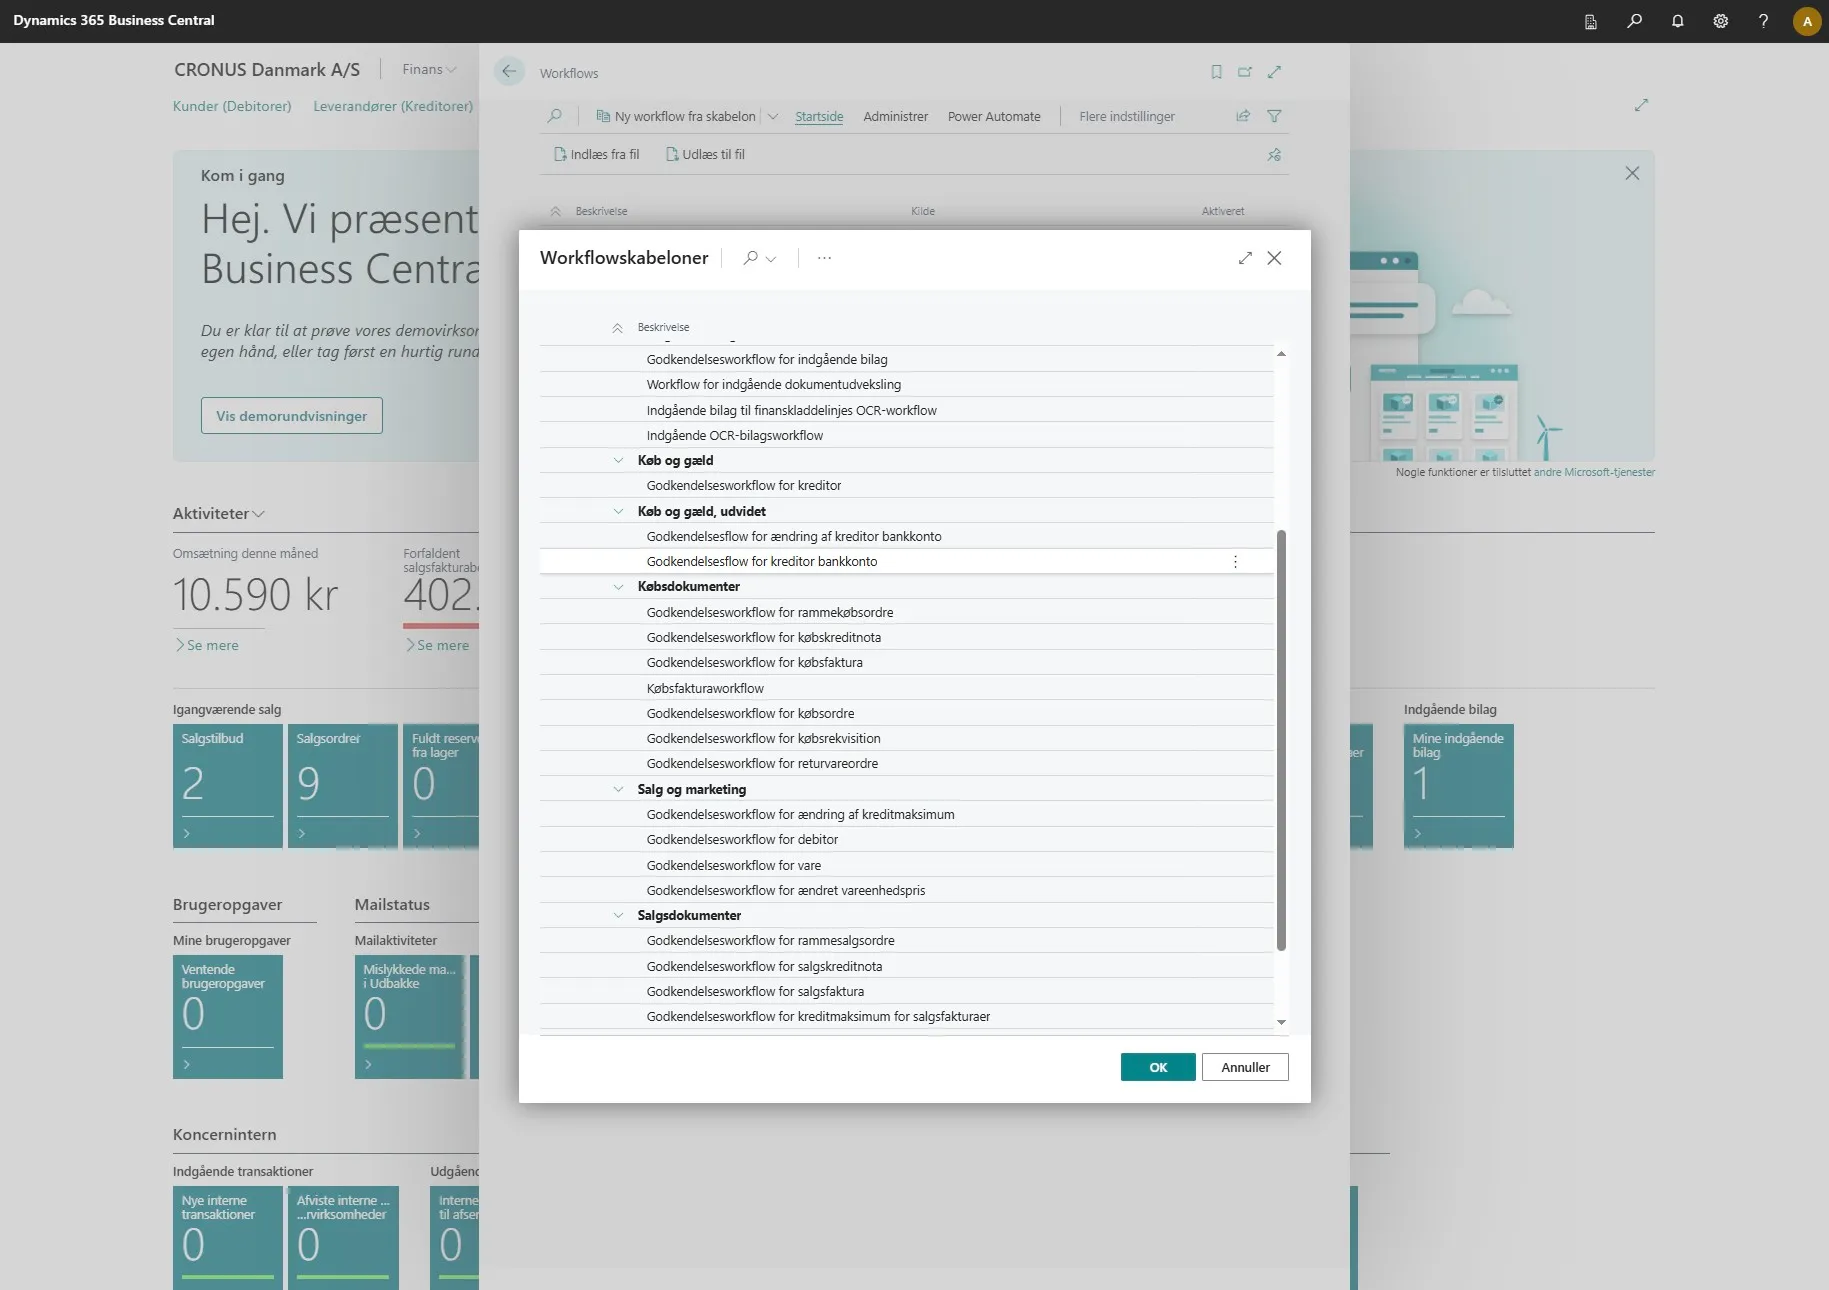
-
When you have selected one of them, click “OK”.
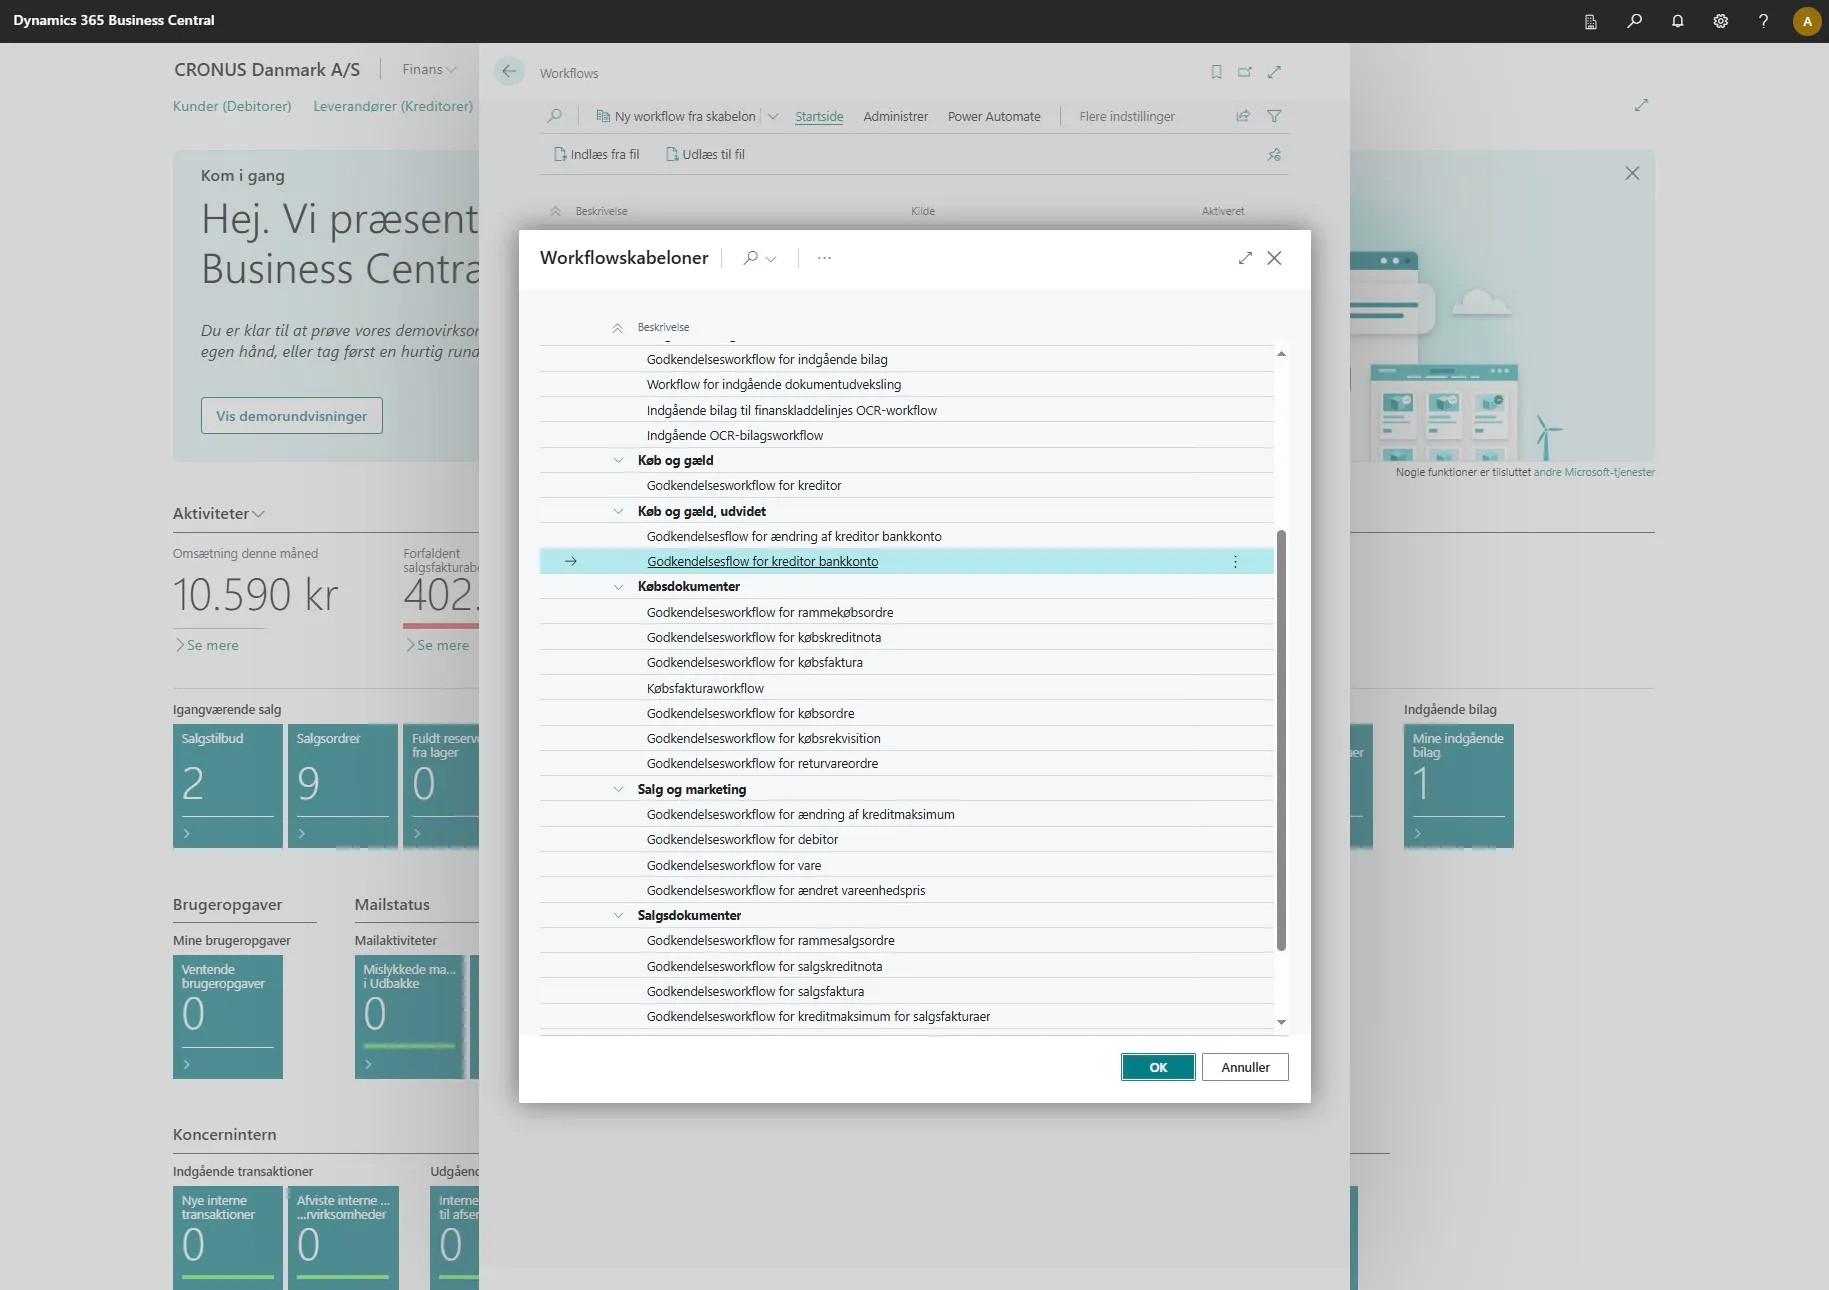
-
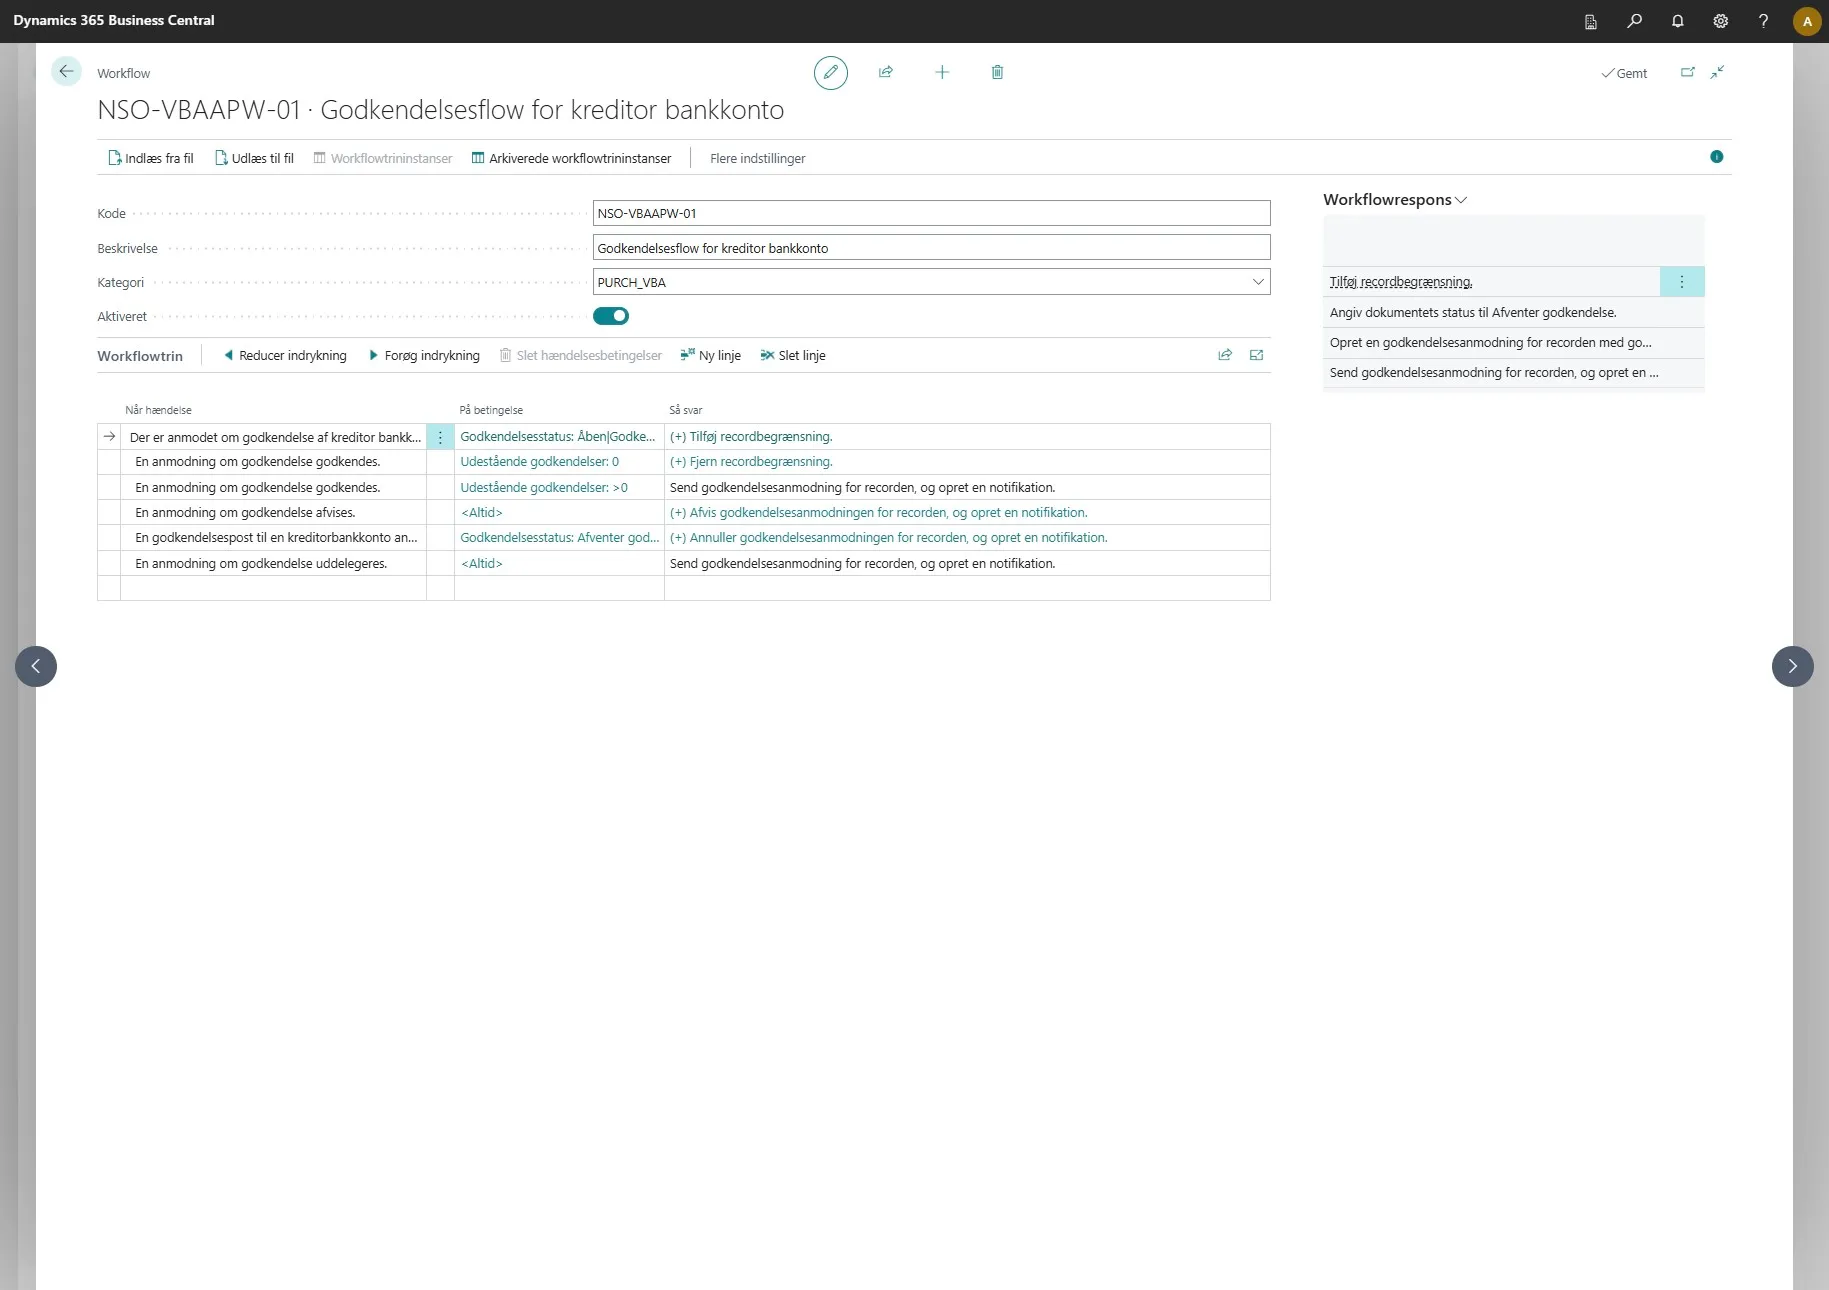
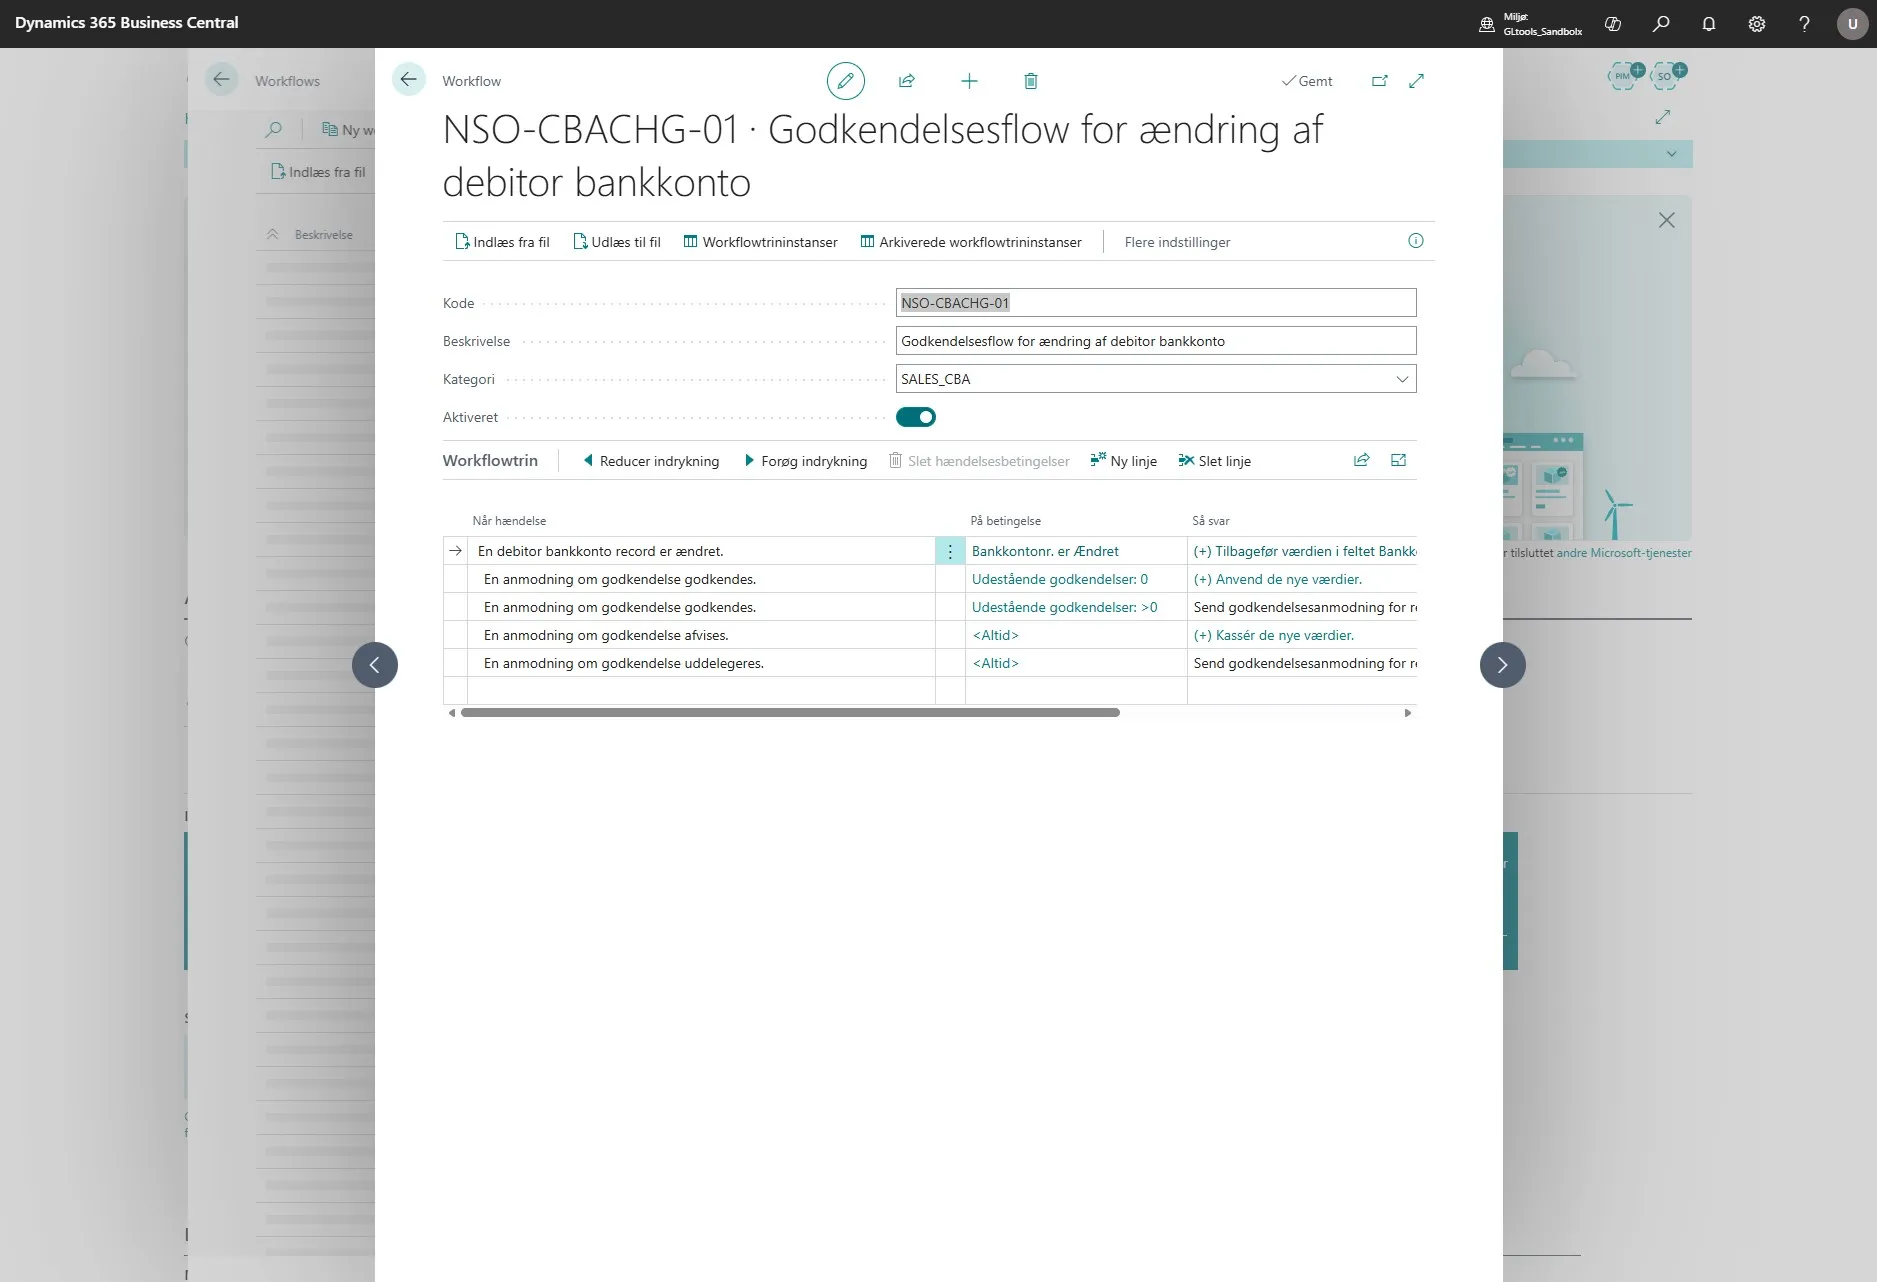
A workflow card will then automatically open, where you need to click the button next to “Enabled”.

-
When this is done, you can close the card again.
-
When this is completed, repeat steps 6 to 9, but this time with the other flow.
Setting Up the Approver
Section titled “Setting Up the Approver”Note: By default, the workflow follows the setup defined in “Approval User Setup”, where you can build a hierarchical structure for who can approve on behalf of whom.
If you prefer a four-eyes approval, the workflow can be changed to instead listen to “Workflow User Groups”. This setup makes it possible to ensure that a user – for example an administrator – cannot approve their own changes, as the approval must instead be made by another user in the group.
-
Open your Business Central.

-
Use the search field by clicking on the magnifying glass or by using the shortcut ALT + Q.
-
Then enter “Workflows” in the search field and select the related link.
-
Then click on one of the four flows under “Purchase and Payables, Extended” and “Sales and Marketing, Extended”.
It is important to emphasize that these come in pairs. It is therefore necessary to make changes to both if you change one. For example, changes under “Purchase and Payables, Extended” must be applied identically to both flows under “Purchase and Payables, Extended”.
-
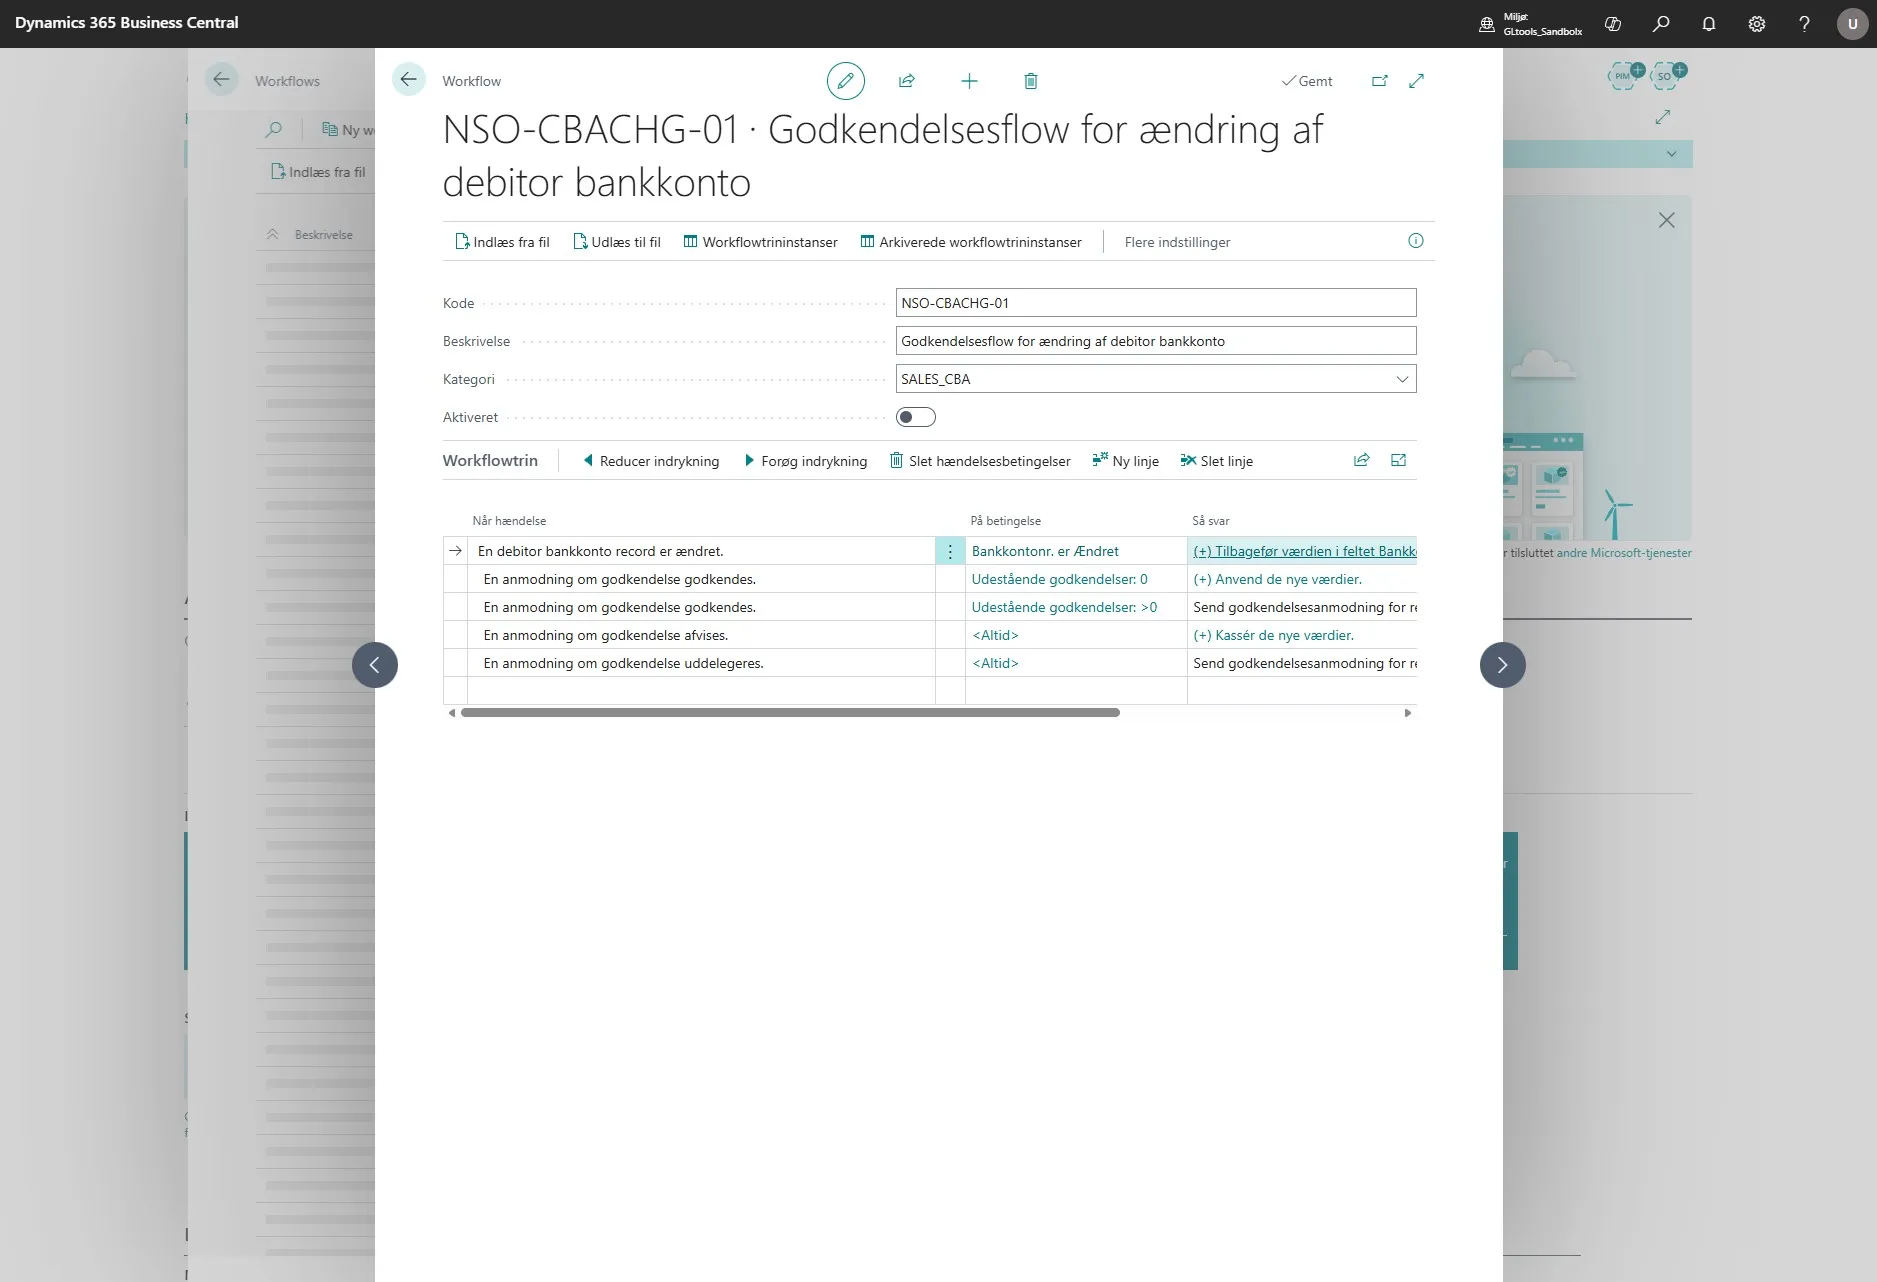
Before you begin, make sure the flow is disabled before you can change anything.
-
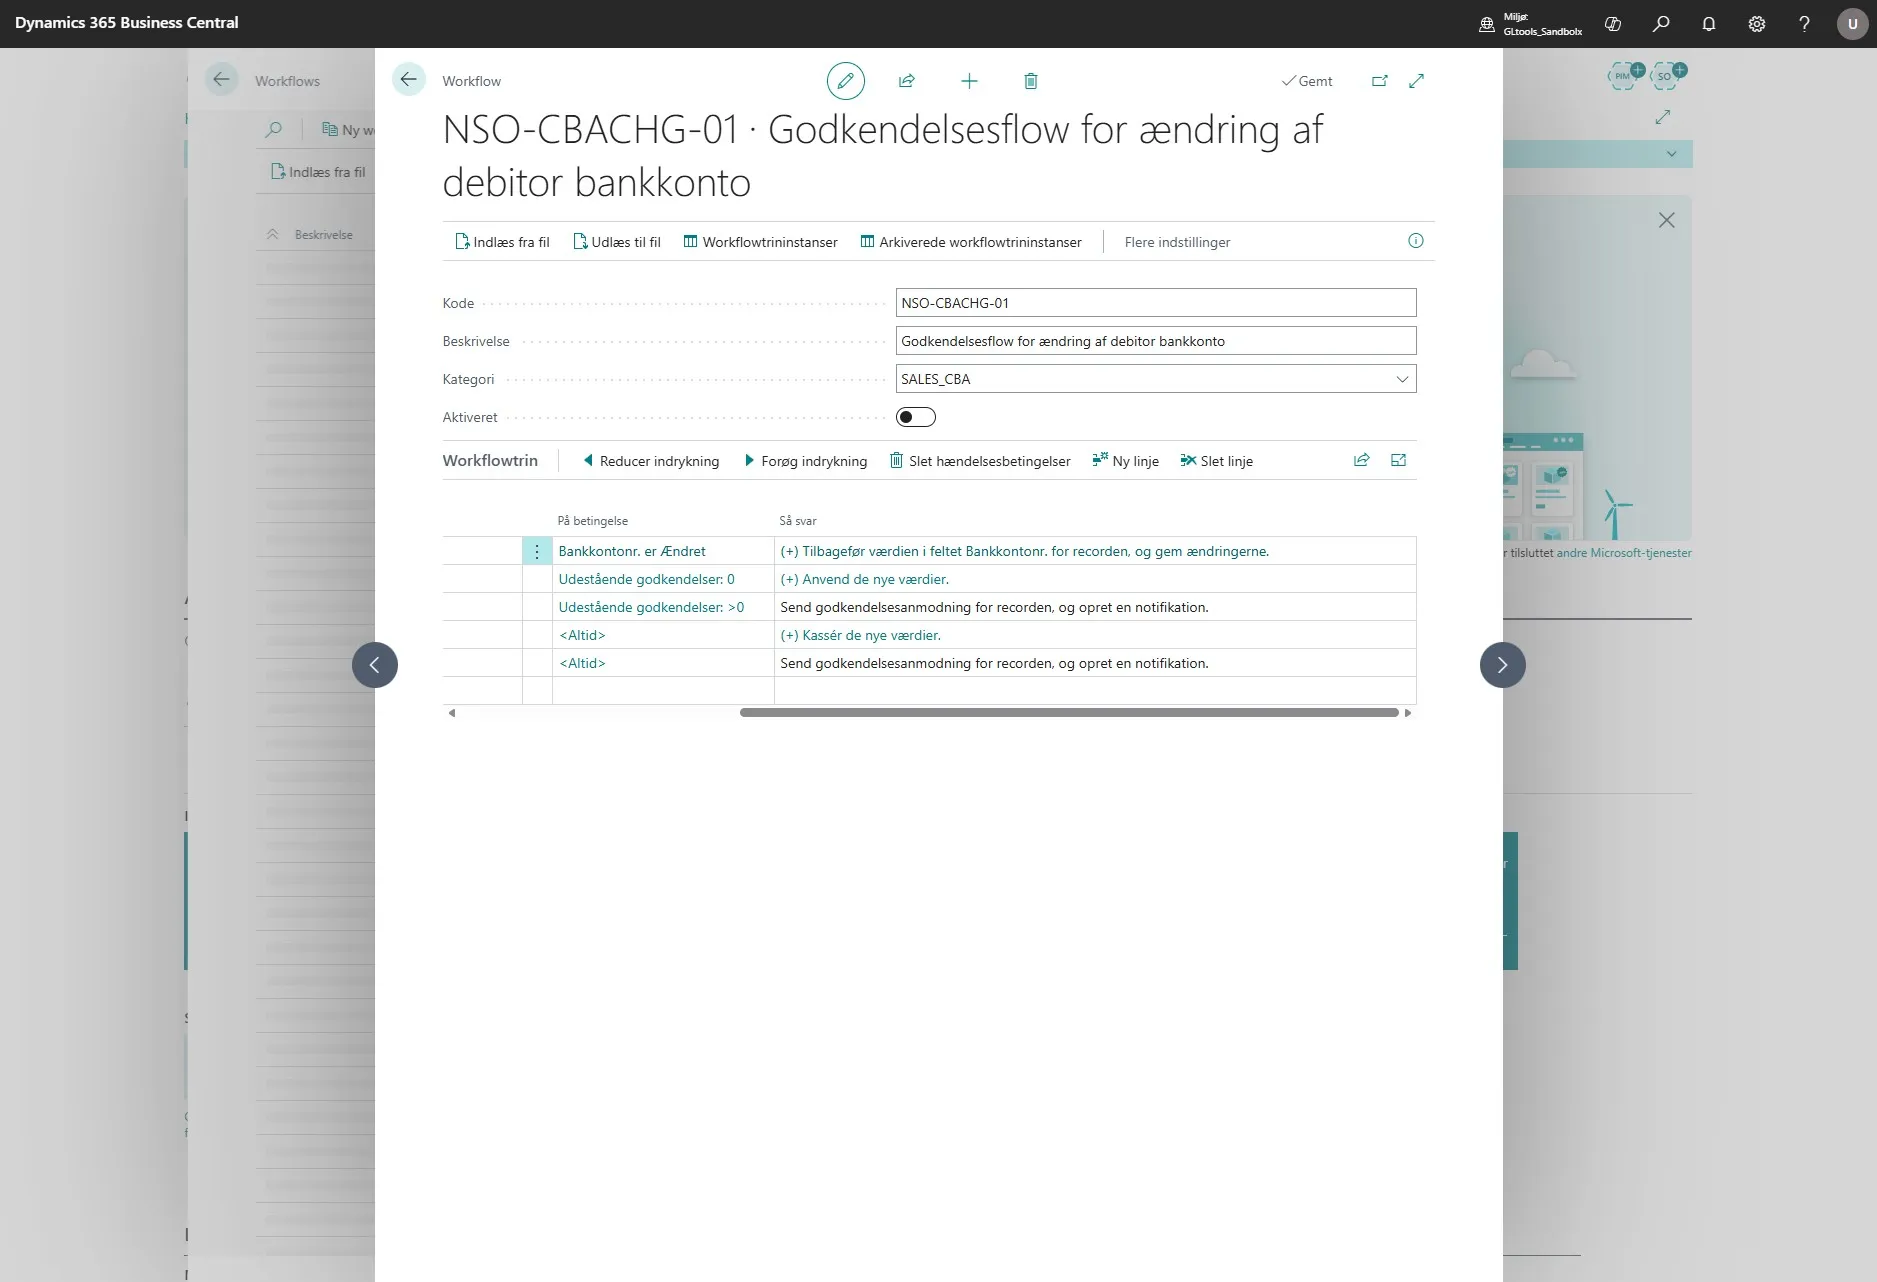
Click on ”(+) Revert the value in the Bank Account No. field for the record, and save the changes.”
-
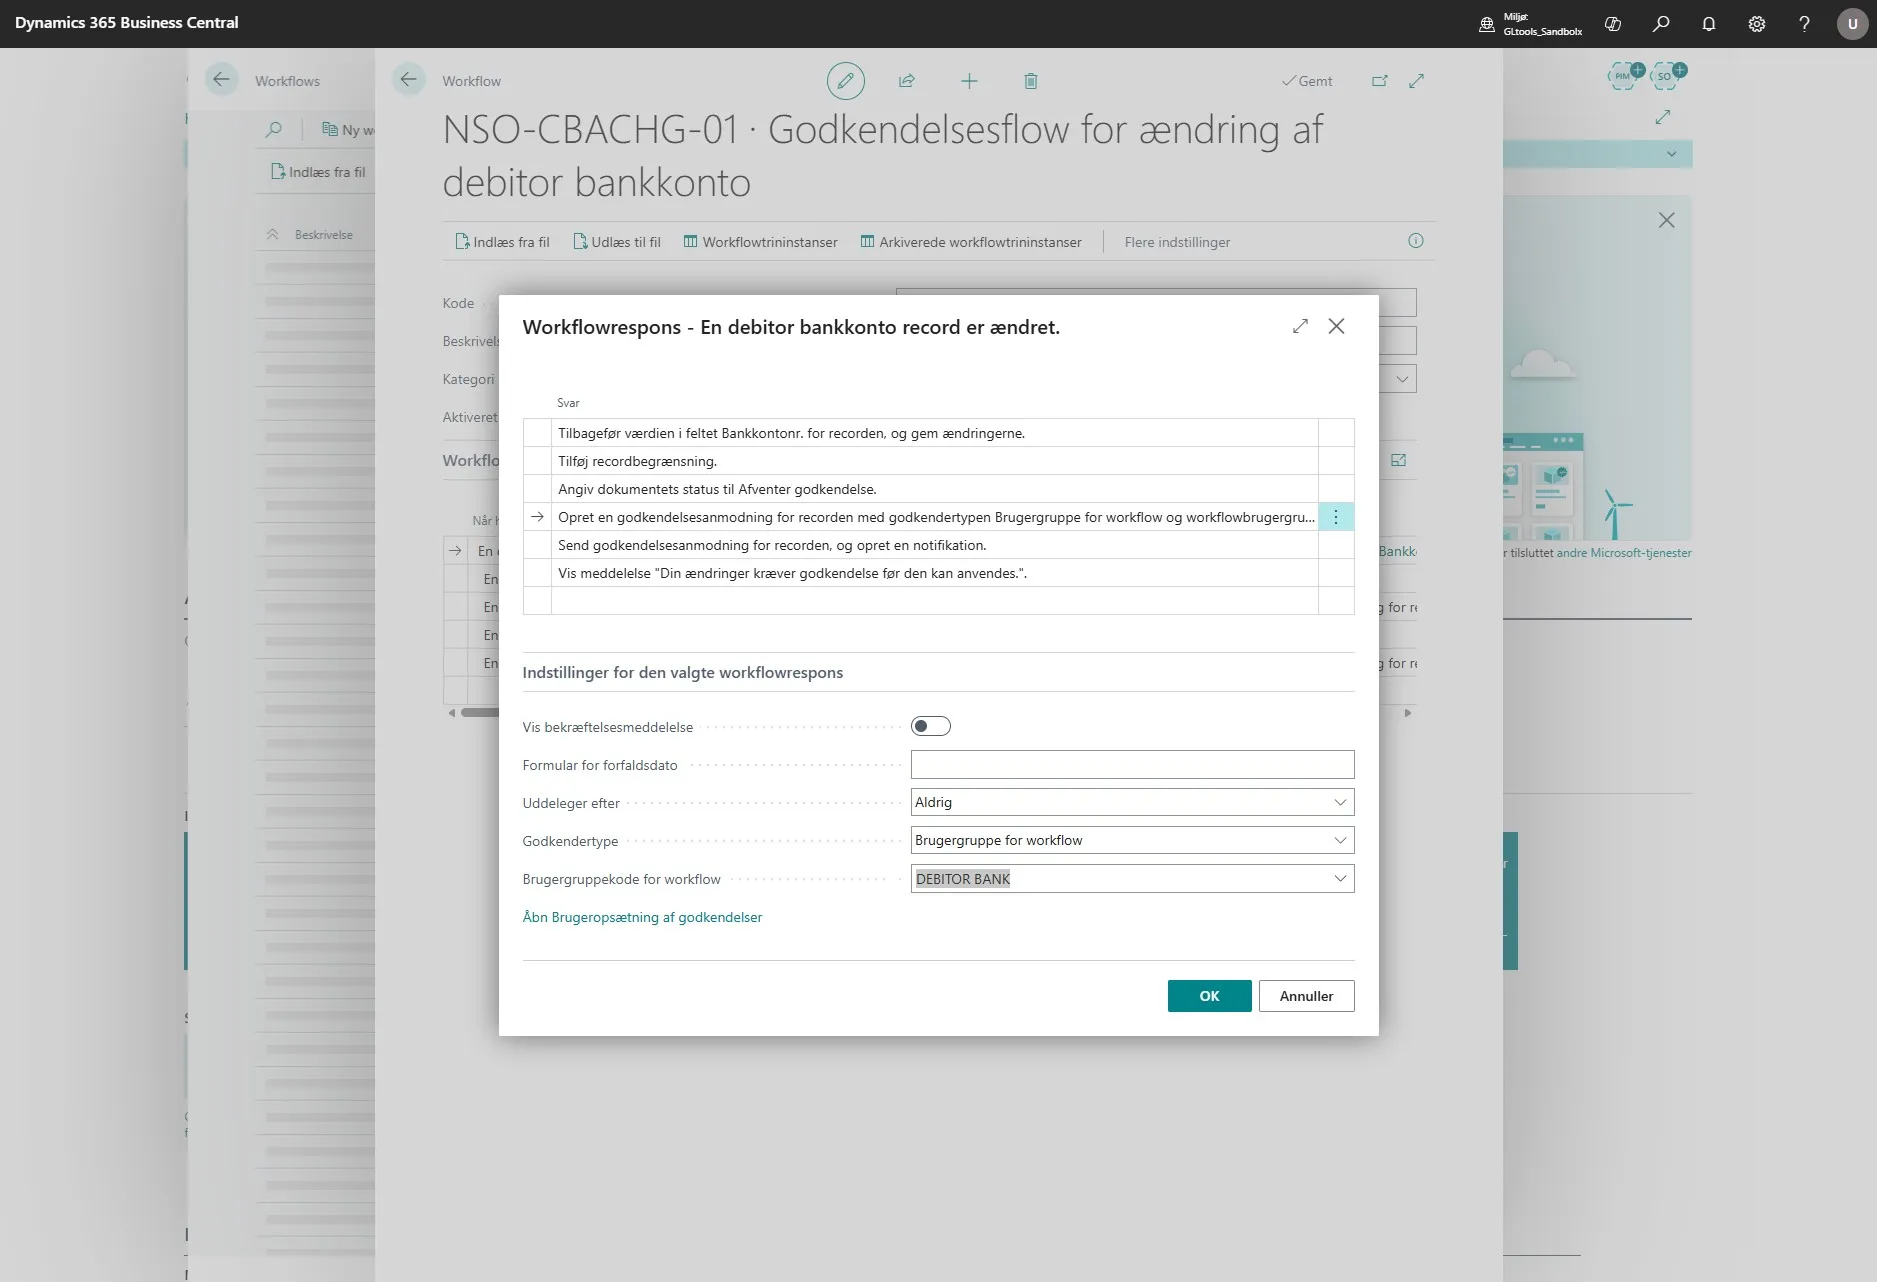
Then select the third line called “Create an approval request for the record with the approver type Approver and approver limit type Direct Approver.”
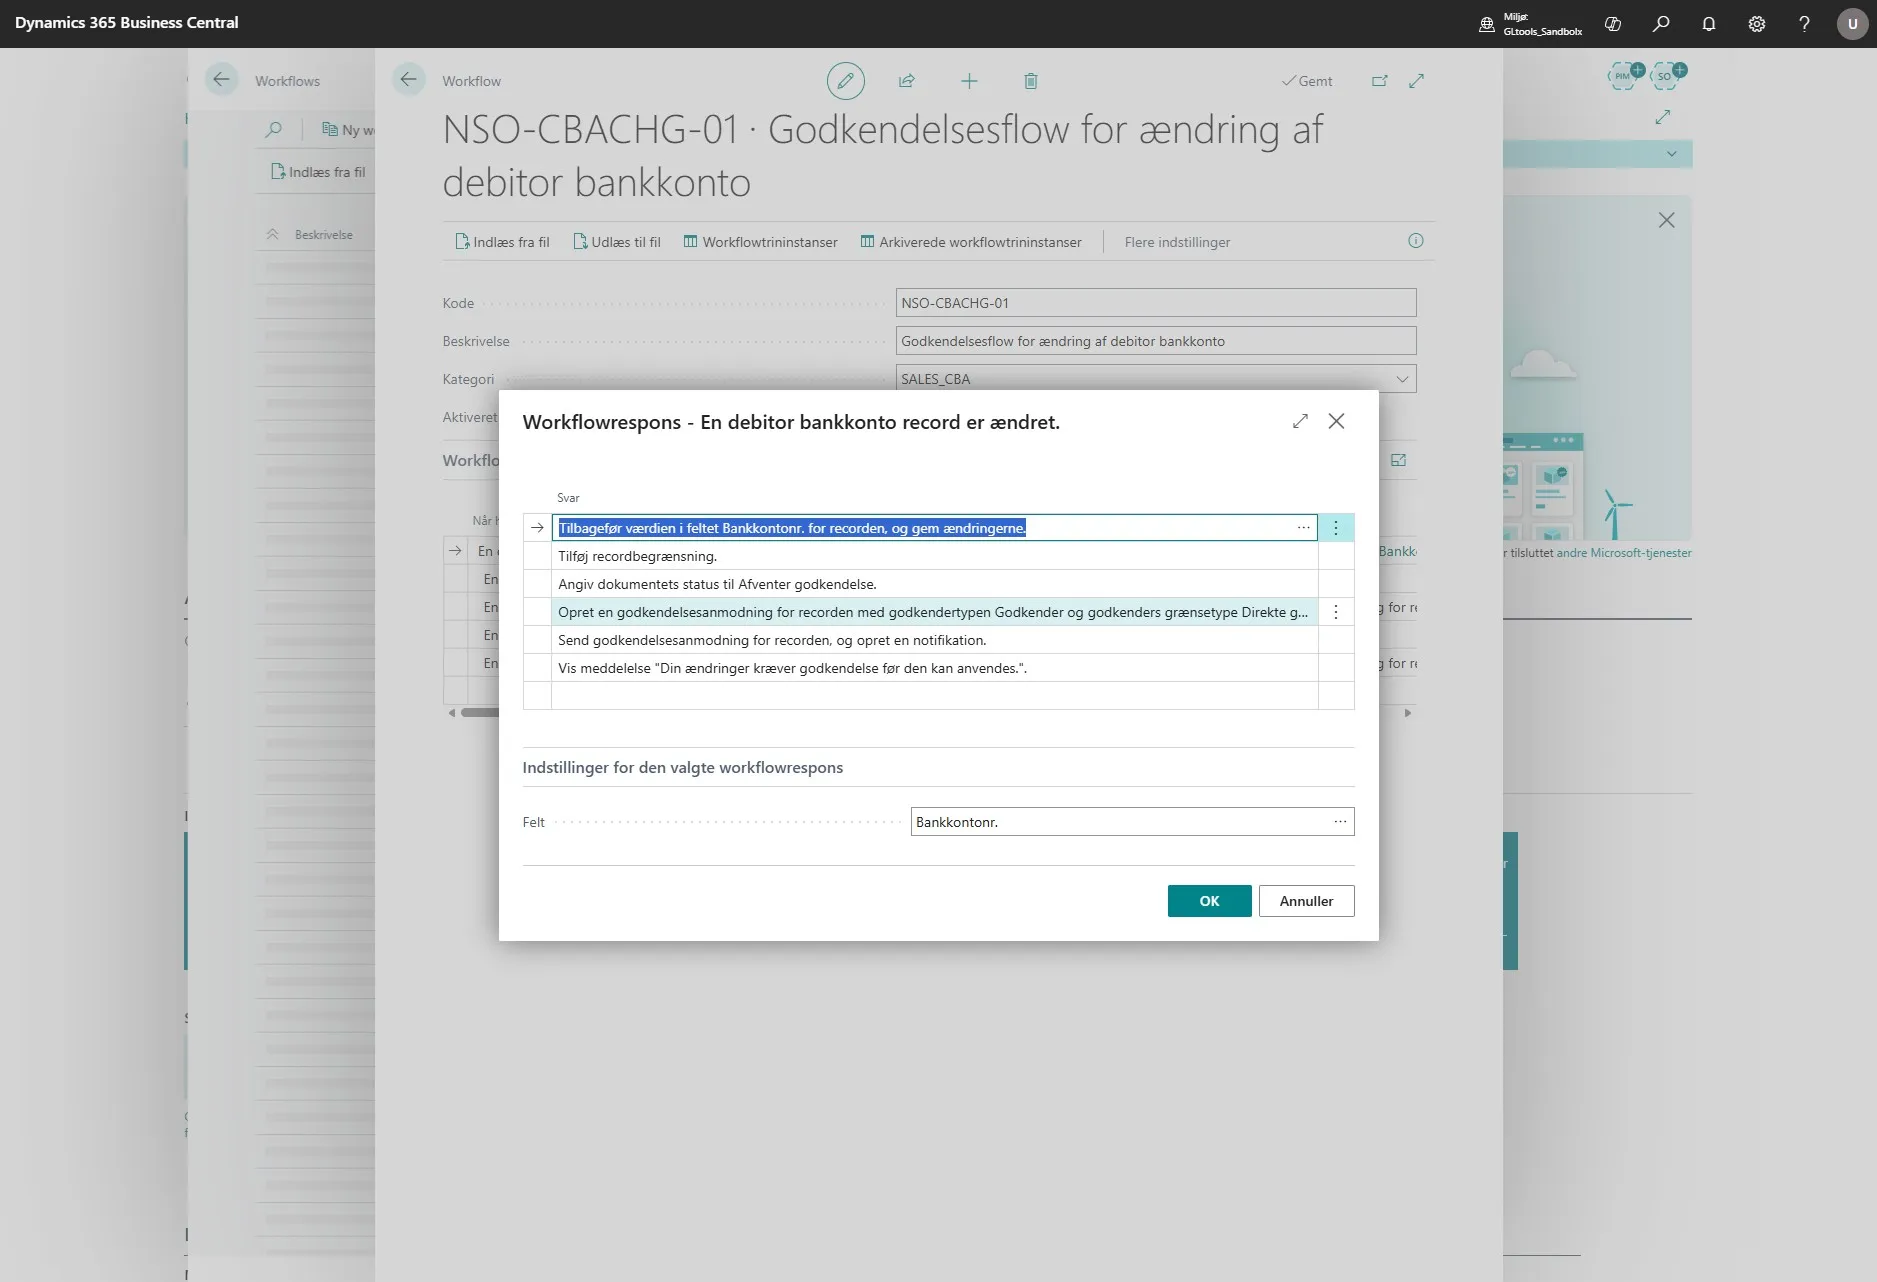
-
This expands the window with a number of new fields, where you need to click the arrow next to “Workflow User Group”.
Change it from “Approver” to “Workflow User Group”.
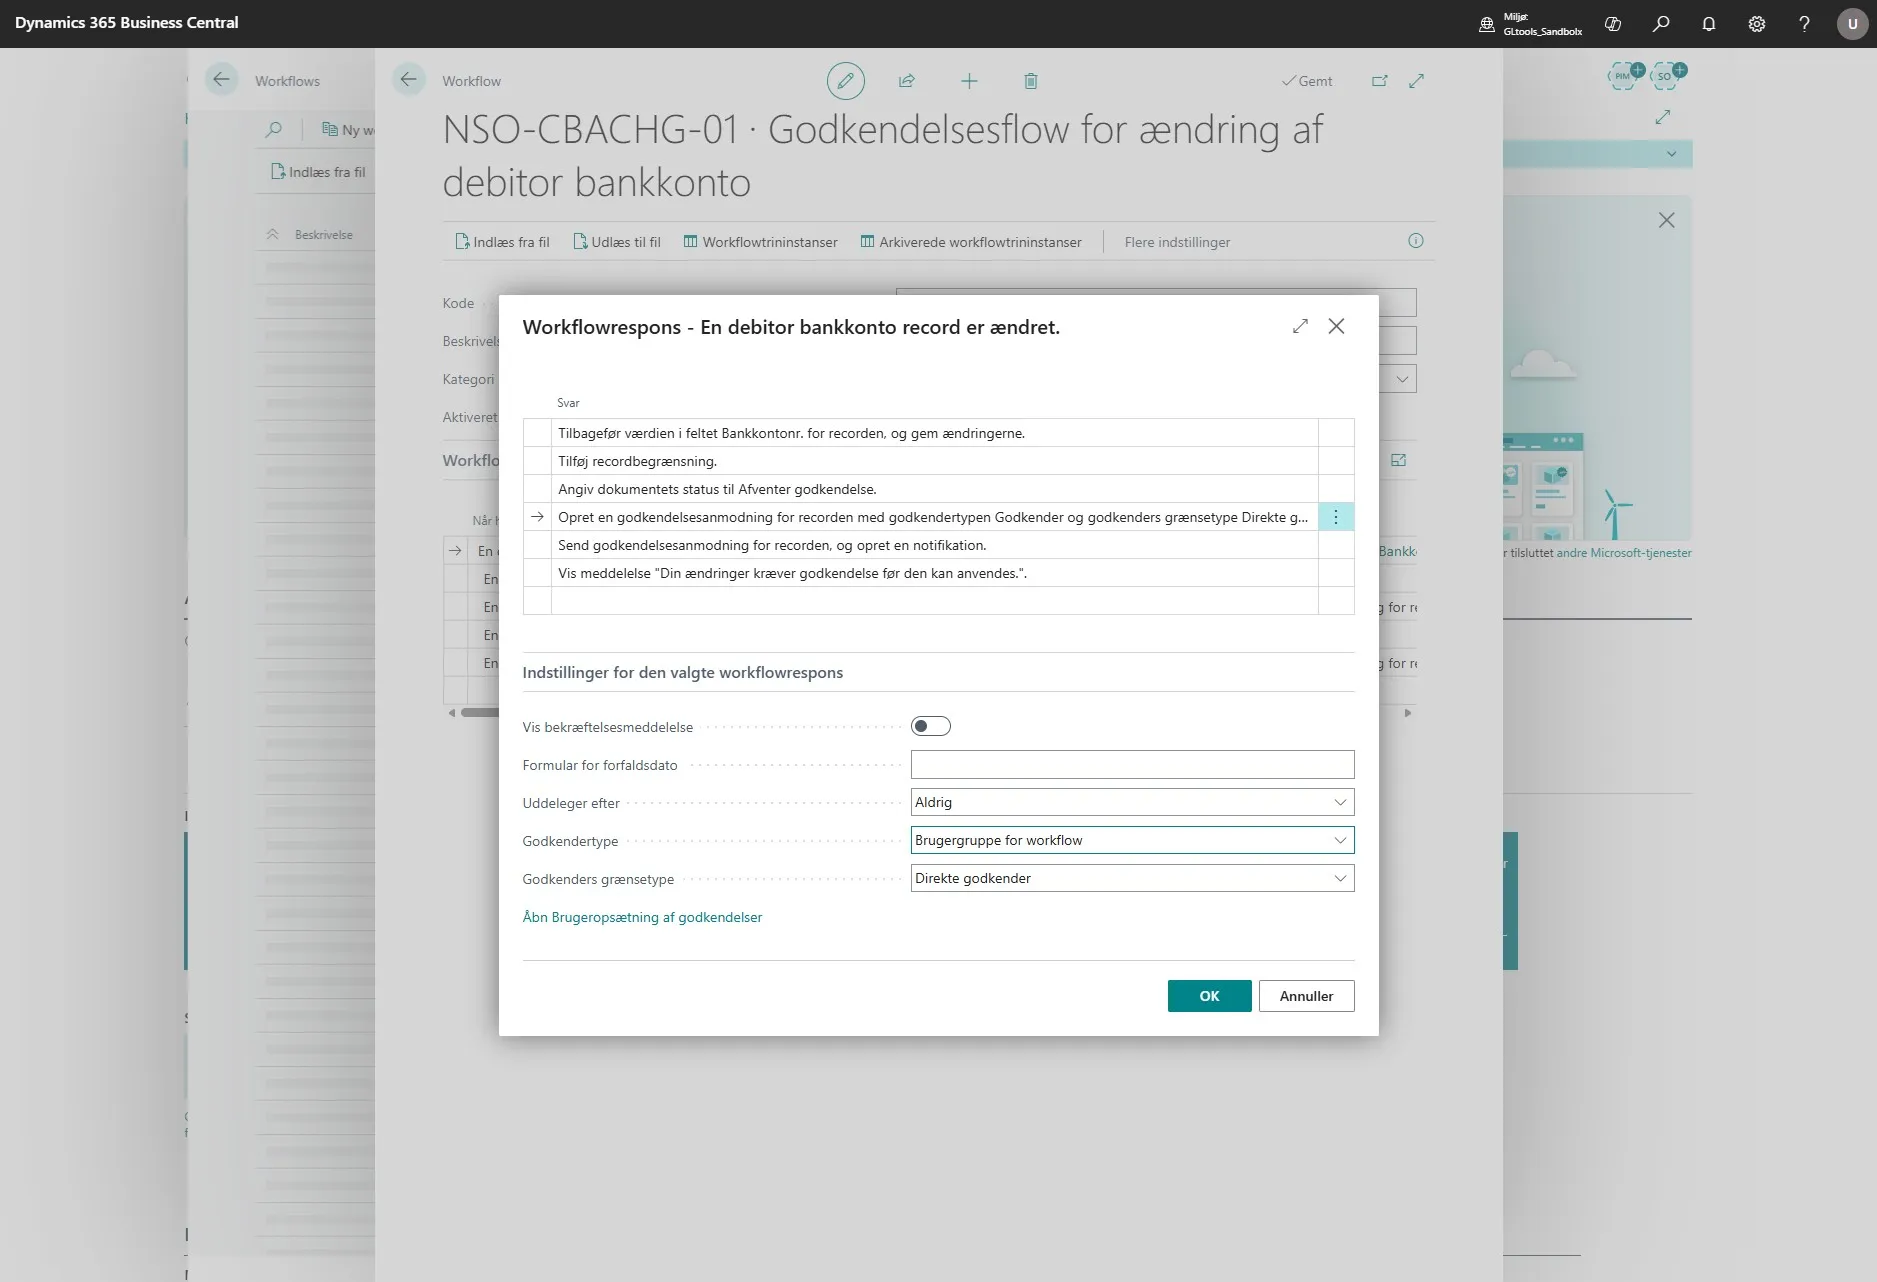
-
Then go to the field below and select the user group you want to use. If there is no suitable group already, you can create a new one by clicking ”+ New”.
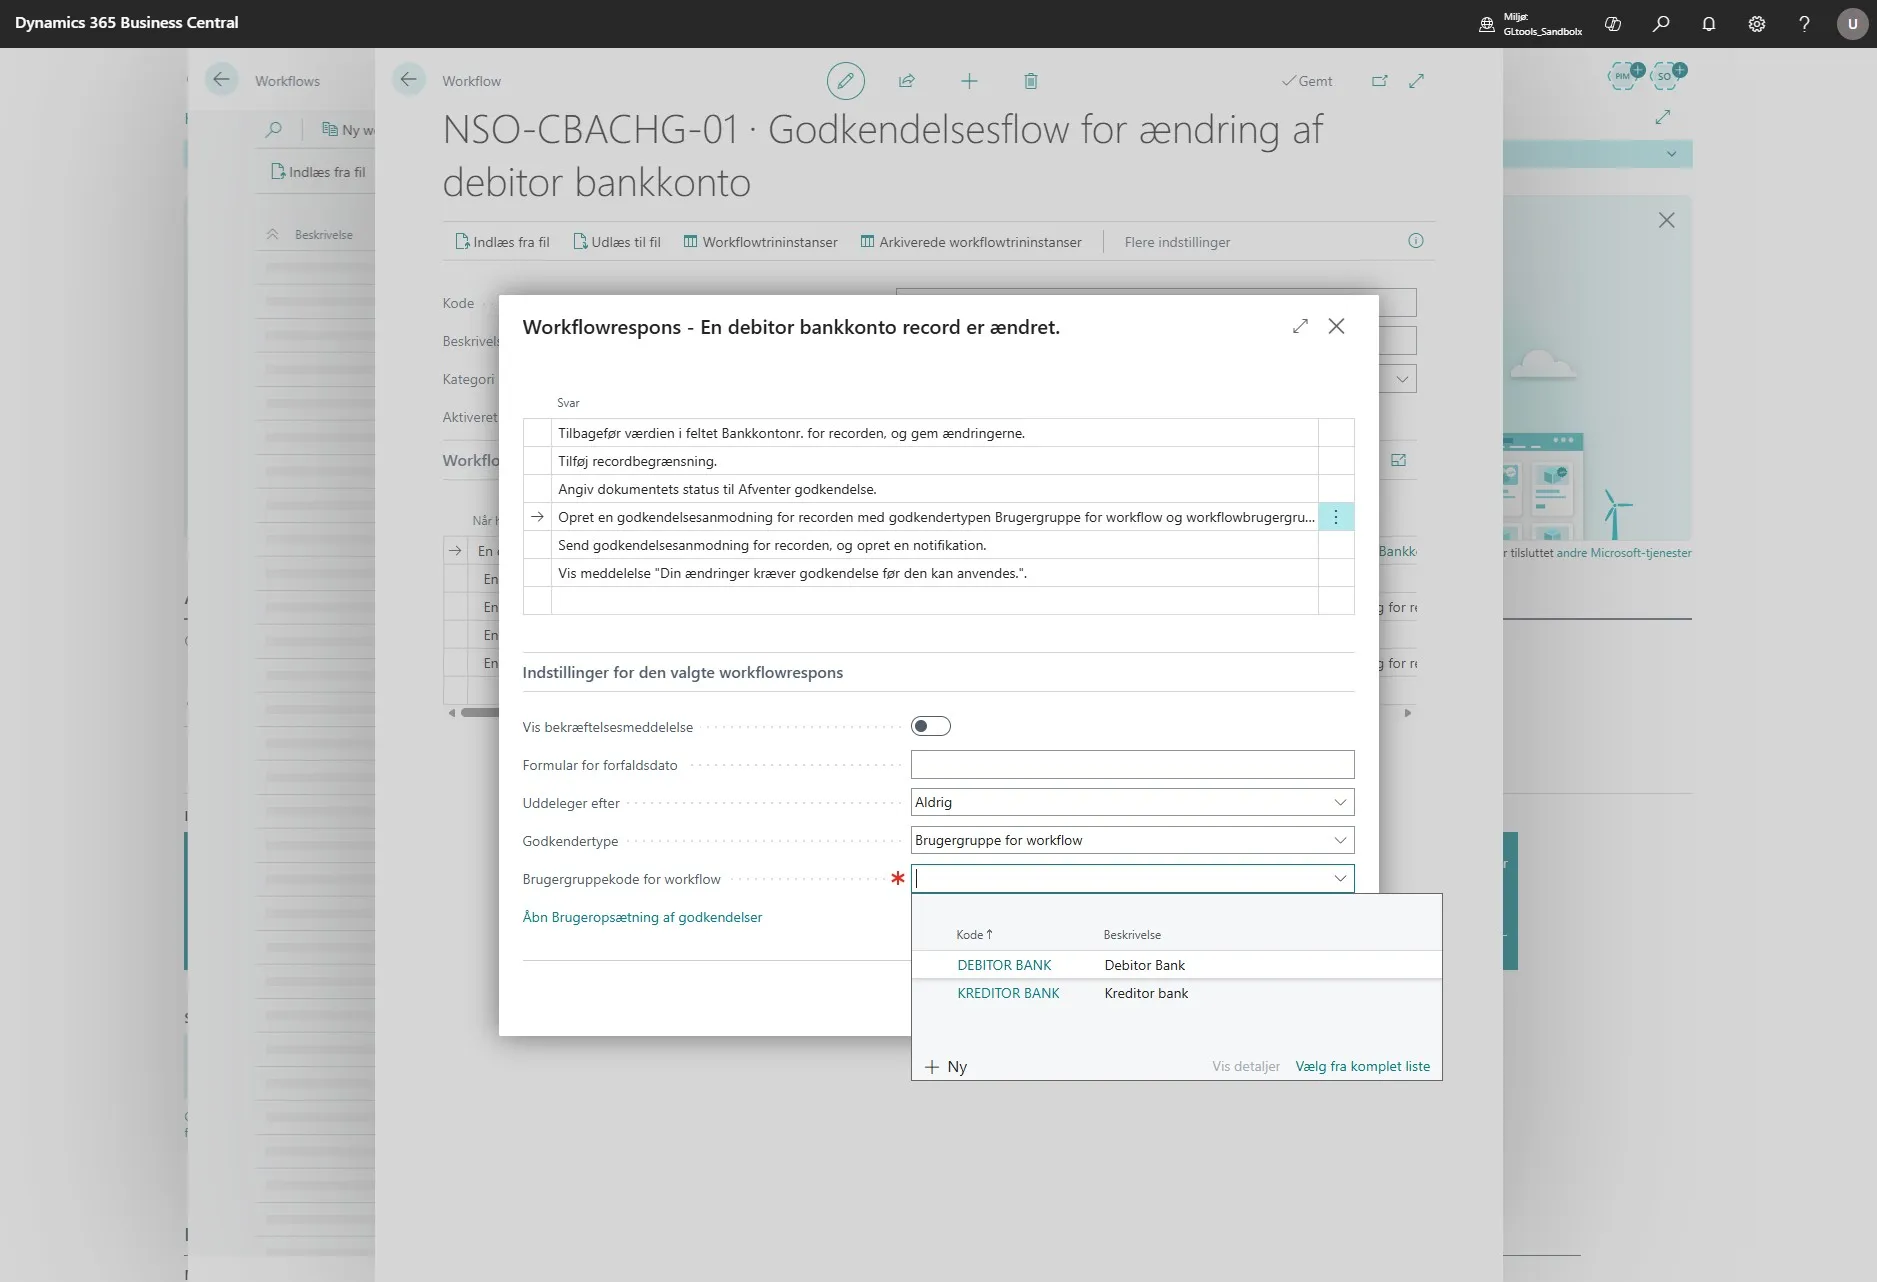
-
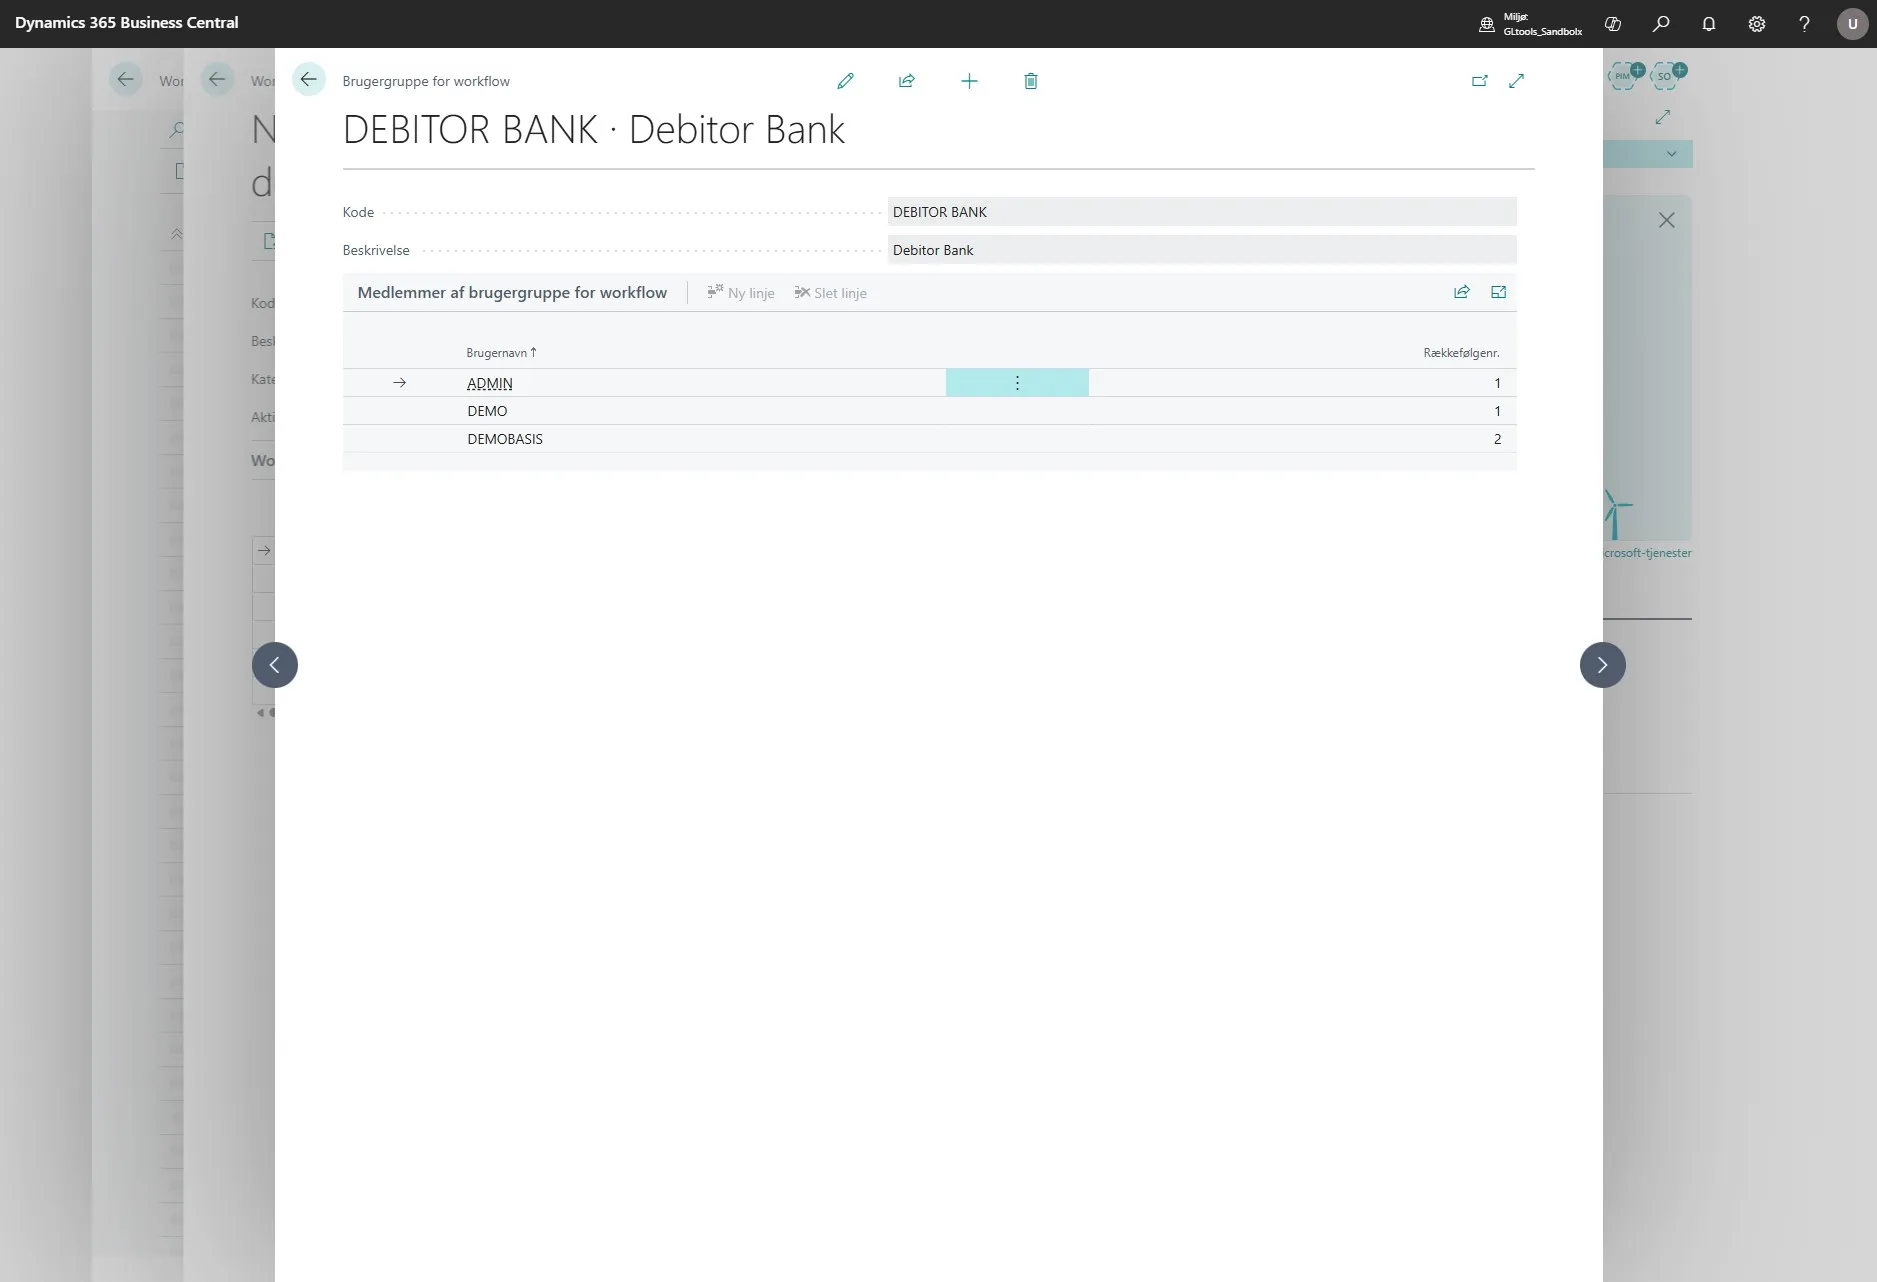
In this example of a user group, the setup is made so that changes made by Demobasis must always be approved by either DEMO or ADMIN.
If, on the other hand, it is DEMO or ADMIN who makes a change to the customer’s bank information, the other approver must handle the approval.
This ensures that a user cannot approve their own changes.
-
When the group is selected, click “OK”.
-
Finish by enabling the flow again.
Testing the Workflow
Section titled “Testing the Workflow”Note: This part is optional but is used to test whether the workflow is enabled and working correctly.
-
Open your Business Central.
-
Use the search field by clicking on the magnifying glass or by using the shortcut ALT + Q.
-
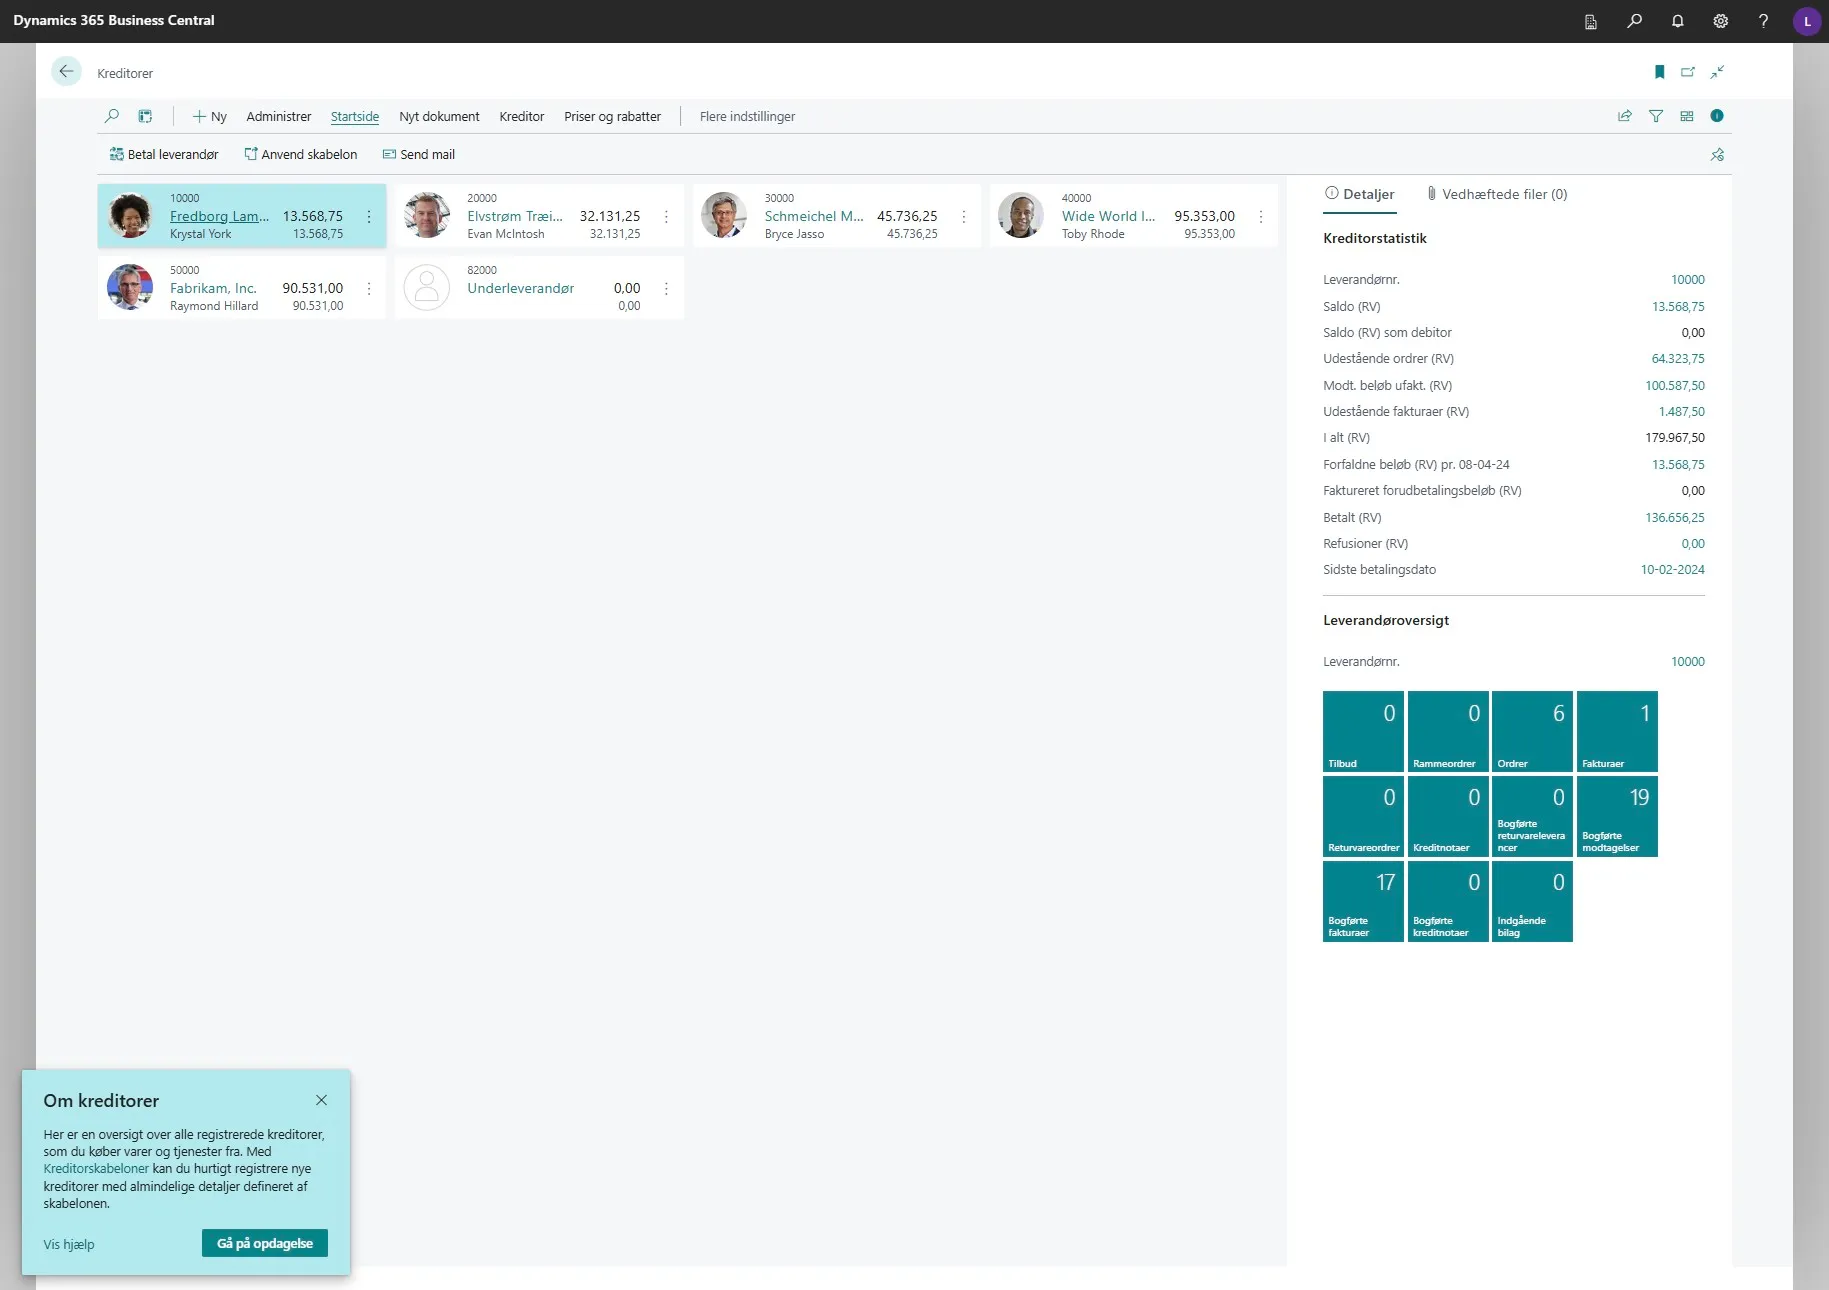
Enter “vendors” in the search field.
-
Select the related link.
-
Select a vendor.
-
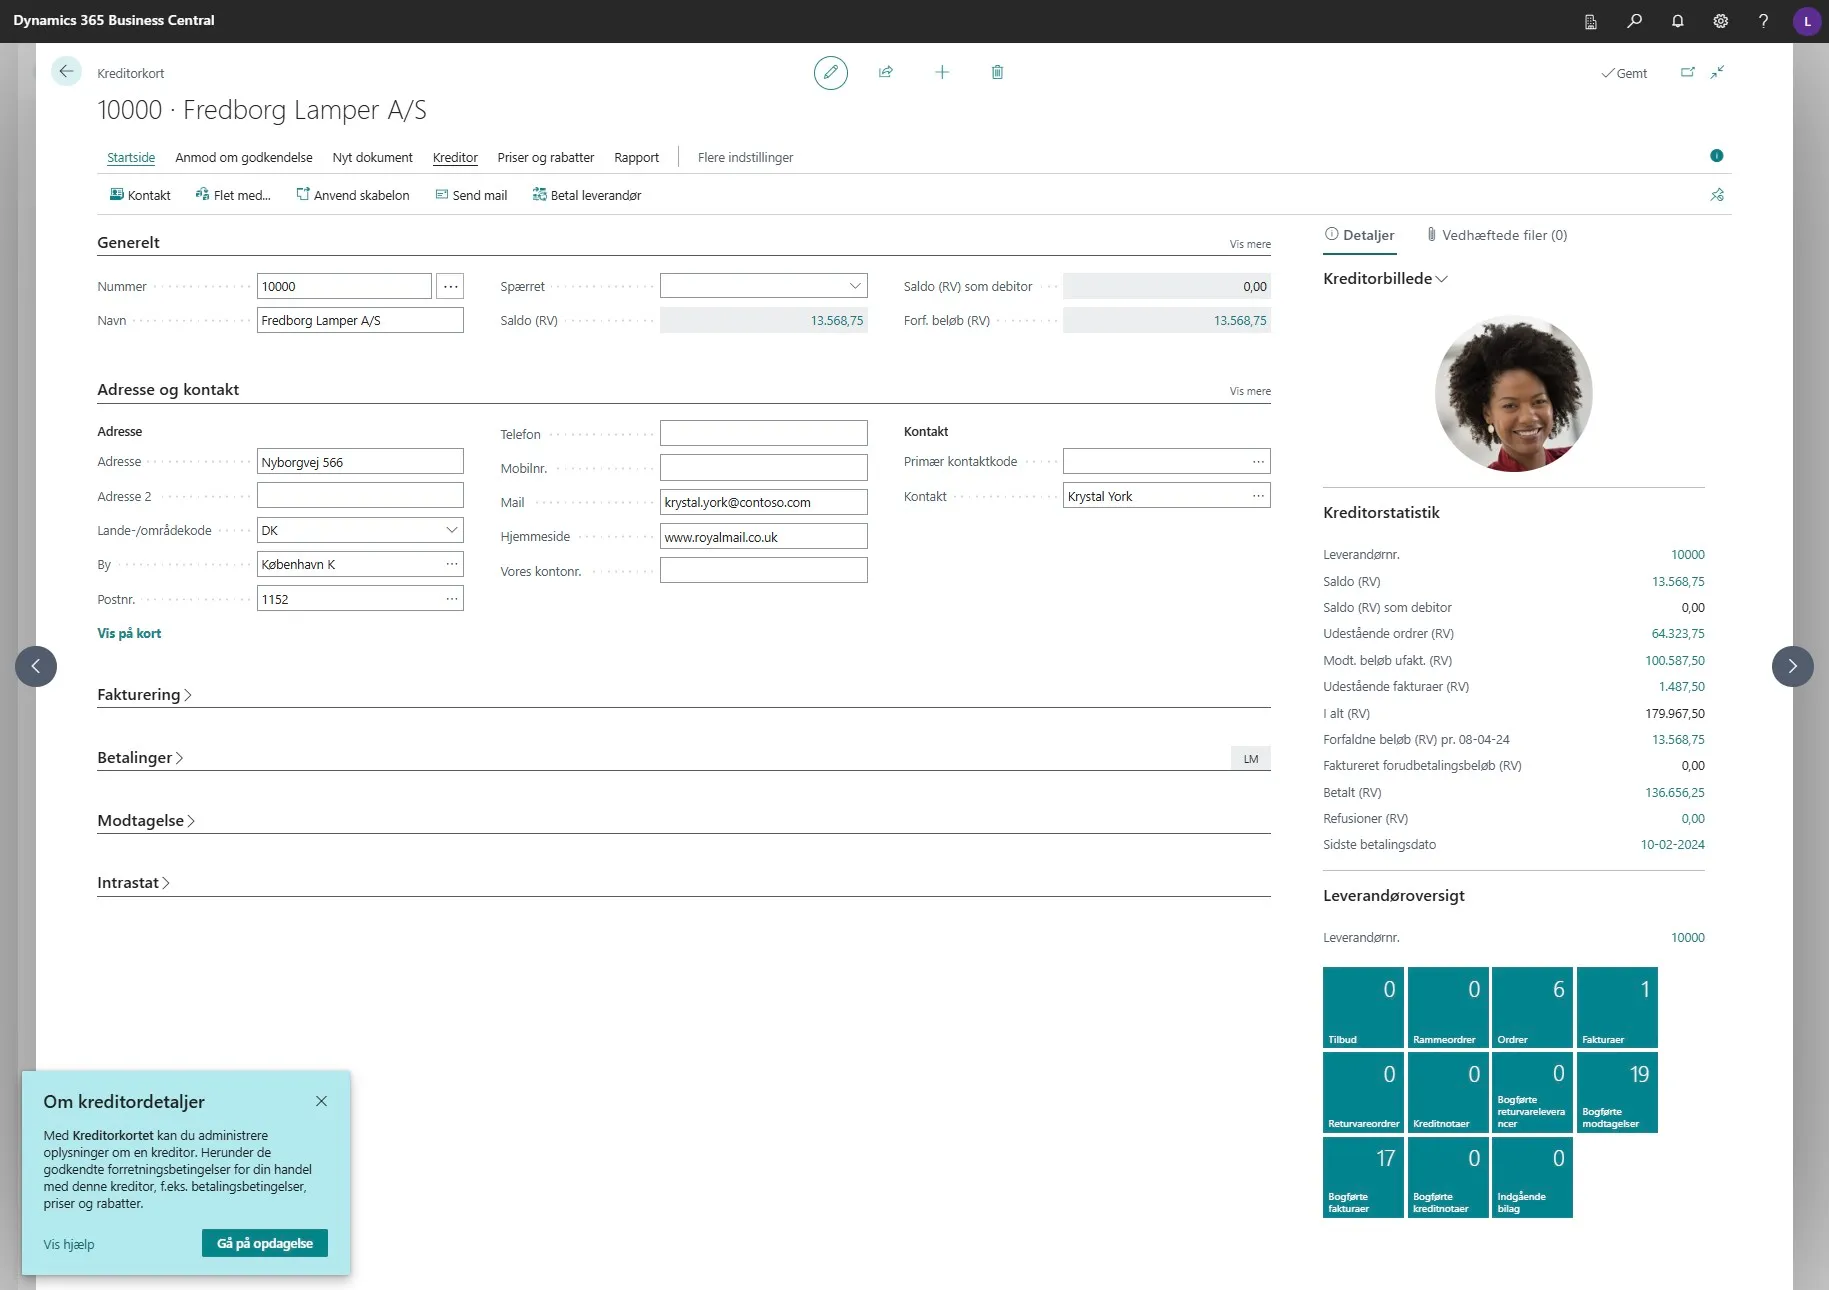
On the vendor card, click “Vendor” in the ribbon.
-
Then click “Bank Accounts”.

-
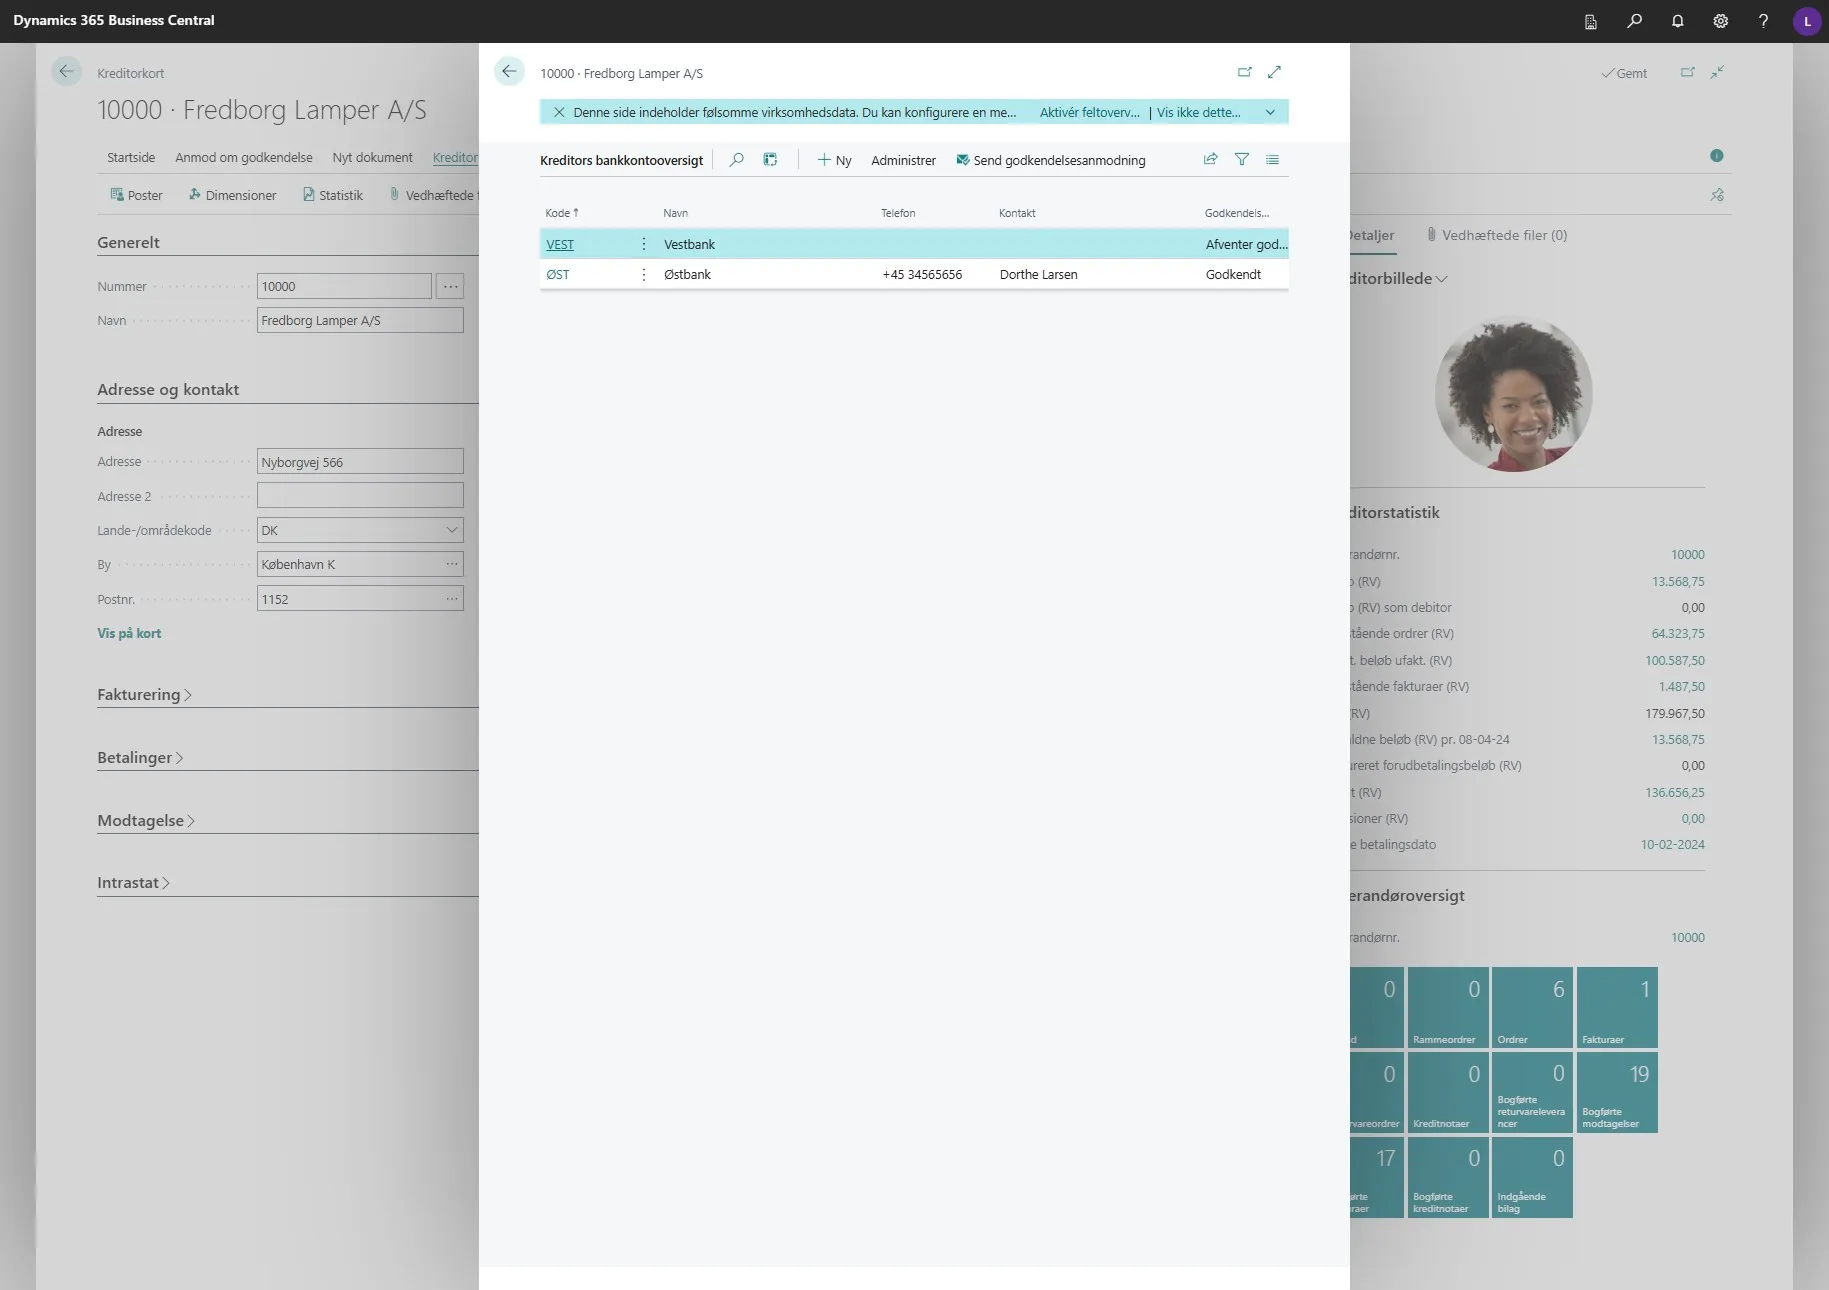
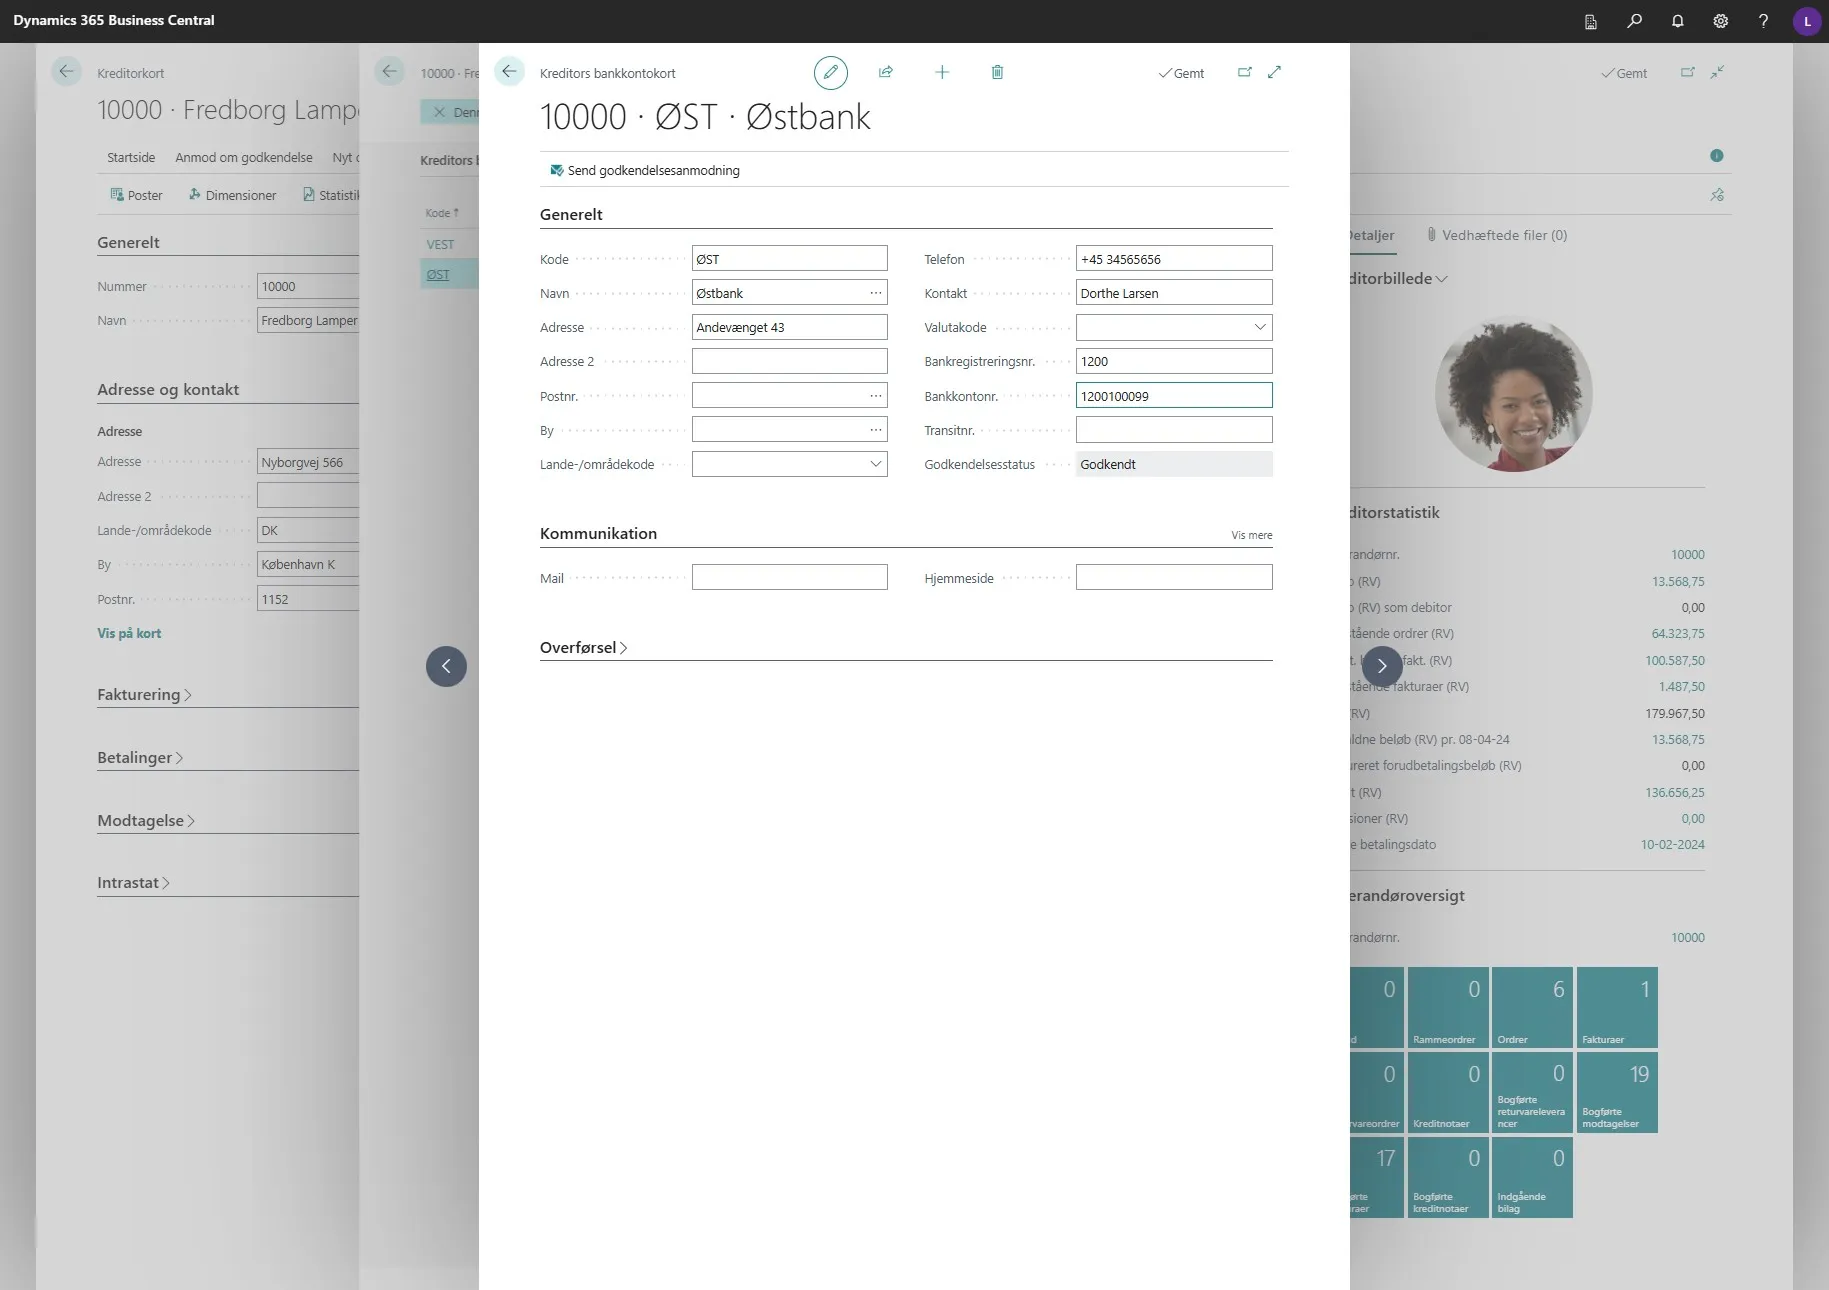
Select a bank account and click on the code.
-
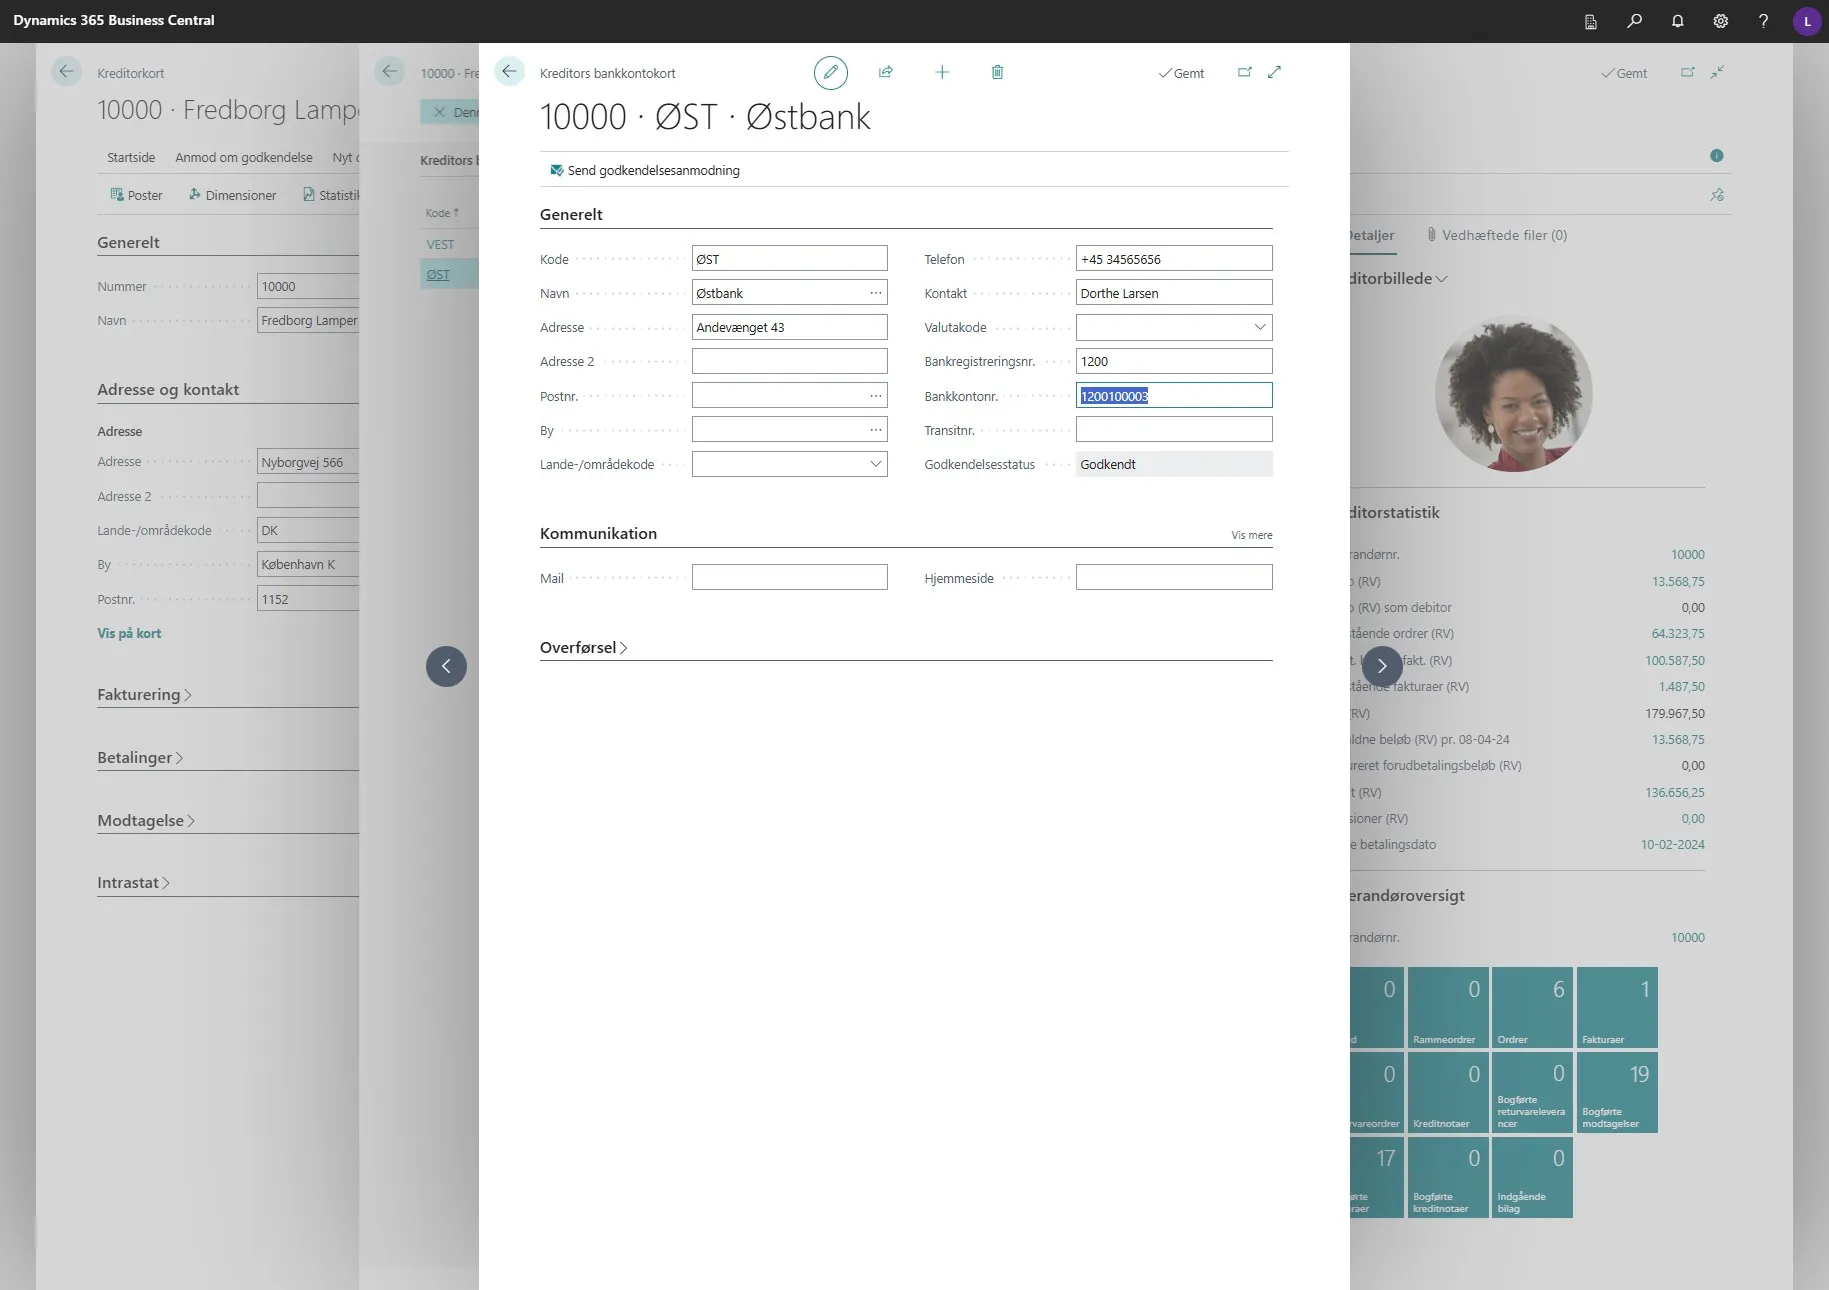
On the vendor’s bank account card, select the “Bank Account No.” field.
- Note that it ends with 03.
-
Change the number here.
-
Then click out of the field.
- The ending of the number is now changed to 99.
-
Immediately an info box appears stating that the change requires approval before the changes can be applied, click “OK”.
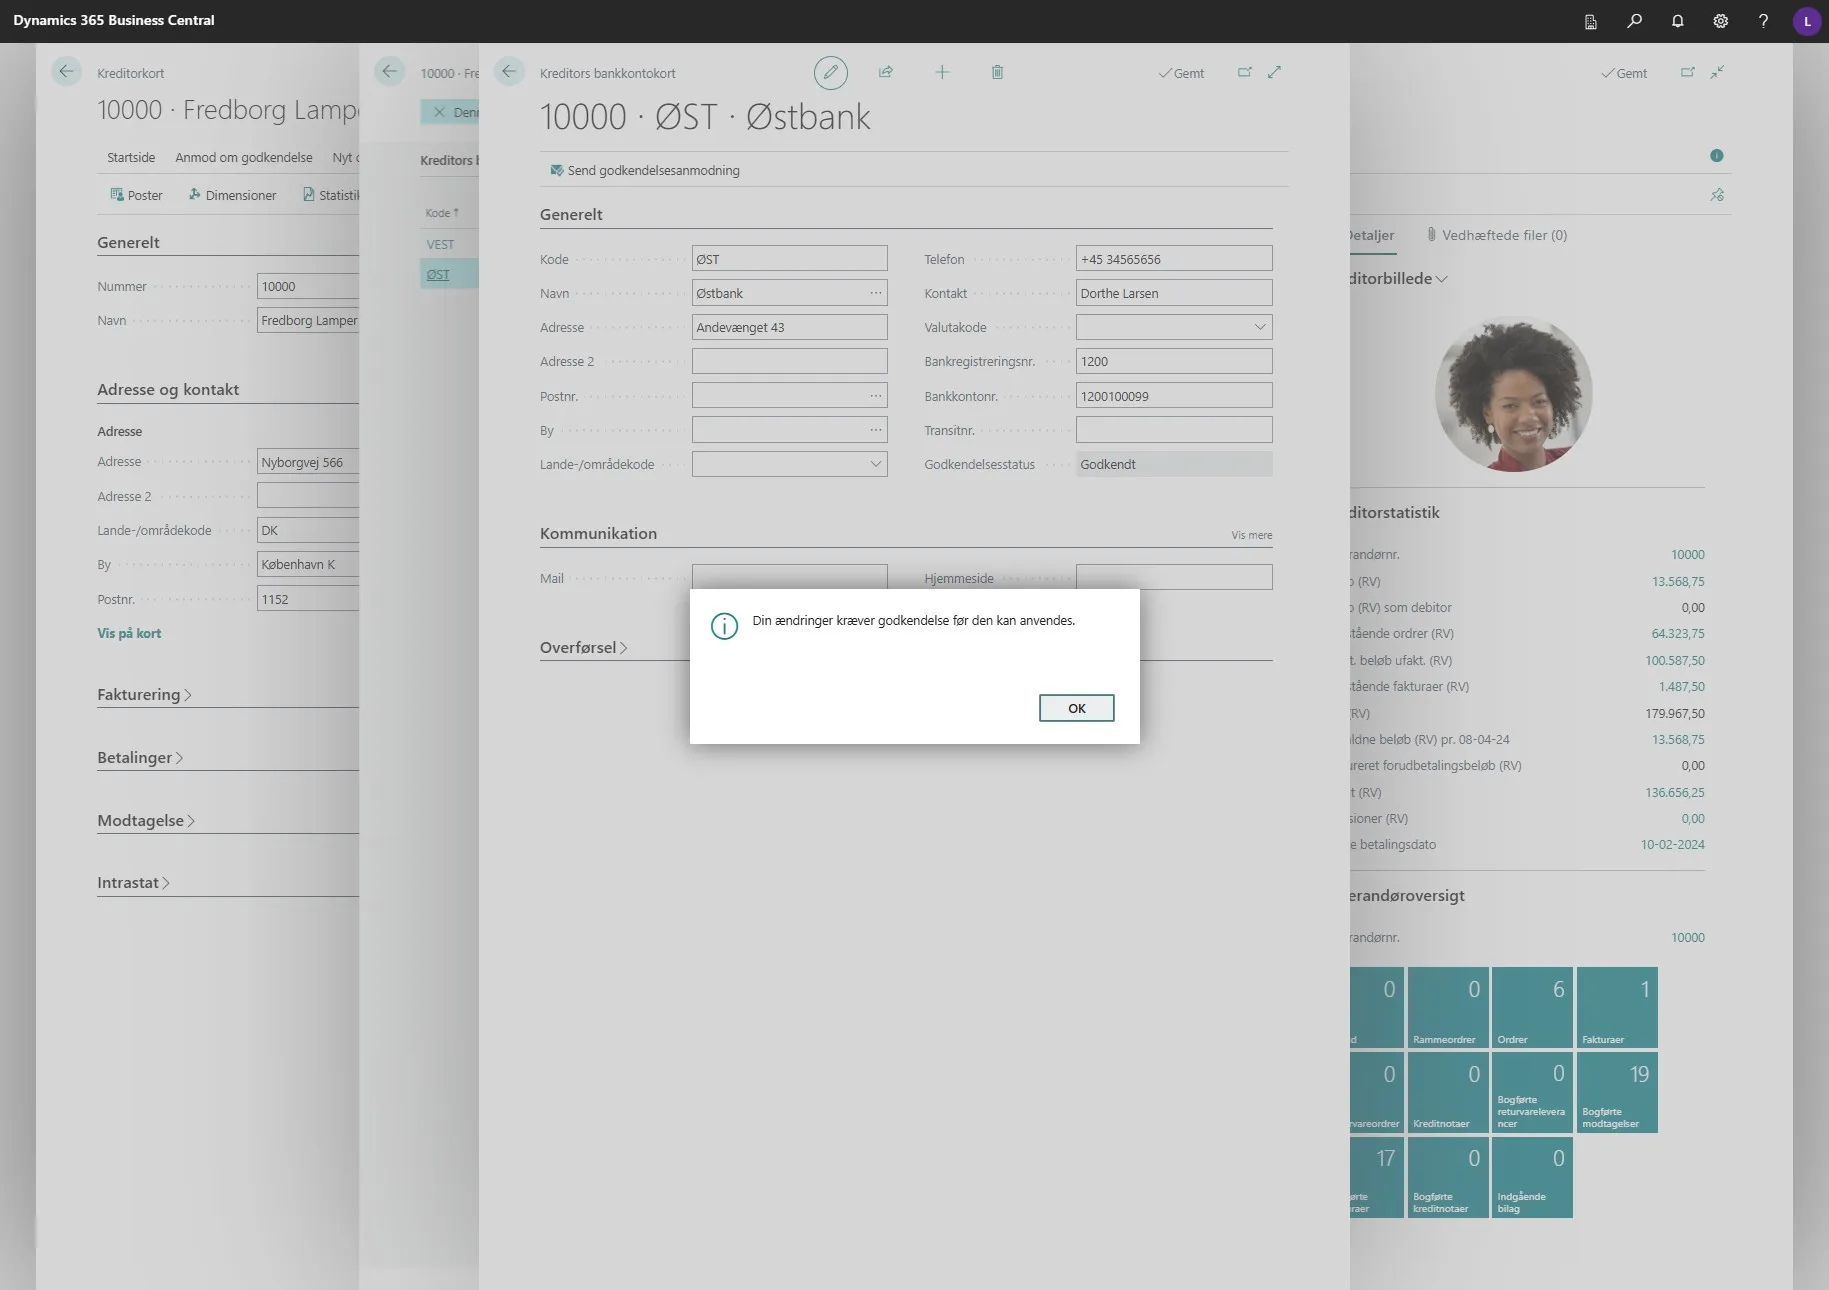
-
If you then press “F5”.
-
You will see that the number changes back to what it was before you changed it.
- The number has now changed back to 03.

Approving the Change
Section titled “Approving the Change”Note: This part shows how an authorized user can approve the changes.
-
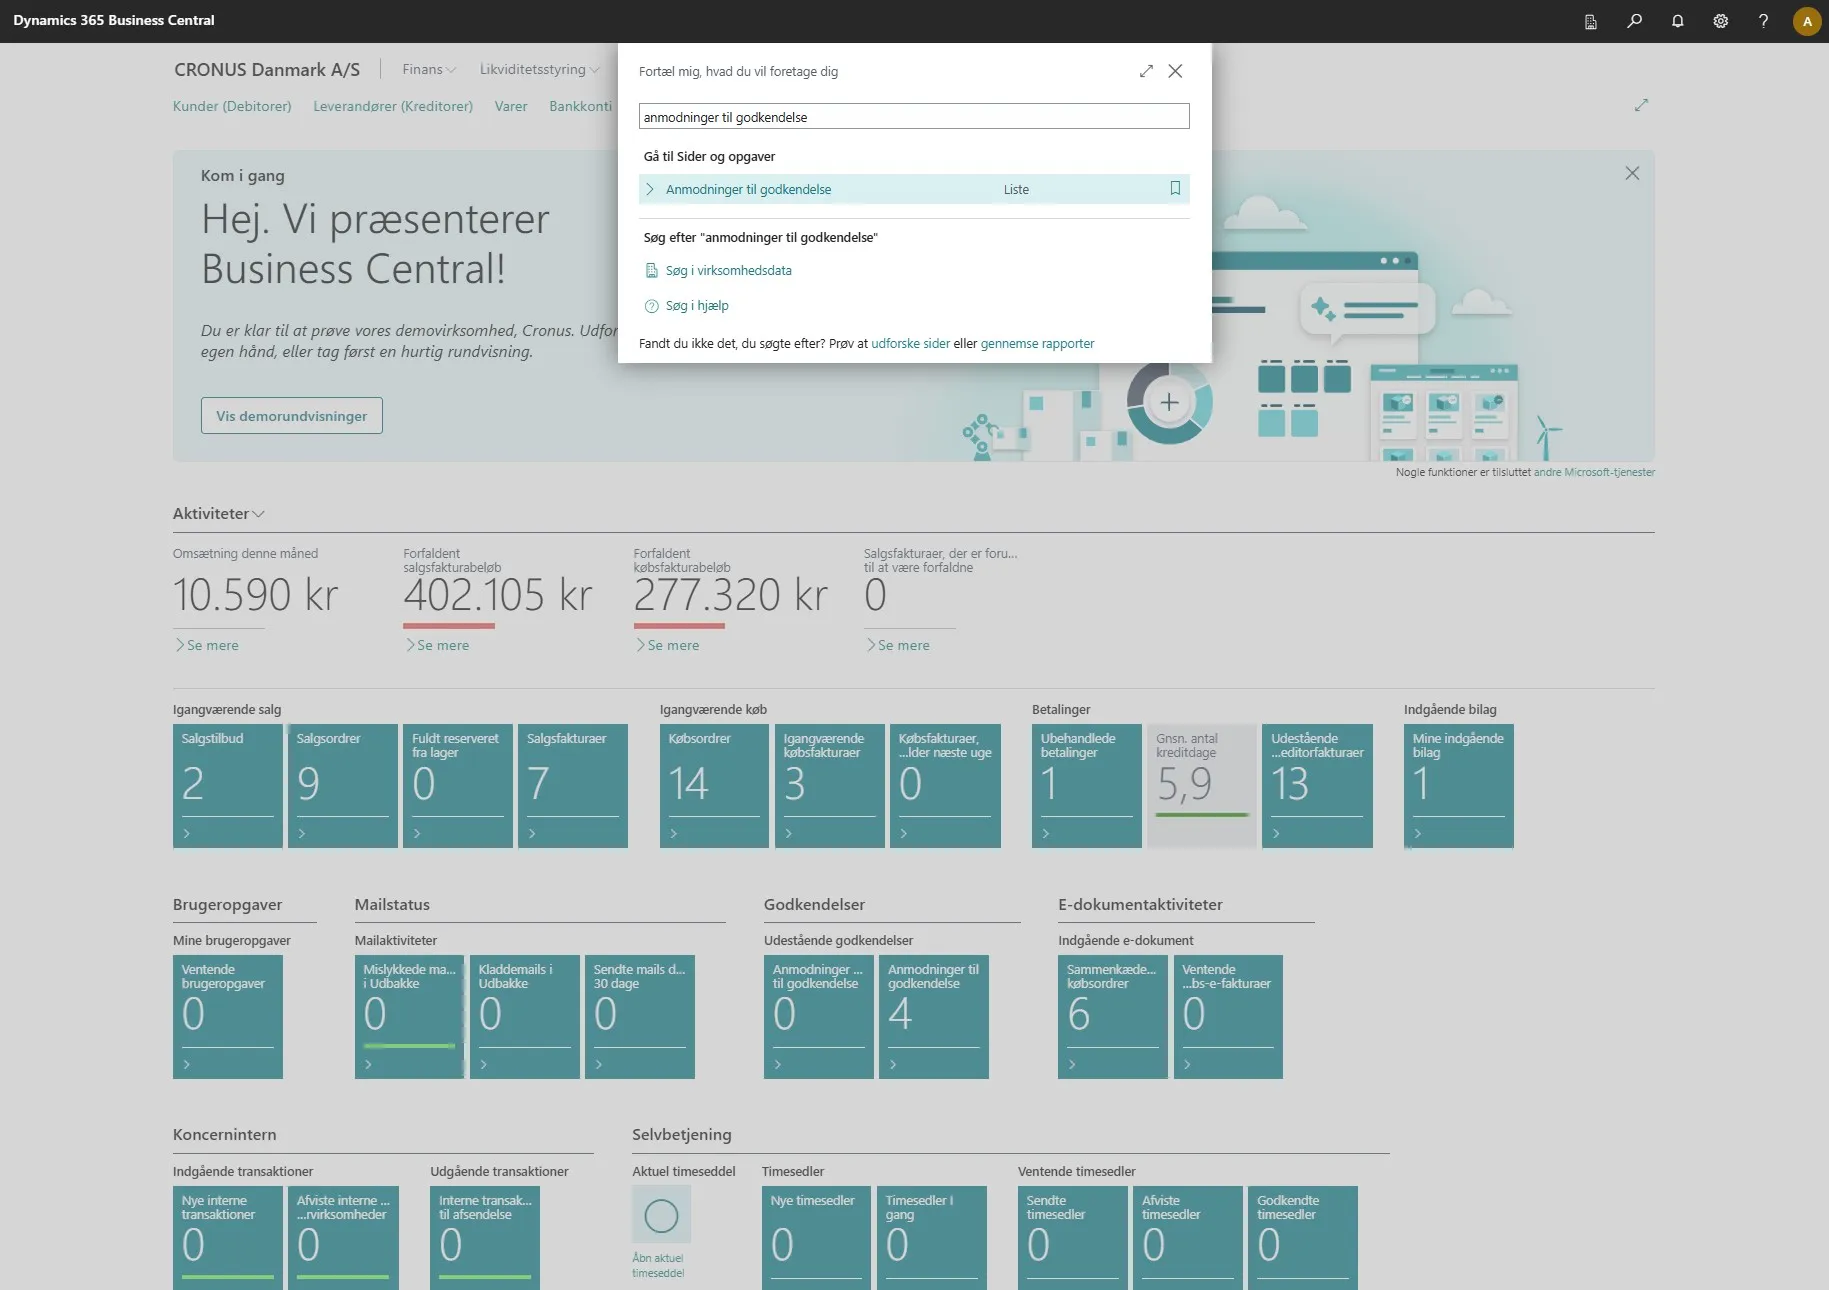
Open your Business Central.
-
Use the search field by clicking on the magnifying glass or by using the shortcut ALT + Q.

-
Enter “requests to approve” in the search field.
-
Click on the related link.
-
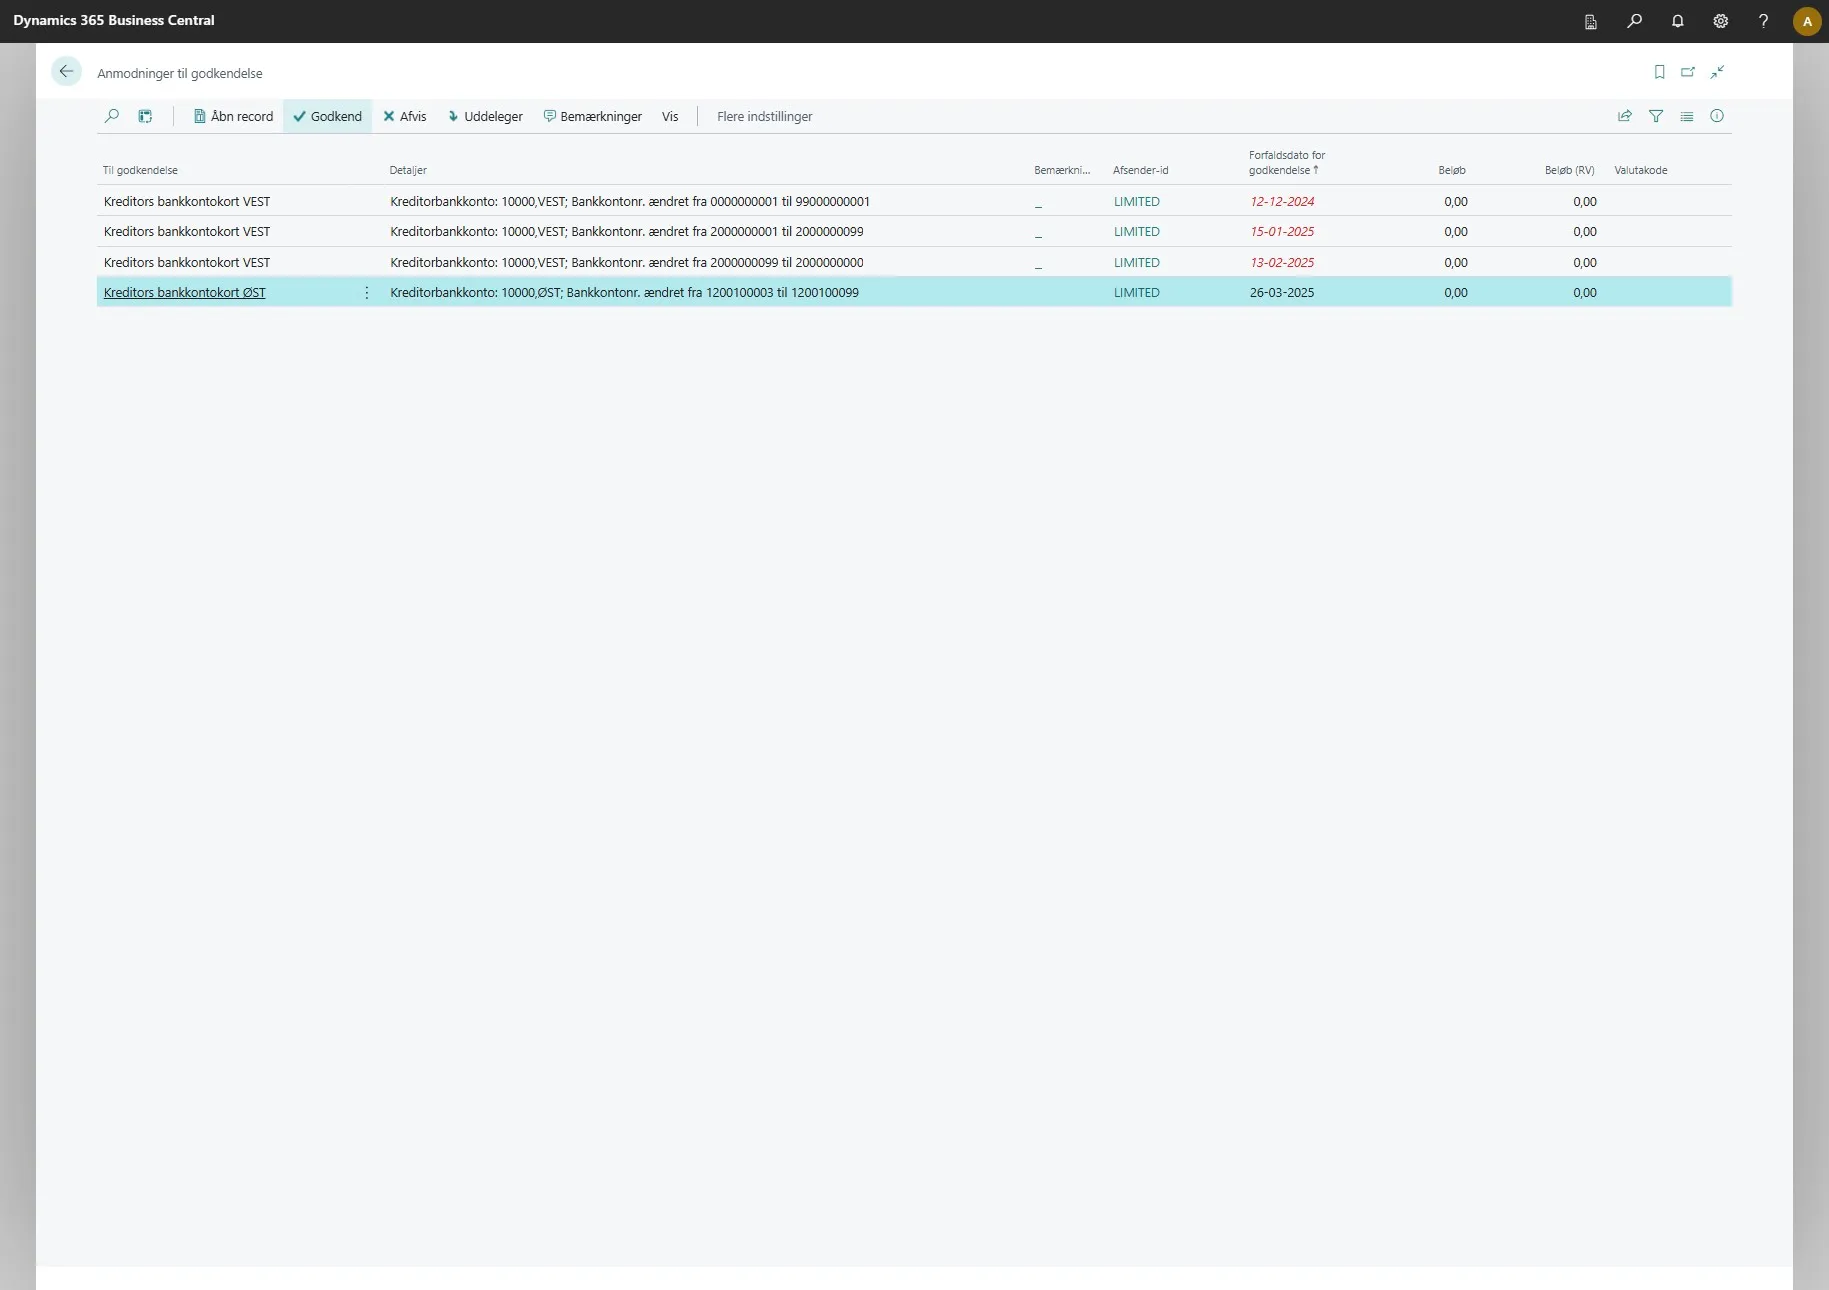
Here you can now see under the “Details” column a message similar to: “Vendor Bank Account: 10000,EAST; Bank Account No. changed from 1200100003 to 1200100099”.
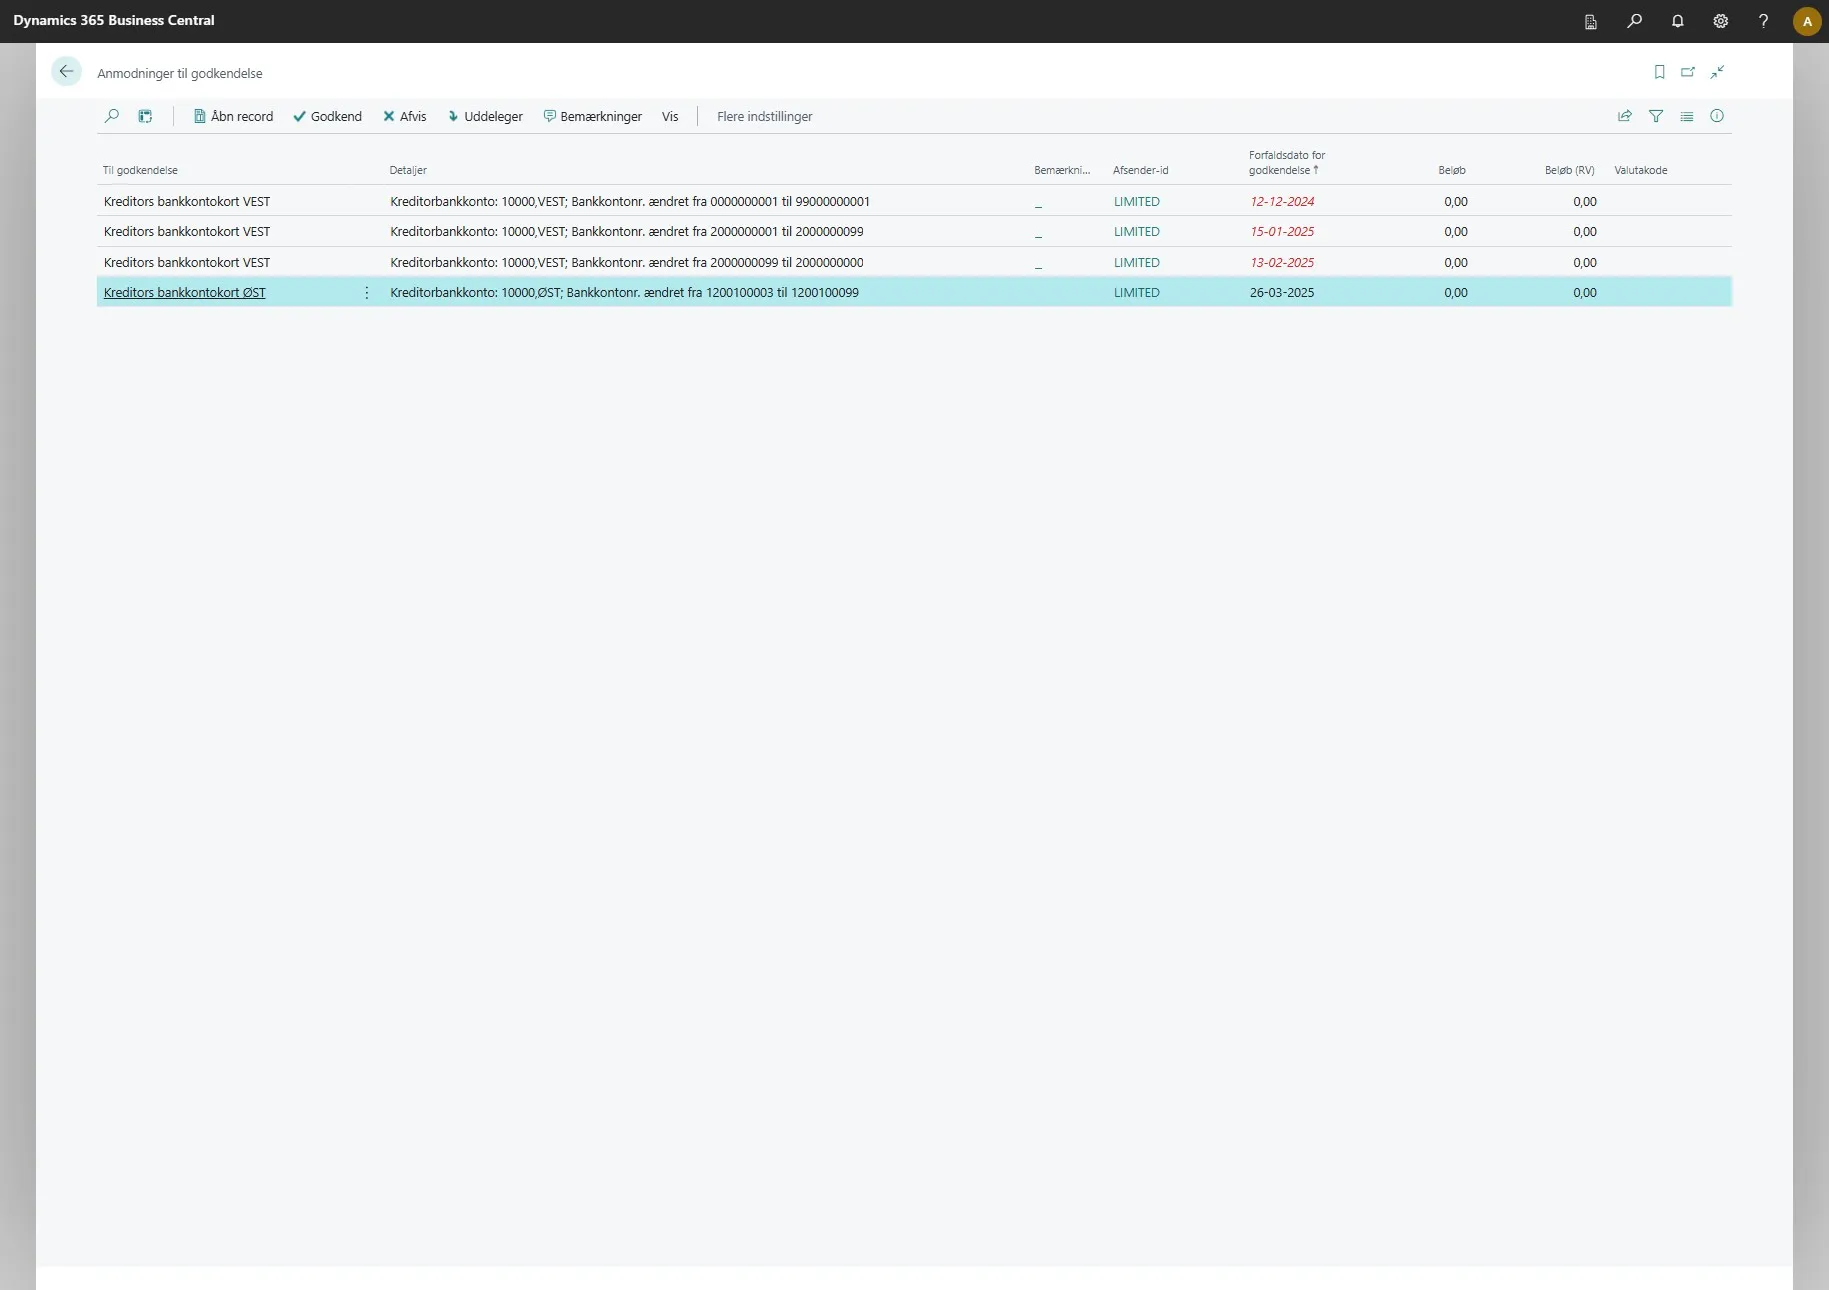
-
The administrator must select the line.
-
Then click “Approve”.