Manual Setup
Set up Mandatory Fields manually
Section titled “Set up Mandatory Fields manually”Use this procedure to manually configure Mandatory Fields in Microsoft Dynamics 365 Business Central without using Assisted Setup.
Before you begin
Section titled “Before you begin”- The Mandatory Fields extension must be installed.
- You must be signed in to Business Central with permission to create and edit Mandatory Fields setups.
Step 1: Open the Mandatory Fields setup list
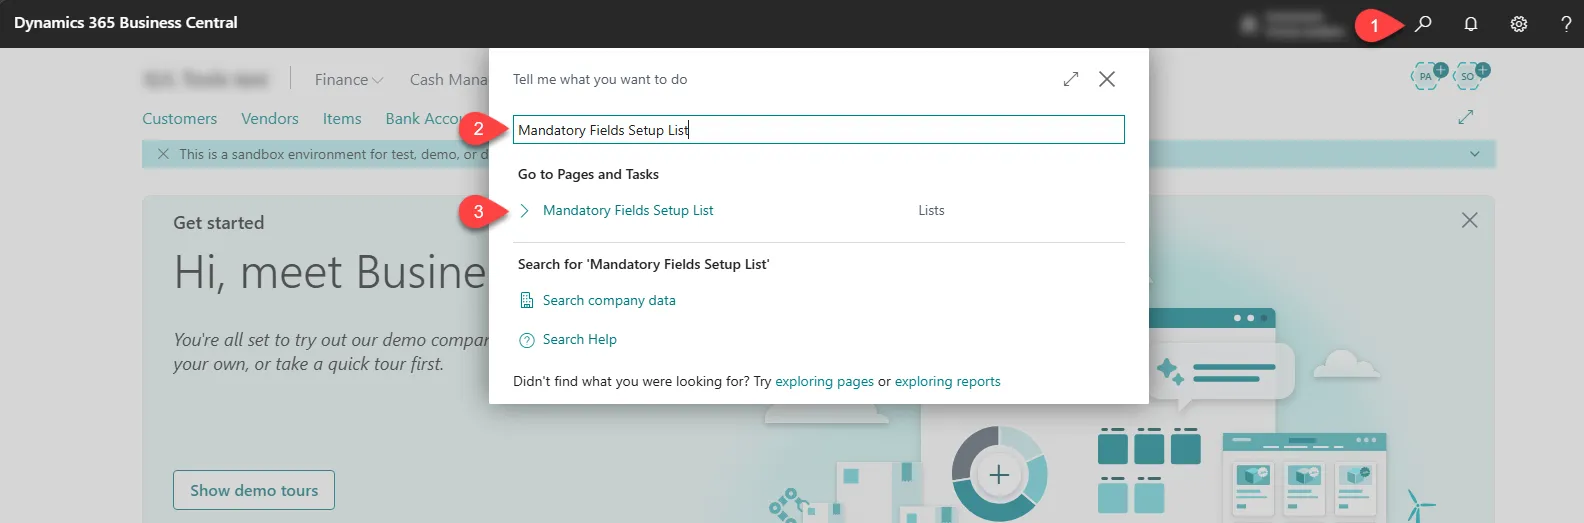
Section titled “Step 1: Open the Mandatory Fields setup list”-
Select Search (Alt+Q) in the upper-right corner.
-
Enter Mandatory Fields Setup List, and then choose the related link.
-
On the Mandatory Fields Setup List page, select New.
-
Then select Assisted Setup….
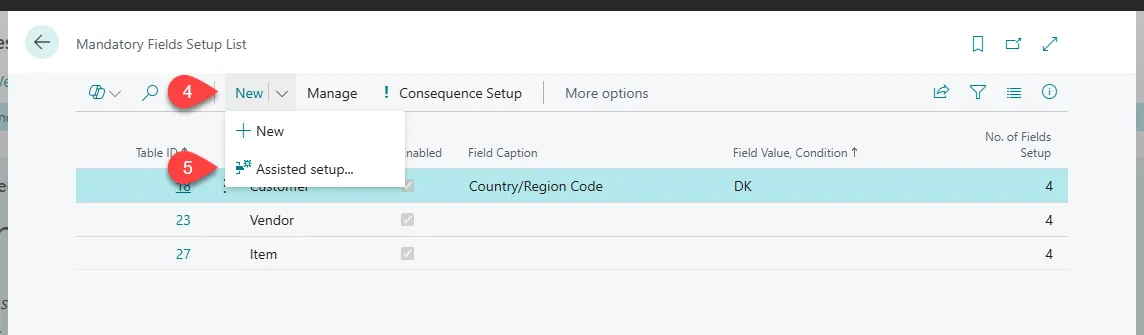
This opens a wizard that guides you through the manual setup process.
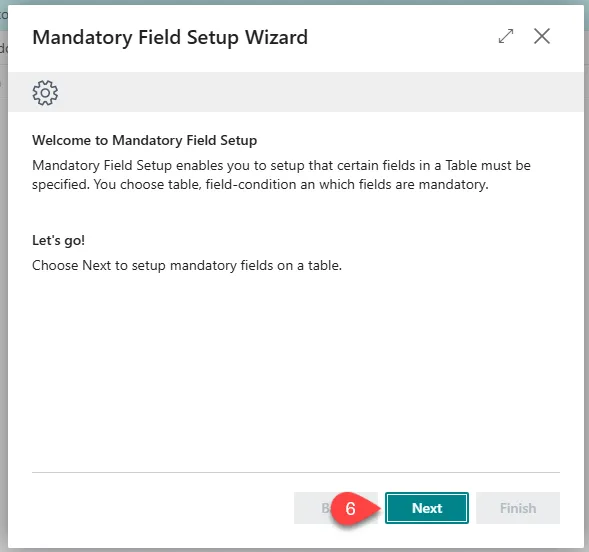
Step 2: Start the setup wizard
Section titled “Step 2: Start the setup wizard”- Select Next to start the wizard.
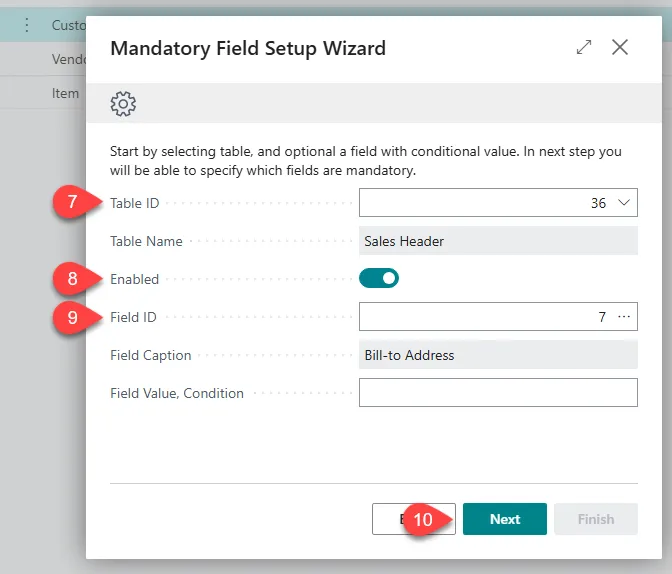
Step 3. Define when fields are mandatory
Section titled “Step 3. Define when fields are mandatory”- Choose the table and activation conditions.
- Select the table where fields should be mandatory.
- Specify whether the setup should be enabled.
- Optionally, select a conditional field and value that controls when the mandatory fields apply.
- Select Next when you are done.
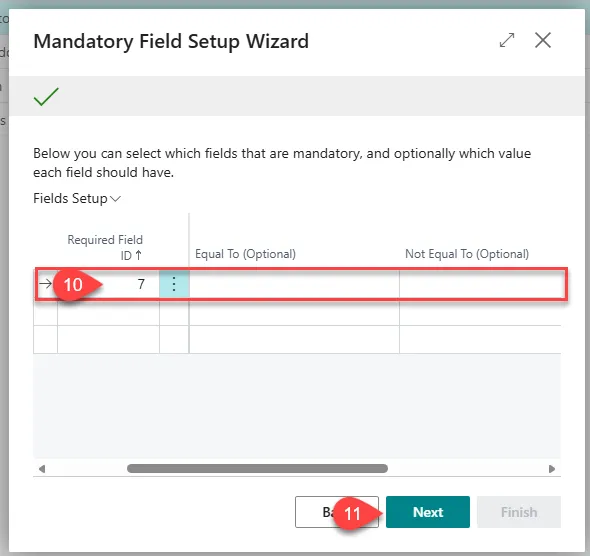
Step 4: Specify mandatory fields
Section titled “Step 4: Specify mandatory fields”- Select the fields that must be filled in.
For each field:
- Select whether a specific value is required.
- Optionally, specify a value that the field must equal or must not equal.
- Select Next to continue.
- Complete the setup
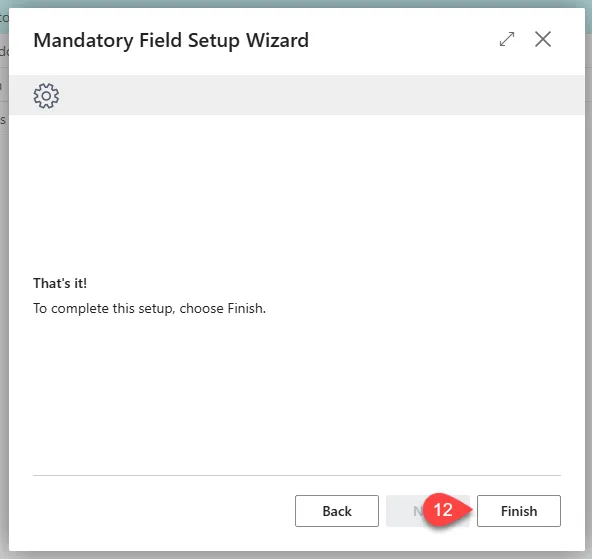
The Mandatory Fields configuration is now active.